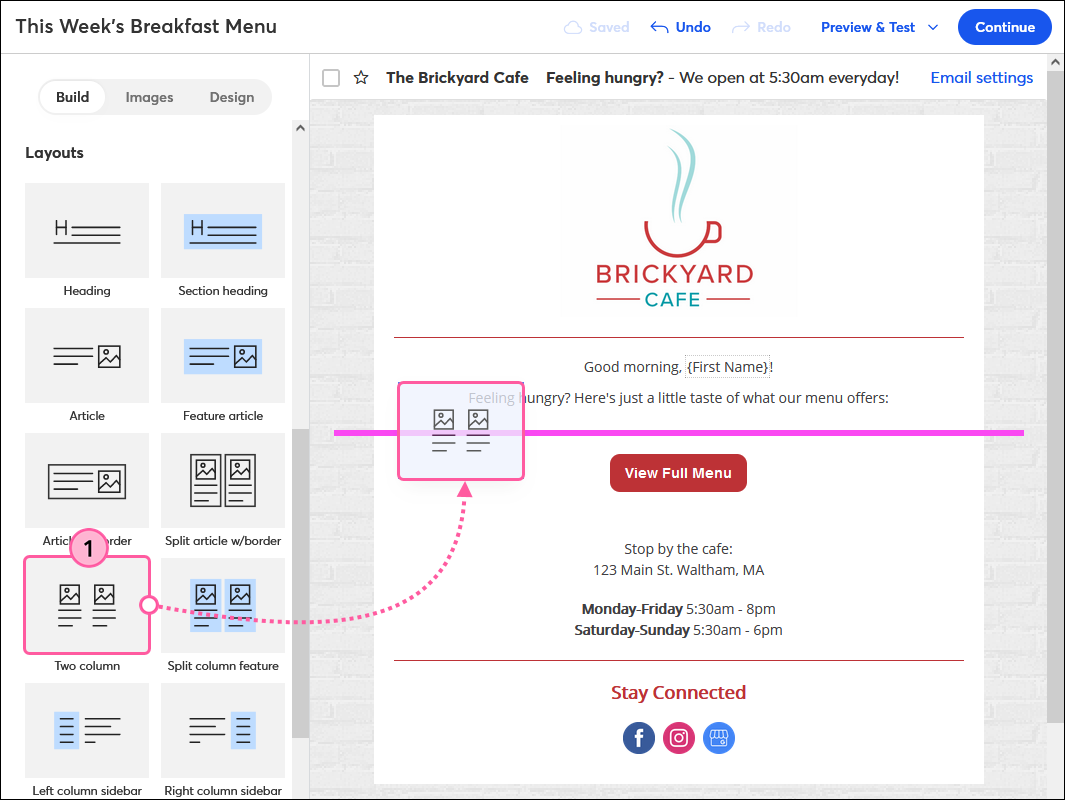
Some email templates include pre-built column layouts. If yours doesn't already have them, it's easy to create two, three, four, or five columns using the pre-built layout blocks found on the Build tab.
Columns are designed to stack on mobile devices from top to bottom and left to right. All of the content in the left-most column, from top to bottom, appears before the content in the column immediately to its right, and so on, for each additional column.
 | Design tip: Make sure you preview your email before sending it to your contacts to get a good idea of how your content stacks when viewed on a mobile device. |
Create two columns
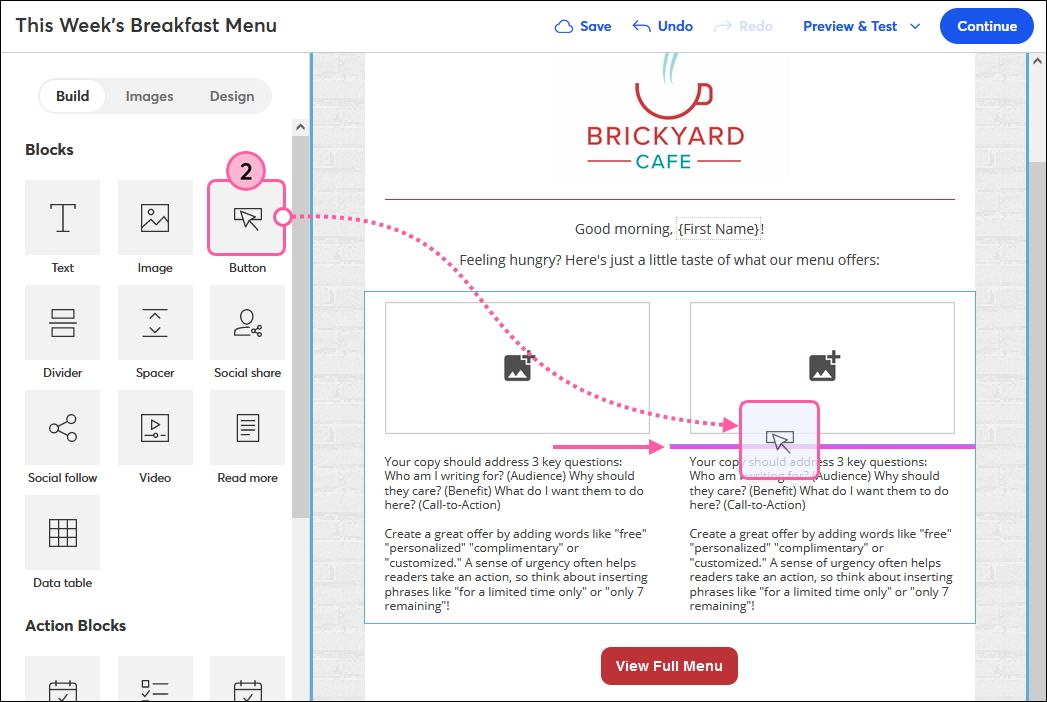
The Layouts section of the Build tab has dual-column layouts to get you started quickly—just drag one into your template. Any standard block or action block can then be dragged into the two-column layout.
 | Did you know? The two Headline blocks at the top of the Layouts section can also be used in dual-column layouts if you drag them into the template first. Once in your template, drag it into a column or place it next to another block to create two columns. |
- From the Build tab, scroll down to the Layouts section and drag a Two column block into your template.

- Use the guidelines to stack additional images, text, buttons, dividers, spacers, social media icons, videos, or action blocks into each column.
Note: The guideline should only span the width of the column and not the width of the entire template. Content can be dragged from the Build or Images tab, or moved around from within your template too.

- Place your cursor anywhere over the columns and drag the handle to adjust the width of the columns in proportion to each other. The minimum width of a column is 25% of the template width, and the maximum width is 75% of the template width.

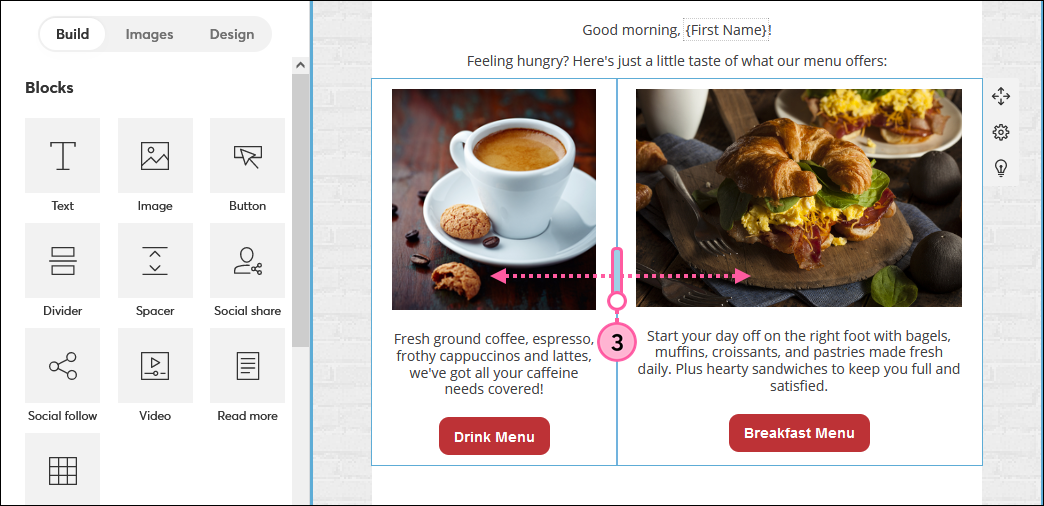
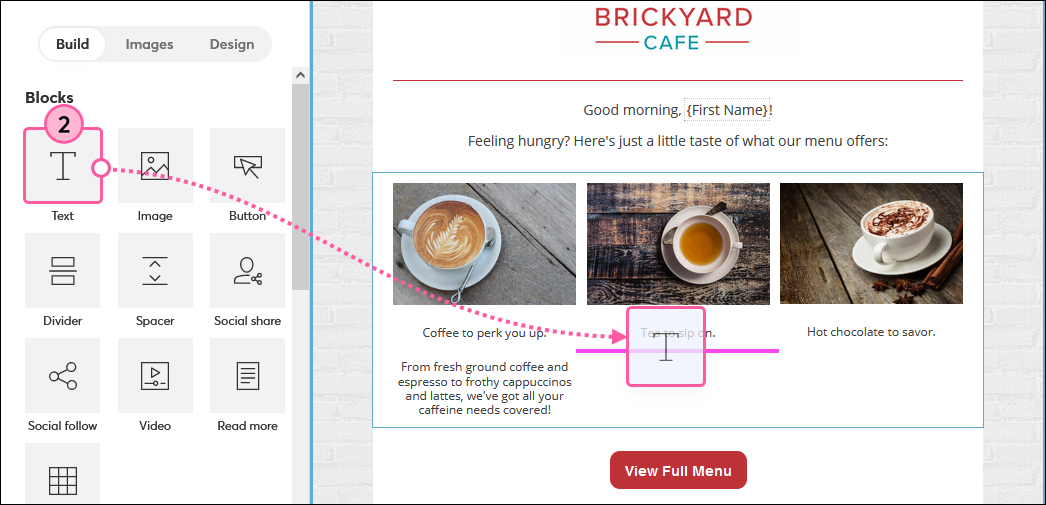
Alternatively, blocks can be used to create two columns when placed side-by-side:

Create three columns
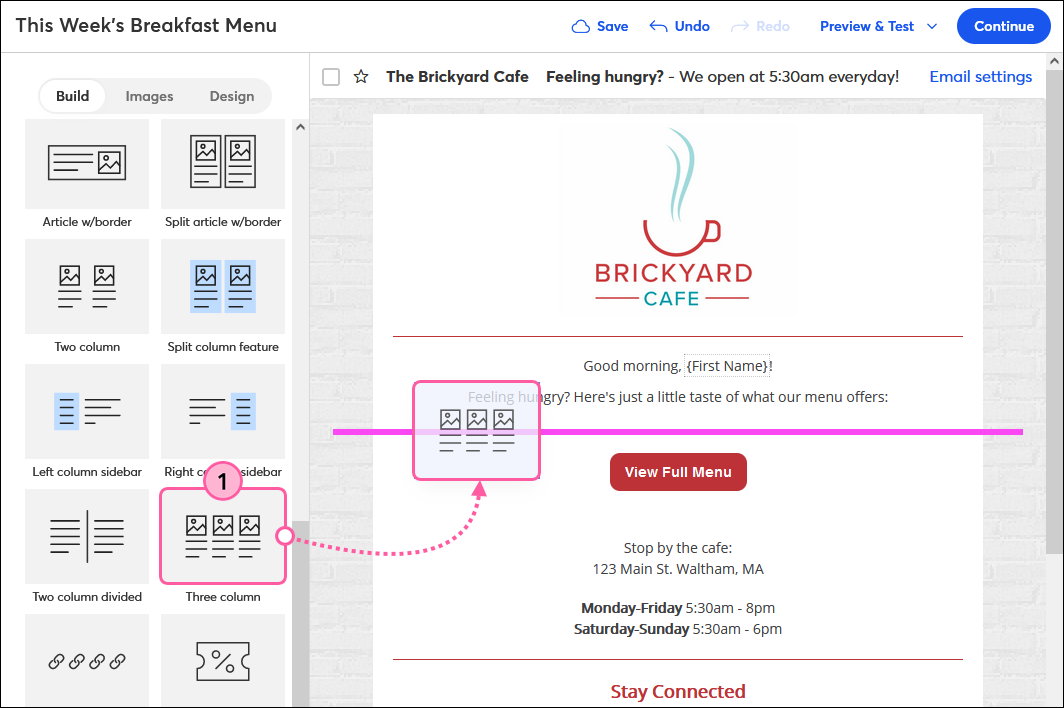
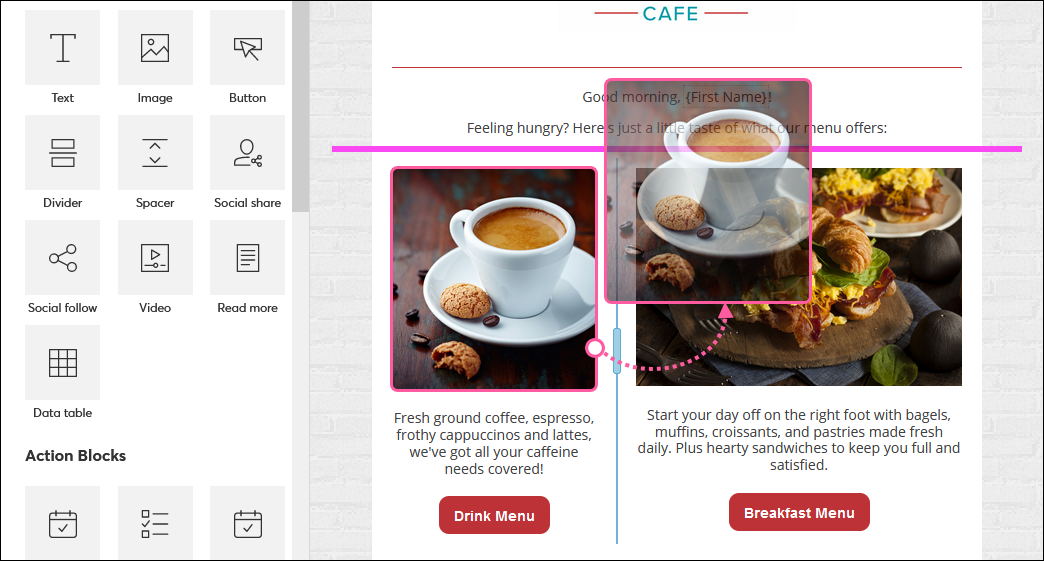
The best way to add three columns to your email is to use the Three column block. Additional blocks can then be dragged into the layout as desired.
- From the Build tab, scroll down to the Layouts section and drag the Three column block into your template.

- Use the guidelines to stack additional images, text, buttons, dividers, spacers, social media icons, videos, or action blocks into each column. Content can be dragged from the Build or Images tab, or moved around from within your template.

- Drag the handle to adjust the width of the columns in proportion to each other. The minimum width of a column is 25% of the template width, and the maximum width is 50% of the template width.

Note: If you're having trouble getting your images to look proportional, try cropping the image or aligning it to the side of the column.
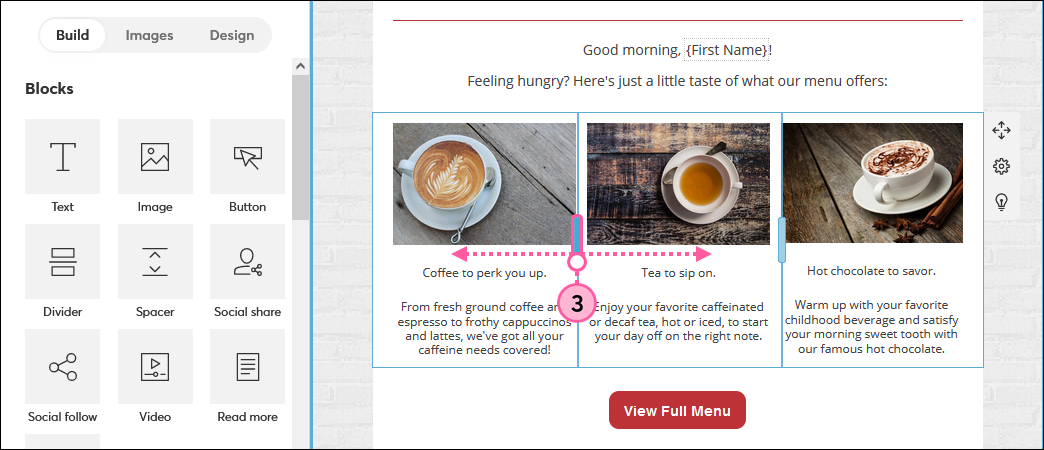
If you delete a column from a three-column layout, you can add it back by dragging and dropping any block to the left, to the right, or in between the remaining blocks. Two Column blocks in the Layouts section of the Build tab can't be used to create three columns in the same way.
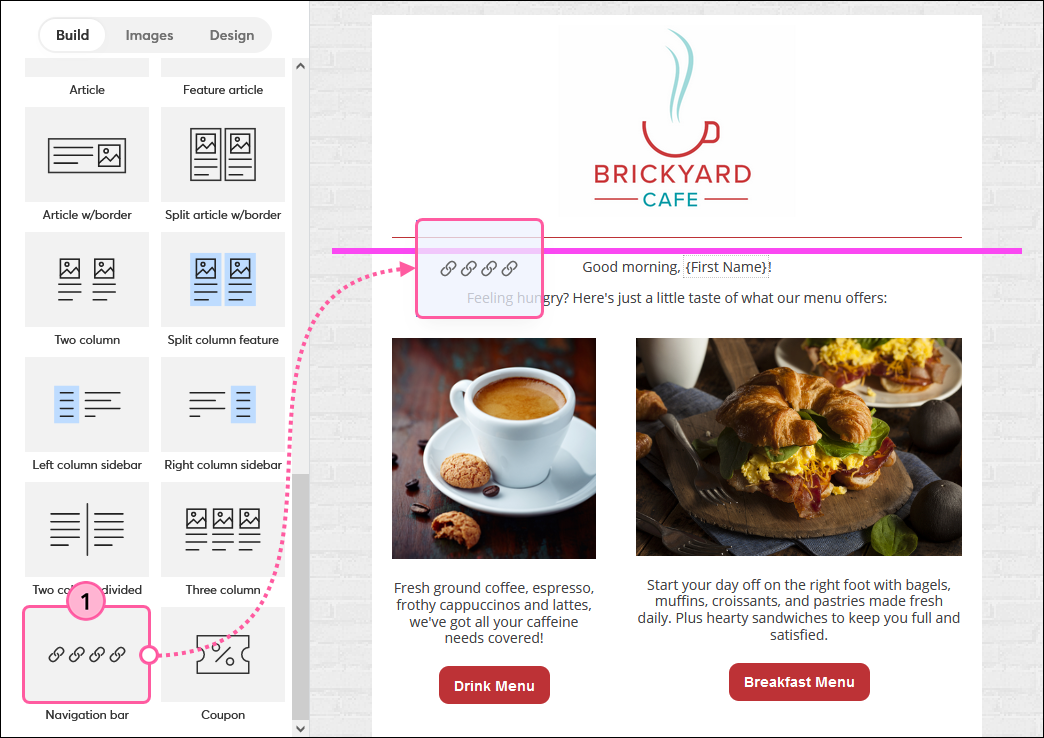
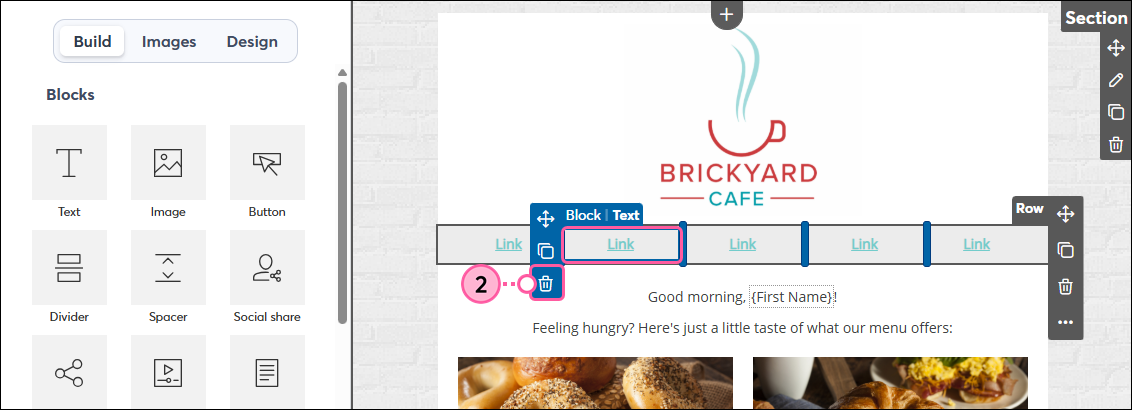
Create four or five columns
The Navigation Bar block is five columns and can be used as-is, or you can delete one of the columns to create four columns. When using four or five columns, the widths are set and can't be adjusted.
- From the Build tab, drag a Navigation Bar block into your template. Use the guidelines to help you find the right spot.

- (Optional) Delete a column to create a four-column layout by clicking on any of the text links and then clicking the trash can icon.

- The Navigation Bar block contains text links by default, but you can update them with other content and drag additional images, text, or buttons into the columns. You can also change the background color of the column block.
Tip: If you're having trouble inserting a block into one of the columns, try entering at least two lines of text in one of the columns first.

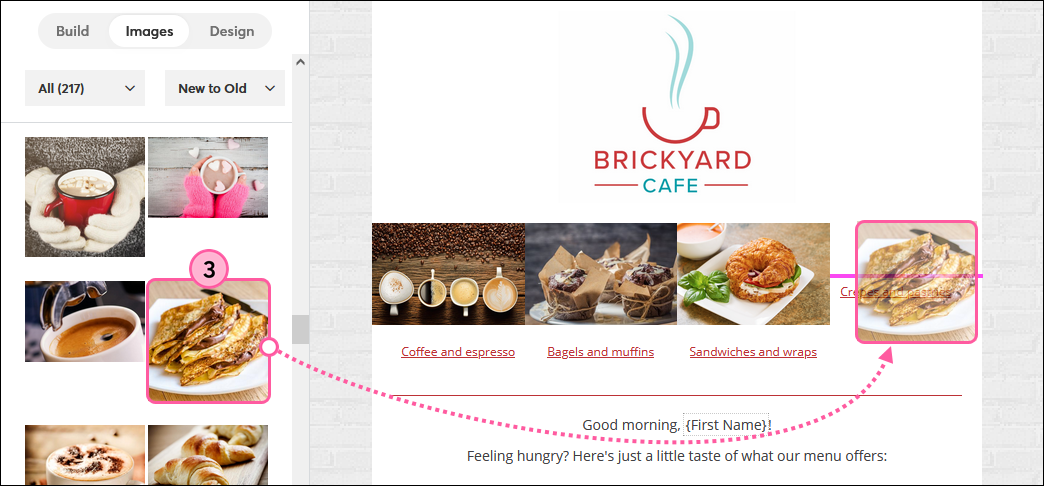
If you delete a column from a five-column layout, you can add it back by dragging and dropping any block to the left or to the right of the remaining blocks. Two and Three Column blocks in the Layouts section of the Build tab can't be used to create a four or five-column layout in the same way.
Delete a column
There are a couple of ways you can get rid of unwanted columns:
- Delete the entire layout - Perfect for a fresh start! Place your mouse over any part of the columns and click the gear icon on the right-hand side of the template. Then click the trash can icon.

- Delete all the blocks in the unwanted column - You can delete each block in the column by clicking on the block and then clicking the trash can icon. Repeat until all of the blocks are gone. If the column looks empty but doesn't disappear, there may be a spacer block that needs to be deleted.

- Drag the blocks out of the unwanted column - If you want to keep your content and just get rid of the columns, the blocks can be dragged into any other part of your template. Use the guidelines to help you move them out of the column—it should span the width of the template.
