| Review your plan: This feature is not available in all Constant Contact plans. If you don’t have full access, you may need to upgrade your plan. |
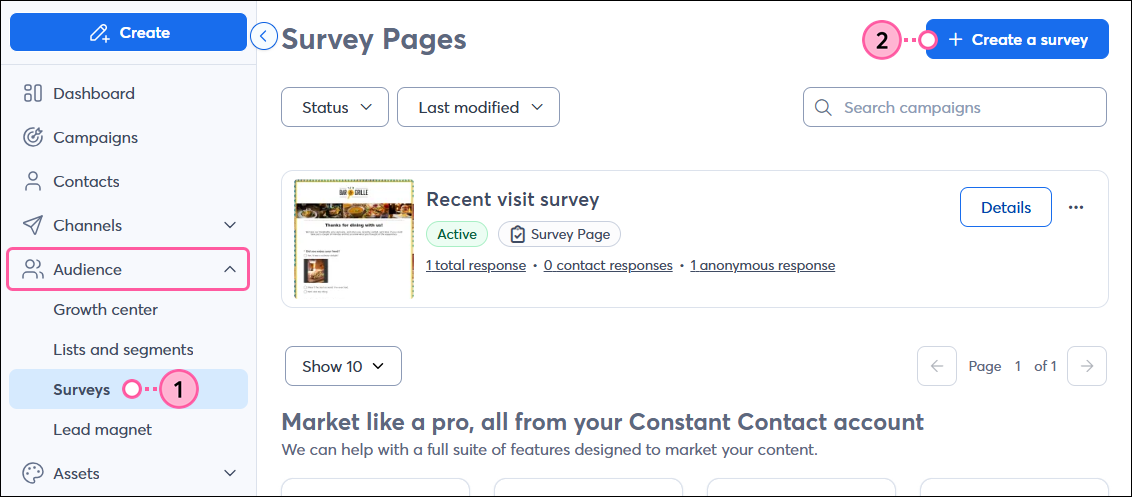
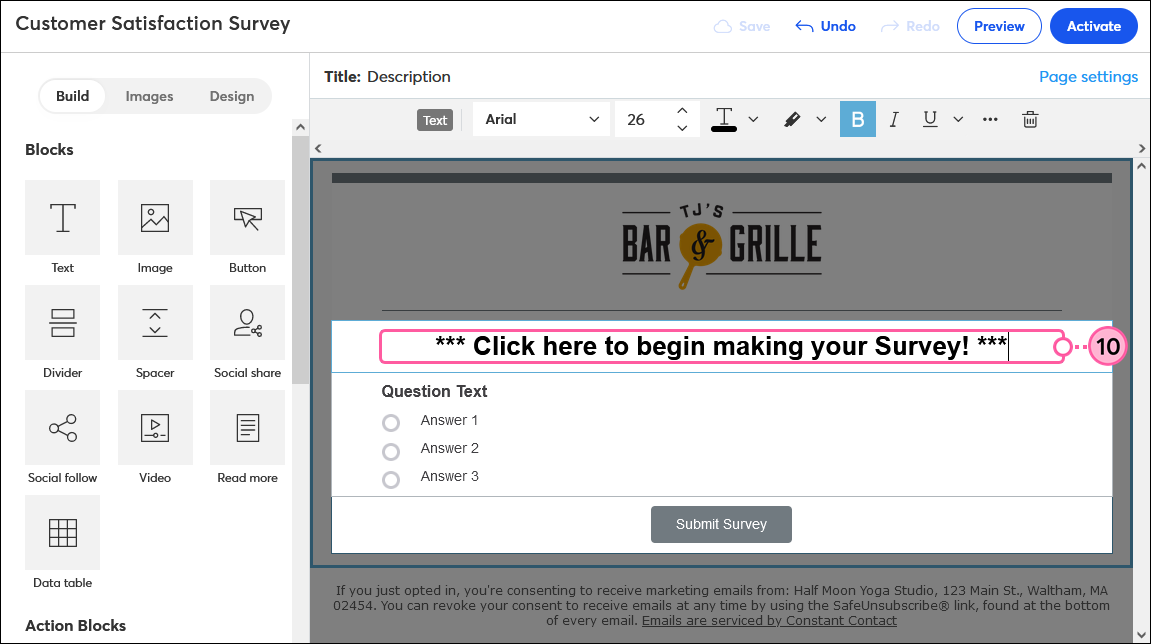
Surveys are a great way to gather valuable feedback and insights from your contacts, enabling you to make more informed business decisions and optimize your marketing efforts. With Constant Contact’s Survey Pages, it’s easy to create and share a survey to help better understand your customers’ demographics, interests, preferences, or feelings about your organization.
| Tip: For better response and completion rates, your survey should take no longer than 5 minutes to complete and have 10 or fewer questions. If your survey needs to contain more questions or covers multiple topics, consider splitting them into several smaller surveys. |

| Tip: Respondents are more likely to answer closed-ended questions than open-ended questions because they typically require less time and thought to complete. |
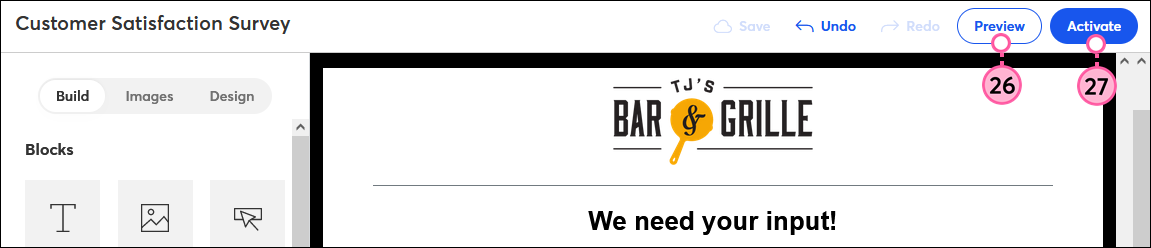
Your Survey Page is now active, but no one will see it until you share it in an email, on social media, in a social ad, in a blog post, or on another webpage!
Once you start receiving responses, you can view your reporting to see the results. Depending on how you share the survey, some respondents may display as anonymous in your results. When someone submits the survey, they'll see a "thank you" message confirming their responses have been recorded. Currently, there is no way to customize this page. 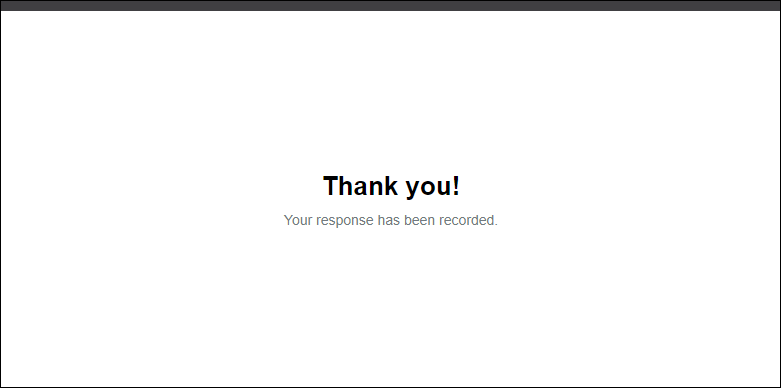
Copyright © 2026 · All Rights Reserved · Constant Contact · Privacy Center