We're making it easier to get around Constant Contact with a brand new left navigation. Not all accounts have that change yet, so if your navigation looks different from our articles, that's why–but everything from the top can now be found on the left!

Email and Digital Marketing
How can we help you?
Search our help articles, video tutorials, and quickstart guides

You've got this. You've got us. Search our Knowledge Base to quickly find answers to your questions.

Customize the Confirm Opt-in and Update Profile emails

Article: 000045162
Updated: January 30, 2025

Update the automatic emails sent to your contacts to confirm their opt-in and update their profiles

In your account, you have the option to enable Confirm Opt-in for your new subscribers, as well as allow contacts to update their personal details and email preferences themselves. With each of these features, your contacts receive an automatic email to confirm their subscription or update their profile. The emails contain default content, but you can choose to customize them to match your branding and messaging as you like.


Customize the Confirm Opt-in email

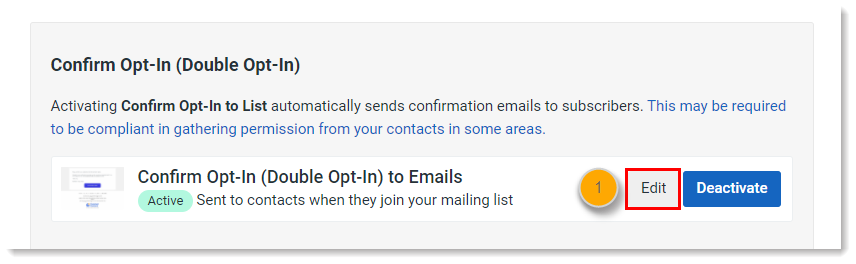
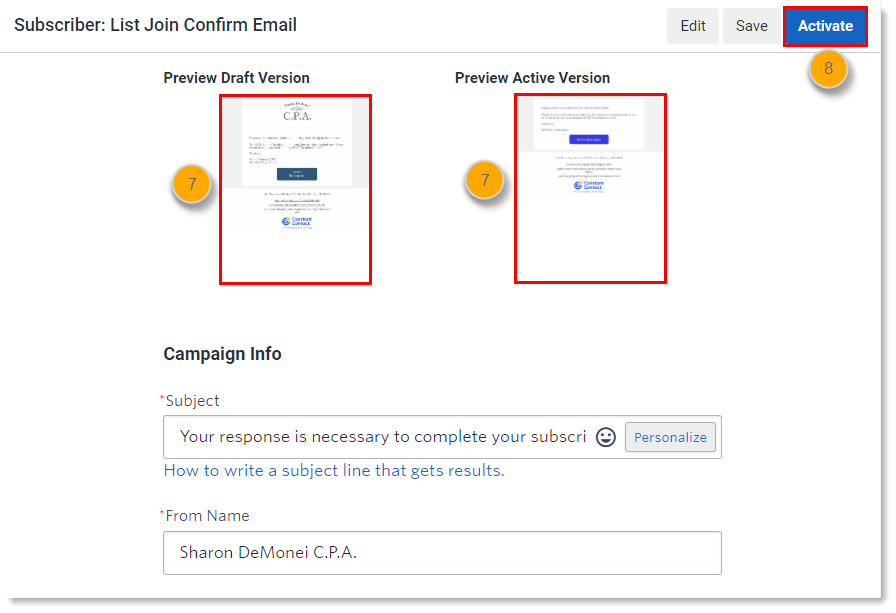
When you have Confirm Opt-in (or double opt-in) enabled for your new sign-ups, they receive a Confirm Opt-in Email asking them to confirm their subscription. The content of the email is standard, but you can customize the messaging and design to match your brand: 

From the Contact Emails page in your account settings:

  1. Click Edit next to Confirm Opt-In (Double Opt-In) to Emails.

    Contact Emails page, Active Confirm Opt-in Email, and Edit Button
     
  2. (Optional) Click to edit the name of your Confirm Opt-In email. Your contacts don’t see this name, they only see your subject line.
  3. Click “Email settings” to edit the subject line, preheader, From name, From email address, and reply-to email address.
  4. Add your logo.
  5. (Optional) Customize the content and colors to match your branding.
  6. Once you’re finished customizing the email, click Continue.

    Campaign Name, Email Settings, Logo, Content, and Continue Button
     
  7. (Optional) Click on the email thumbnails to preview your draft version compared to the active version of the email.
  8. Click Activate.

    Email Preview and Activate button
     
  9. If you already have an active Confirm Opt-in Email, click Activate on the confirmation message to overwrite the existing email with your updated draft version. 

    Confirmation message and Activate button


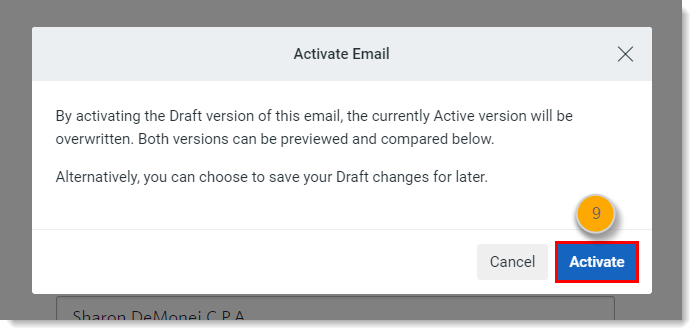
When new contacts sign up to join your mailing list, they’re automatically sent the updated Confirm Opt-In Email. You can deactivate the Confirm Opt-In Email at any time, but any contacts who have been marked as Awaiting Confirmation will remain in that status until they confirm their subscription.


Customize the Update Profile Email

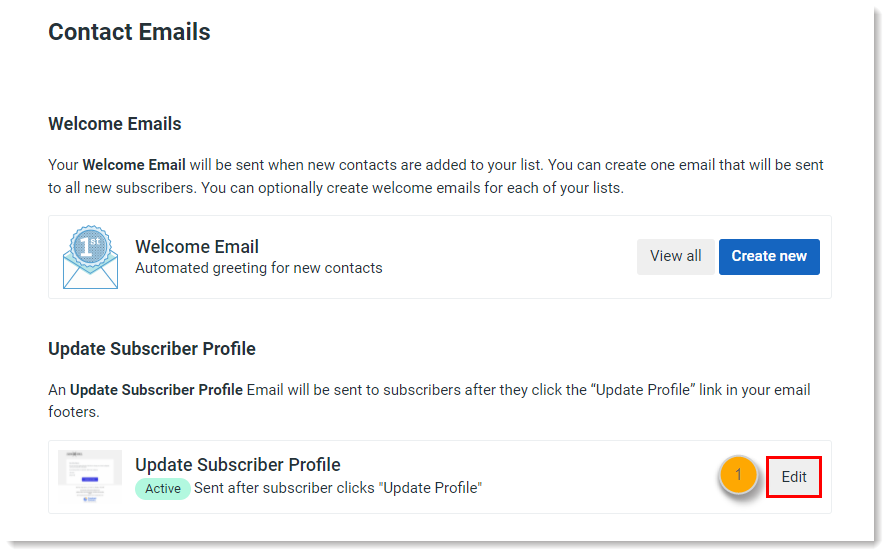
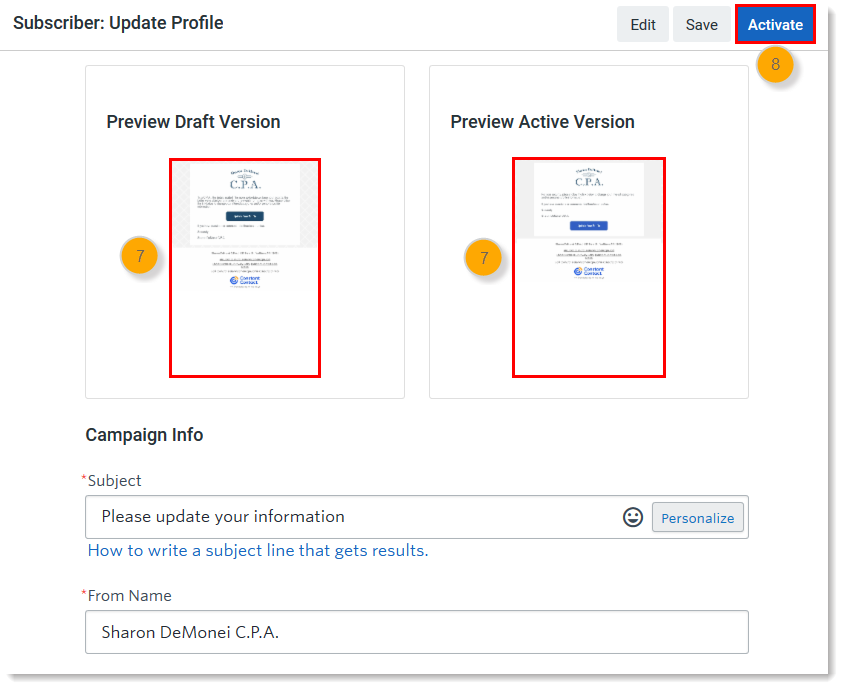
By default, an "Update Profile" link is included in the footer of all your emails, which contacts can use to update their email preferences and contact details they want to share with you. When contacts click the “Update Profile” link, they receive an Update Profile Email with a link to your Update Profile Form. The content of the Update Profile Email is standard, but you can customize the messaging and design to match your brand.

From the Contact Emails page in your account settings:

  1. Click Edit next to Update Subscriber Profile.

    Contact Emails page, Update Subscriber Profile section, and Edit button
     
  2. (Optional) Click to edit the name of your Update Profile Email. Your contacts don’t see this name, they see your subject line instead.
  3. Click “Email settings” to edit the subject line, preheader, From name, From email address, and reply-to email address.
  4. Add your logo.
  5. (Optional) Customize the content and colors to match your branding.
  6. Once you’re finished customizing the email, click Continue.

    Campaign Name, Email Settings, logo, content, and Continue button
     
  7. (Optional) Click on the email thumbnails to preview your draft version compared to the active version of the email.
  8. Click Activate.

    Email Preview and Activate button
     
  9. If you already have an active Update Profile Email, click Activate on the confirmation message to overwrite the existing email with your updated draft version. 

    Confirmation message and Activate button
     

When contacts click the link in the Update Profile Email, they’re taken to your Update Profile Form. To keep things consistent, be sure to customize the Update Profile Form, too!


Questions?

Ask the Community

Did this article answer your question?


Constant Contact Logo

Copyright © 2025 · All Rights Reserved · Constant Contact · Privacy Center