The Account settings section is where you can add your organization details, update your billing information, change your password, add account users, and more. This is also where you can set some of the default information that automatically populates within your campaigns, including your logo, "From" name, and "From" email address. Don't worry - you can still edit this information for individual campaigns.
Within your account settings, everything can be found under the following tabs:
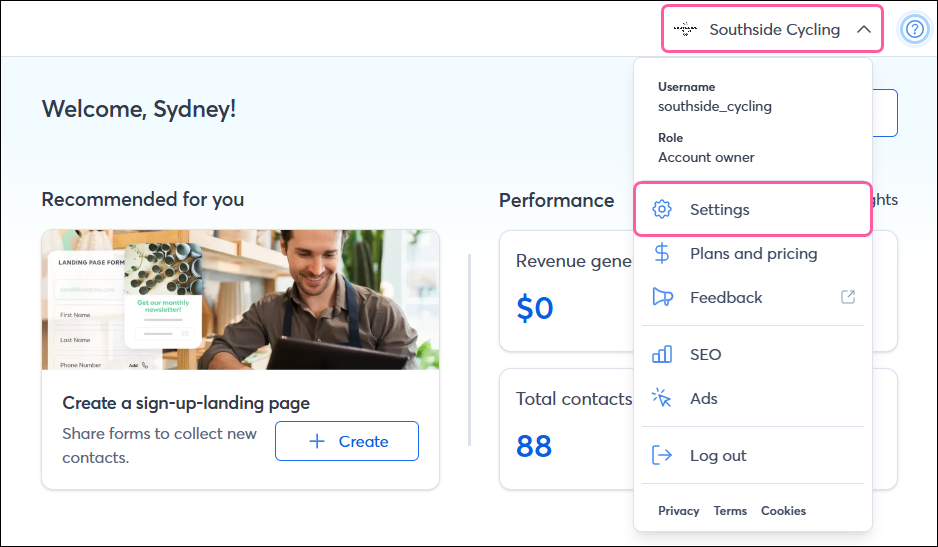
To access your account settings, click the profile name in the upper-right and select Settings from the drop-down.
 | Note: Only the Account Owner can access all account settings. Account Manager and Campaign Creator users have limited access. |
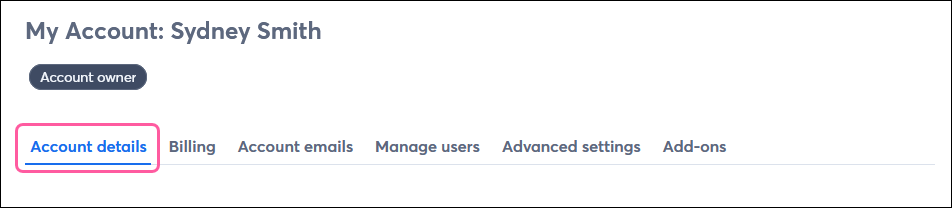
Account details tab
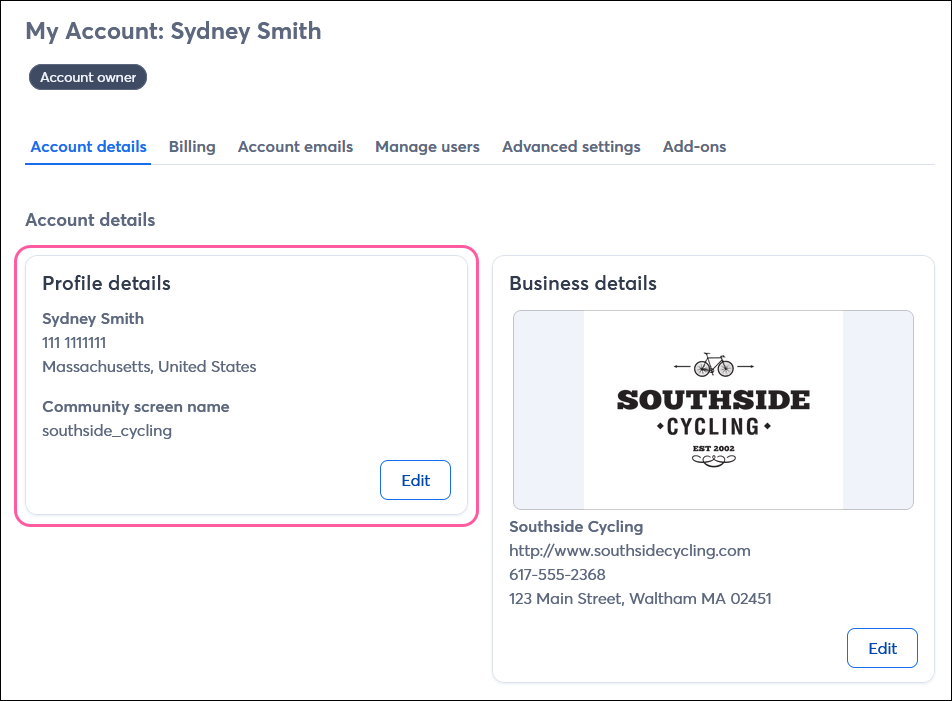
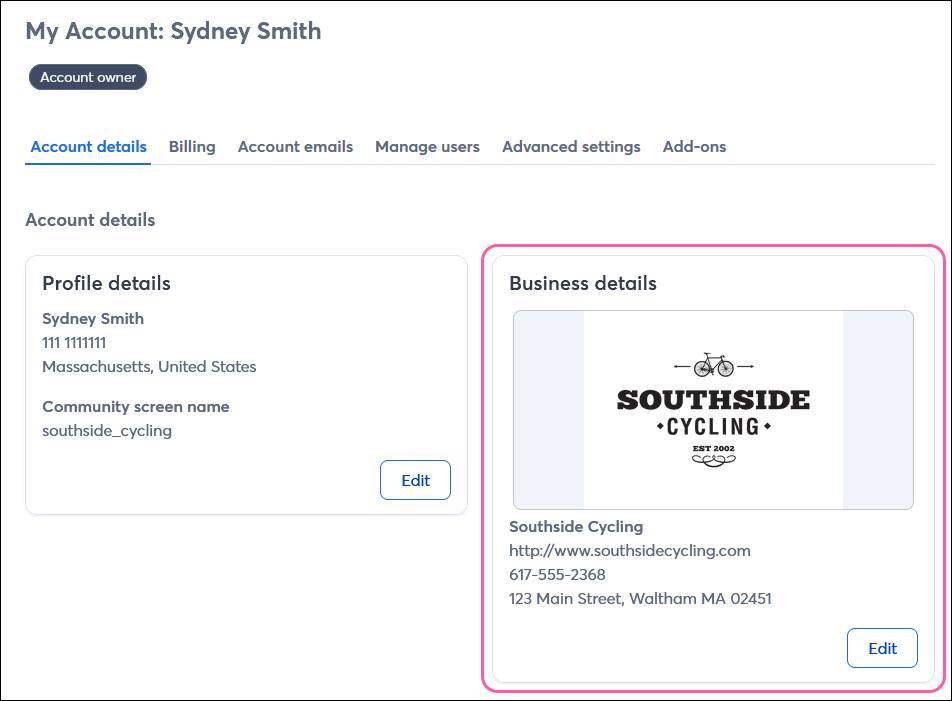
Profile details
In this section, you can add or update your:
We use this information if we need to address communications or contact you by phone, and to locate and verify your account when you call our Support center and speak to our Intelligent Virtual Assistant (IVA). There can be a slight delay between when you make a change and when you see it in your account, as well as when the IVA recognizes new user details.
Business details
In this section, you can add or update your:
- Logo - Upload your logo to have it automatically inserted in your newly created campaigns.
- Industry - Add your organization's industry so you can compare your reporting to others in your industry.
- Business name - Add your organization name to have it appear in all your email footers, or to easily insert it within the body of an email later.
- Business phone number - Add your organization's phone number so you can easily insert it in an email later.
- Business website - Add your website URL so you can easily insert it in an email later.
- Address - Add your organization's physical address that will appear in your landing page and email footer. A physical address is required under the CAN-SPAM ACT for all commercial emails. This can be:
- Your storefront
- Your organization’s headquarters
- Your home address
- A valid PO box or virtual mailbox if you don’t have a physical location
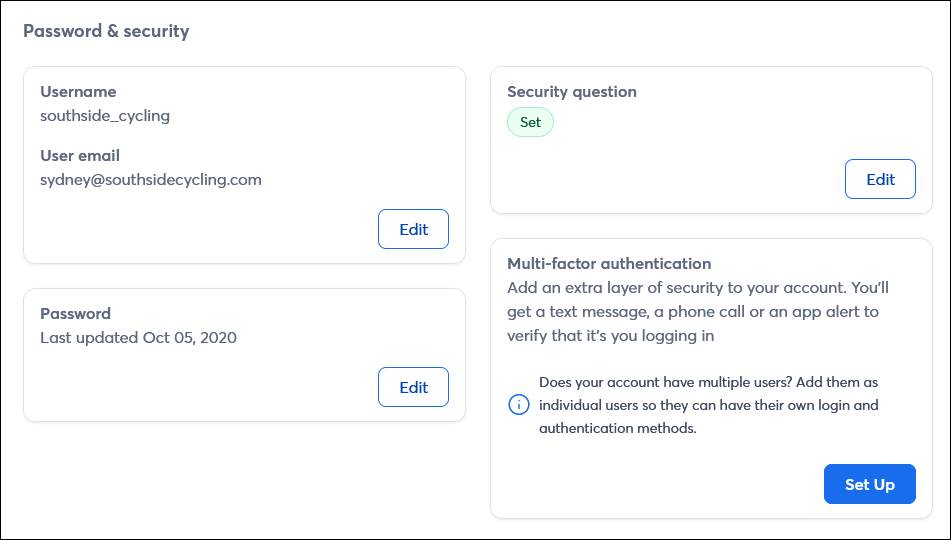
Password & security
In this section, you can update your:
- Username - This is used to log into your Constant Contact account. You can change your username at any time.
- User email - This is the "contact" email address for your account.
 | Note: If you're using an email address as your username, changing the user email won't affect your username. |
- Password - Your password ensures secure access to your account. It's recommended that you periodically change your password to keep your account extra secure.
- Security question - The security question provides extra security if you ever lock yourself out of your account and need to reset your password. You can change your security question at any time, but you need your account password to do so.
- Multi-factor authentication (MFA) - MFA adds an extra layer of security for your account, beyond your username and password. If we don’t recognize the device being used to log into your account, a secondary factor, such as an SMS message or push notification, is required to verify your identity. If you need to change the secondary factor used, you can reset it here.
Other settings
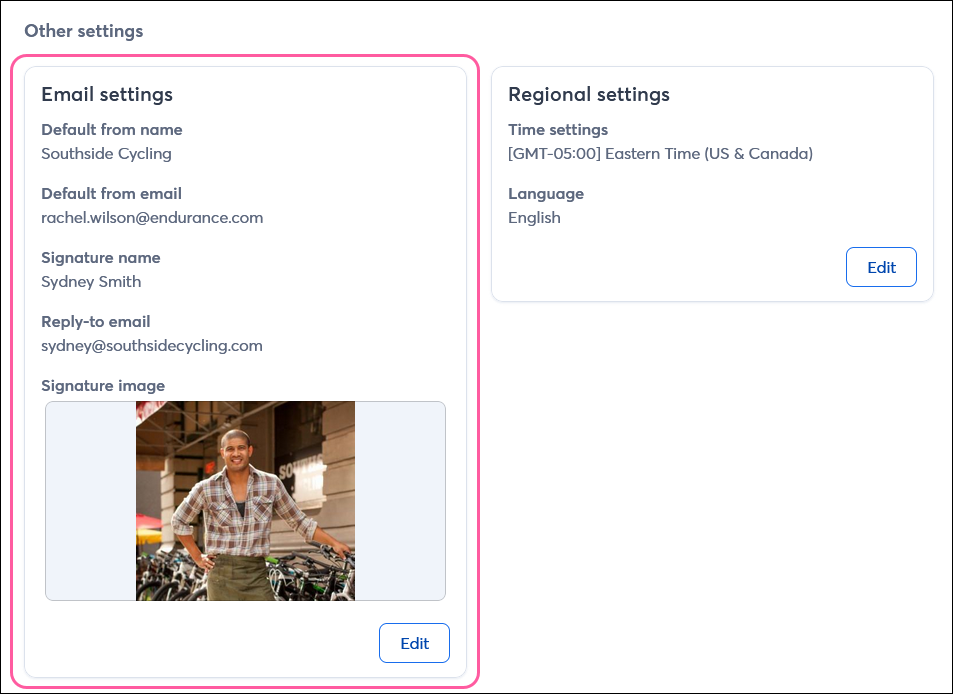
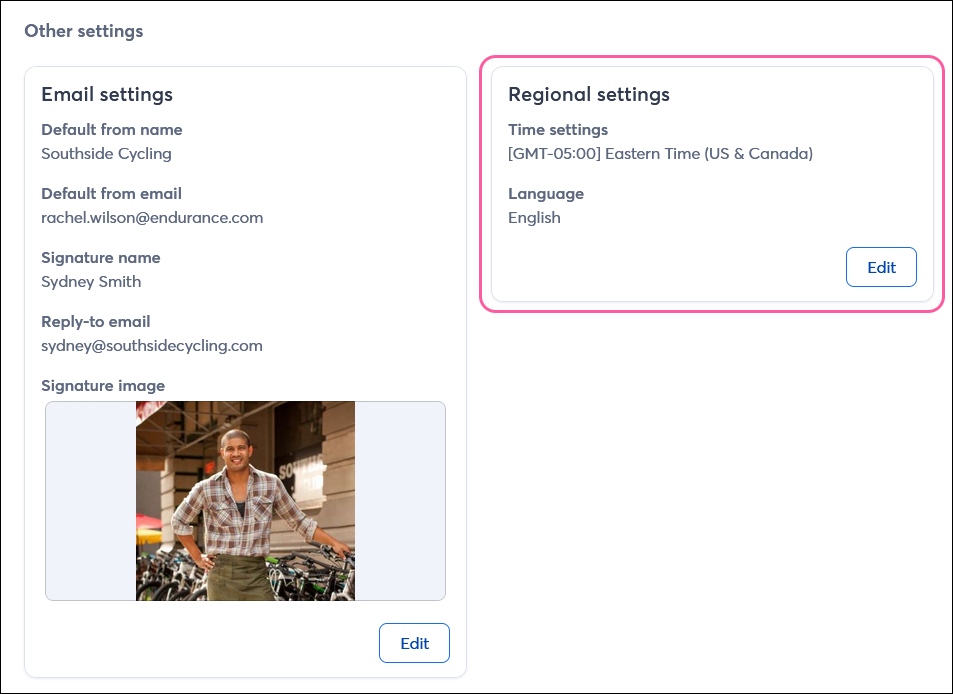
Email settings
In the Email settings section, you can add or update the information to be able to insert it within an email, landing page, or SMS message later:
- Default from name - Add the name you want to use as your default "From" name when sending your emails.
- Default from email - Select one of your verified, authenticated email addresses to use as your default “From” email address when sending your emails. This displays in your contacts’ inbox and shows them who the email is coming from.
- Signature name - Enter your name, title, and/or role so you can insert it within the body of an email later using the [[account.signaturename]] variable tag.
- Reply-to email - Select one of your verified email addresses to use as your default “Reply-to” email address when sending your emails. This is the email address used if a contact replies to your email, so make sure it's an email account that’s checked regularly.
- Signature image - Add a headshot or other image so you can insert it within the body of an email later using the [[account.signatureImageURL]] variable tag.
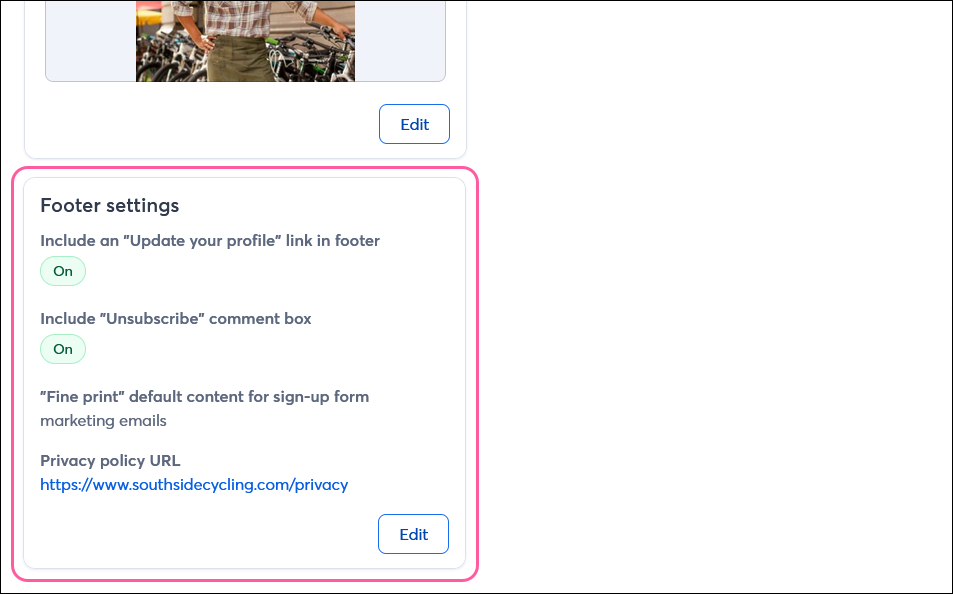
Footer settings
In the Footer settings section, you can add or update the:
- Update Profile footer link - Include or remove the “Update Profile” link that appears in your email footer.
- Unsubscribe comment box - Allow contacts to provide feedback on why they’re unsubscribing when they click the "Unsubscribe" link in your email footer.
- Fine print for your sign-up forms - Customize the fine print that displays at the bottom of your website sign-up forms. For example, “By submitting this form, you are consenting to receive 'marketing emails' from Southside Cycling.”
Note: Sign-up Landing Pages include similar content, but it isn't part of the footer and can't be edited. - Privacy policy - Upload a privacy policy document from your Library or add the URL for your privacy policy hosted on your website. The privacy policy link is visible in the footer of your emails, Sign-up Landing Pages, and website sign-up forms.
Regional settings
In the Regional settings section, you can change the:
- Time settings - Select the default time zone for your account. The time zone is used for adding a timestamp for new subscribers, schedule and send time for emails and other campaigns, quiet hours for SMS marketing messages, and for the timestamps and refresh rates in your reporting. It also provides accurate Support information in the Help option at the top right of your account.
- Language - Select a default language for your email footer and other non-editable text in your account and campaigns.
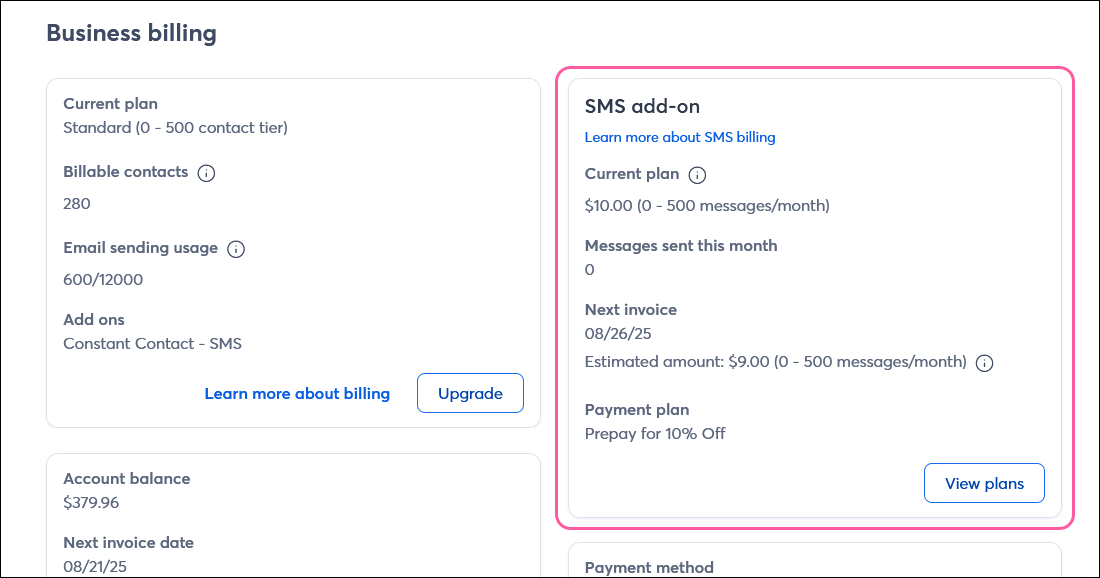
Billing tab

On the Billing tab, you can view and manage your:
- Current plan - View the email plan you're subscribed to and your contact tier. If you want to change your email plan, you can compare plans and select a new one by clicking the View plans or Upgrade button. Your contact tier is based on the highest number of active contacts you’ve had in your account.
- Contacts - View the highest number of active contacts you've had in your account during the current billing period.
- Email sending usage - View how many emails you’ve sent during the current billing period compared to your monthly send allowance.
- Add ons - View the additional features you’ve added to your plan.

- SMS add-on - Manage your SMS plan, keep track of how many messages you’ve sent during the current month, and see your next invoice date and estimated bill. You can change your plan by clicking View plans.
- Payment plan - View your account balance (if applicable), next invoice date, and current payment plan. You can change how frequently you want to pay by clicking Edit payment plan.
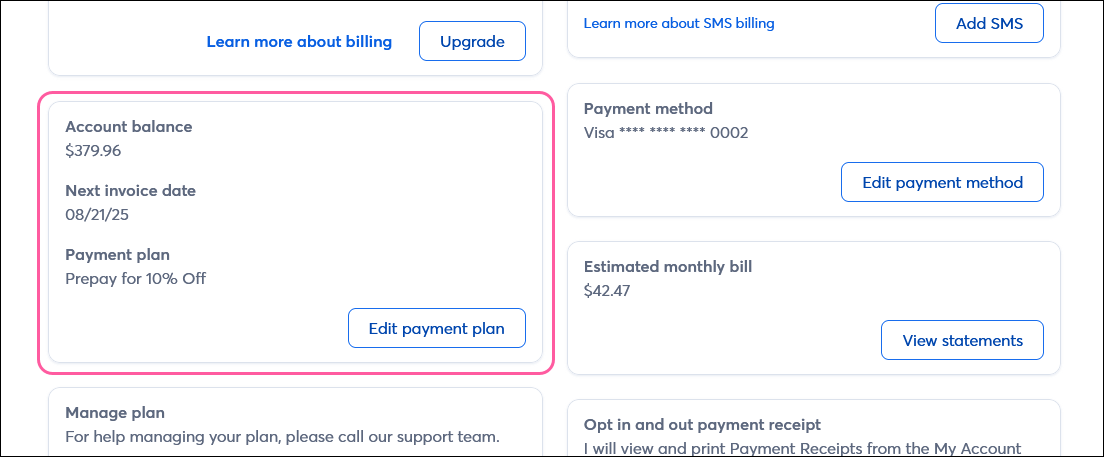
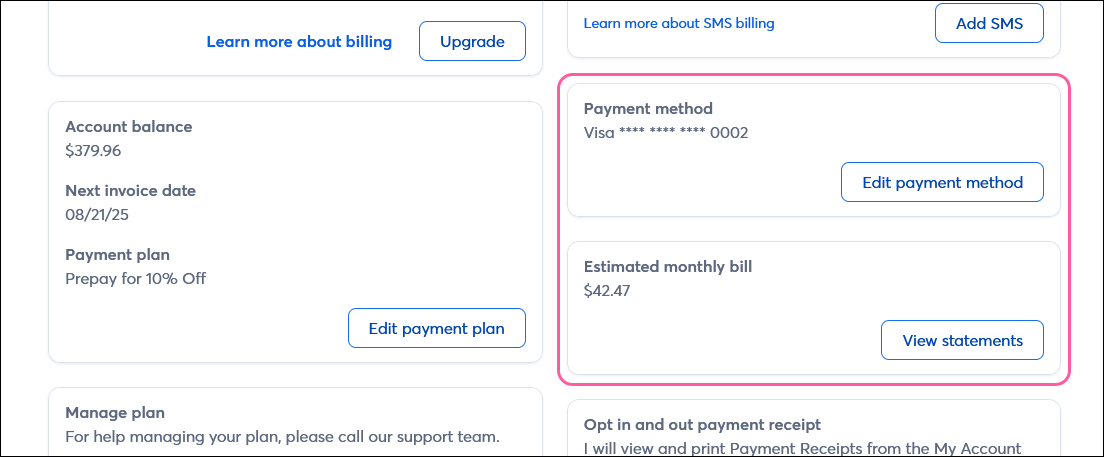
- Payment method - Change or update the payment method used to pay for your Constant Contact account.
- Billing statements - View your estimated bill and past invoices.
- Manage plan - Need to update your subscription to better suit your needs? Explore different plan options, pause to take a break, or cancel your subscription as of your next invoice date, and let us know why you're leaving.
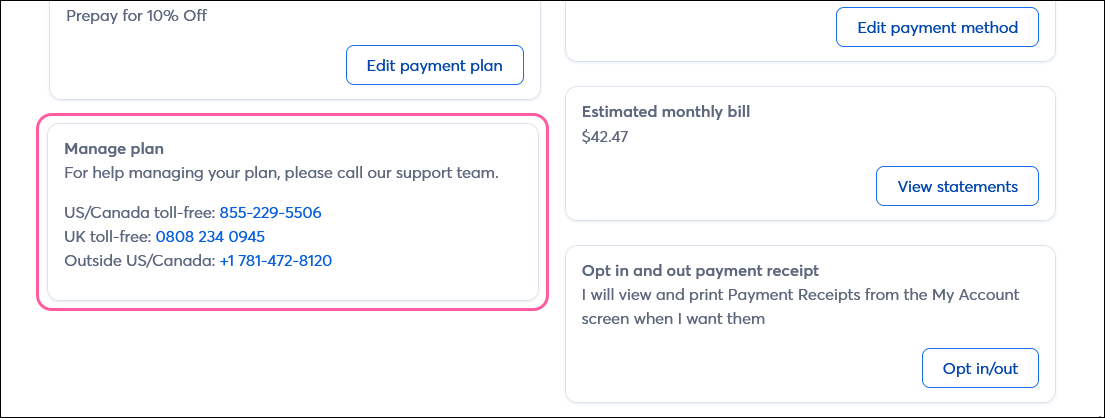
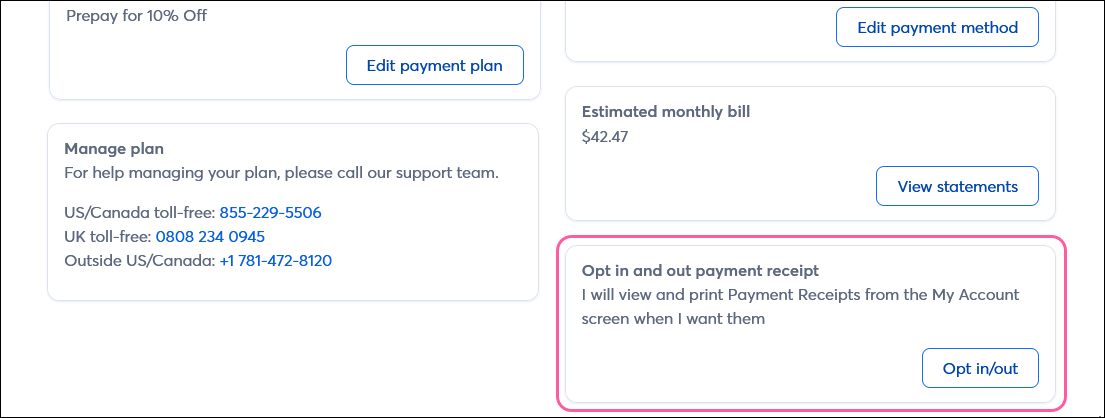
- Payment receipt opt in/out - Opt in or out of receiving payment receipts emailed to your billing email address.
- Generate a pre-payment - Print a prepayment invoice to pay for your account with a paper check. Note: This option is not available to all customers.

Account emails tab

On the Account emails tab, you can review your:
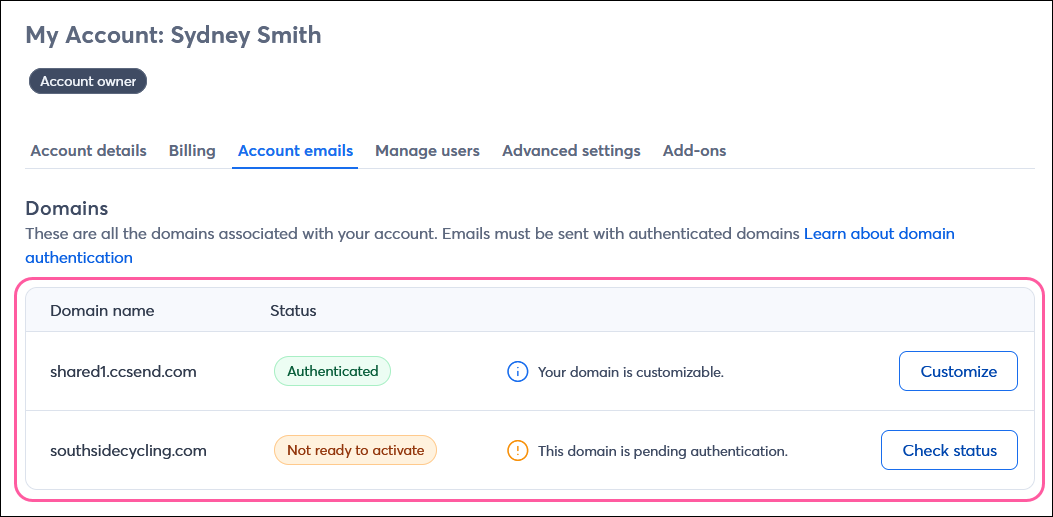
- Domains - These are the domains associated with your account. To use a custom domain for your "From" email address, it needs to be authenticated. If you don’t have a custom domain or can’t authenticate it, you’ll see our shared ccsend.com domain here, which you can customize to better reflect your organization.
Note: You can only have one authenticated domain in your account, whether that's a custom domain you've self-authenticated or our shared ccsend.com domain.
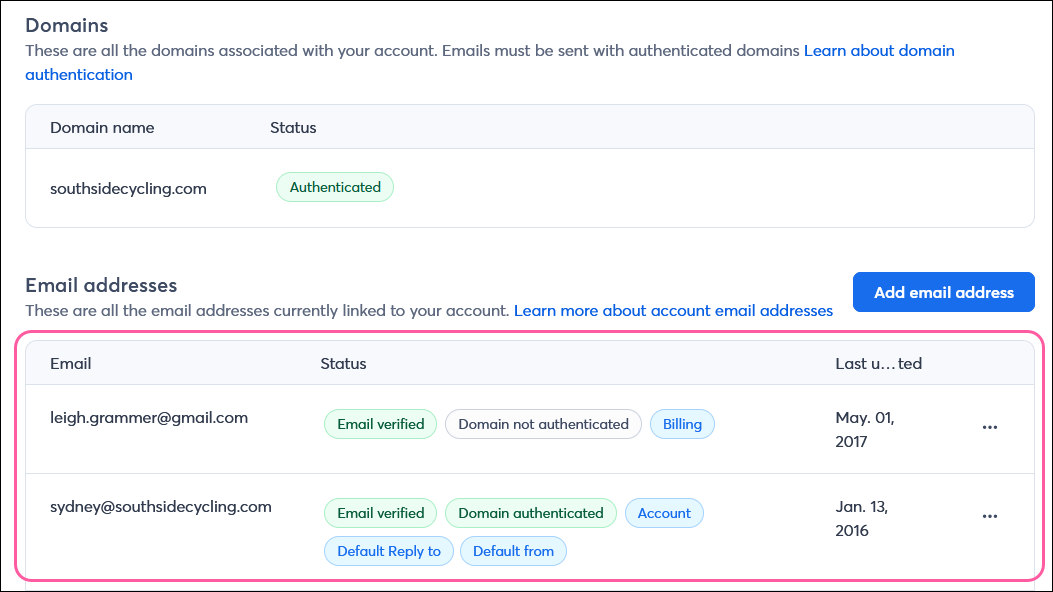
- Email addresses - These are the email addresses currently associated with your account. You can see the ones that have already been verified, check the status of email addresses being verified, and verify additional email addresses to be used as the account or billing contact, “From" email address (if it's also been authenticated), or "Reply-to" email address for your outgoing emails.
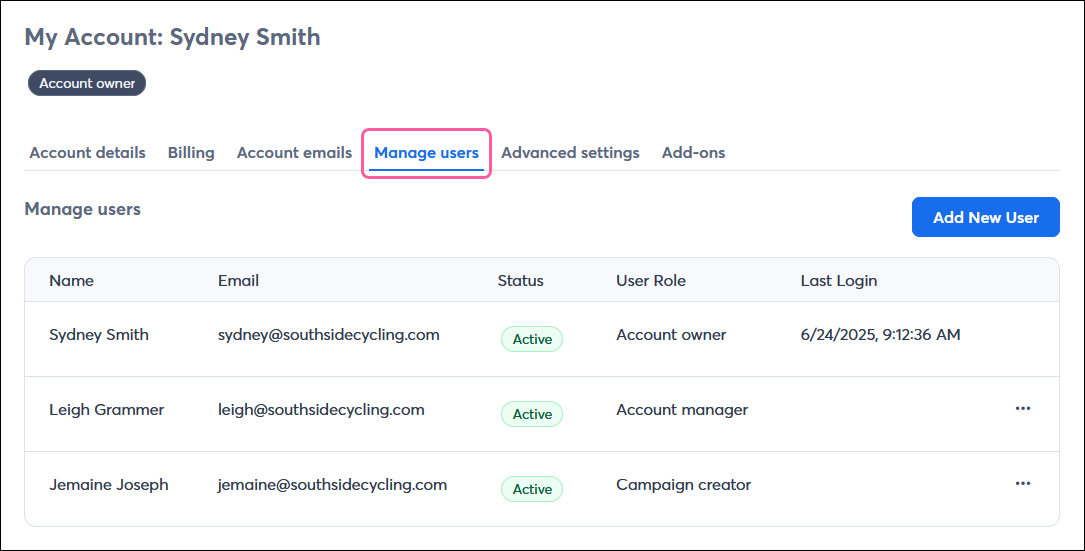
Manage users tab
On the Manage users tab, you can add and manage the users who have access to your Constant Contact account. If you have multiple people who need to access your account for different purposes, you can assign specific user roles, such as an Account Manager or Campaign Creator. This gives each person a unique login and restricts their access to what they can do in your account.
Account Managers can do just about everything in your account that you can, except access your billing information. Campaign Creators can create and customize all types of campaigns, but are not able to send or activate them. They also can't access any of your contact details, account settings, or billing information.
Advanced settings tab
On the Advanced settings tab, you can update your:
 | Did you know? If you want to be notified when you have new sign-ups or when someone opts out of your contact list, you can receive daily or weekly email updates through the Subscriber Activity report on the Reporting tab. |
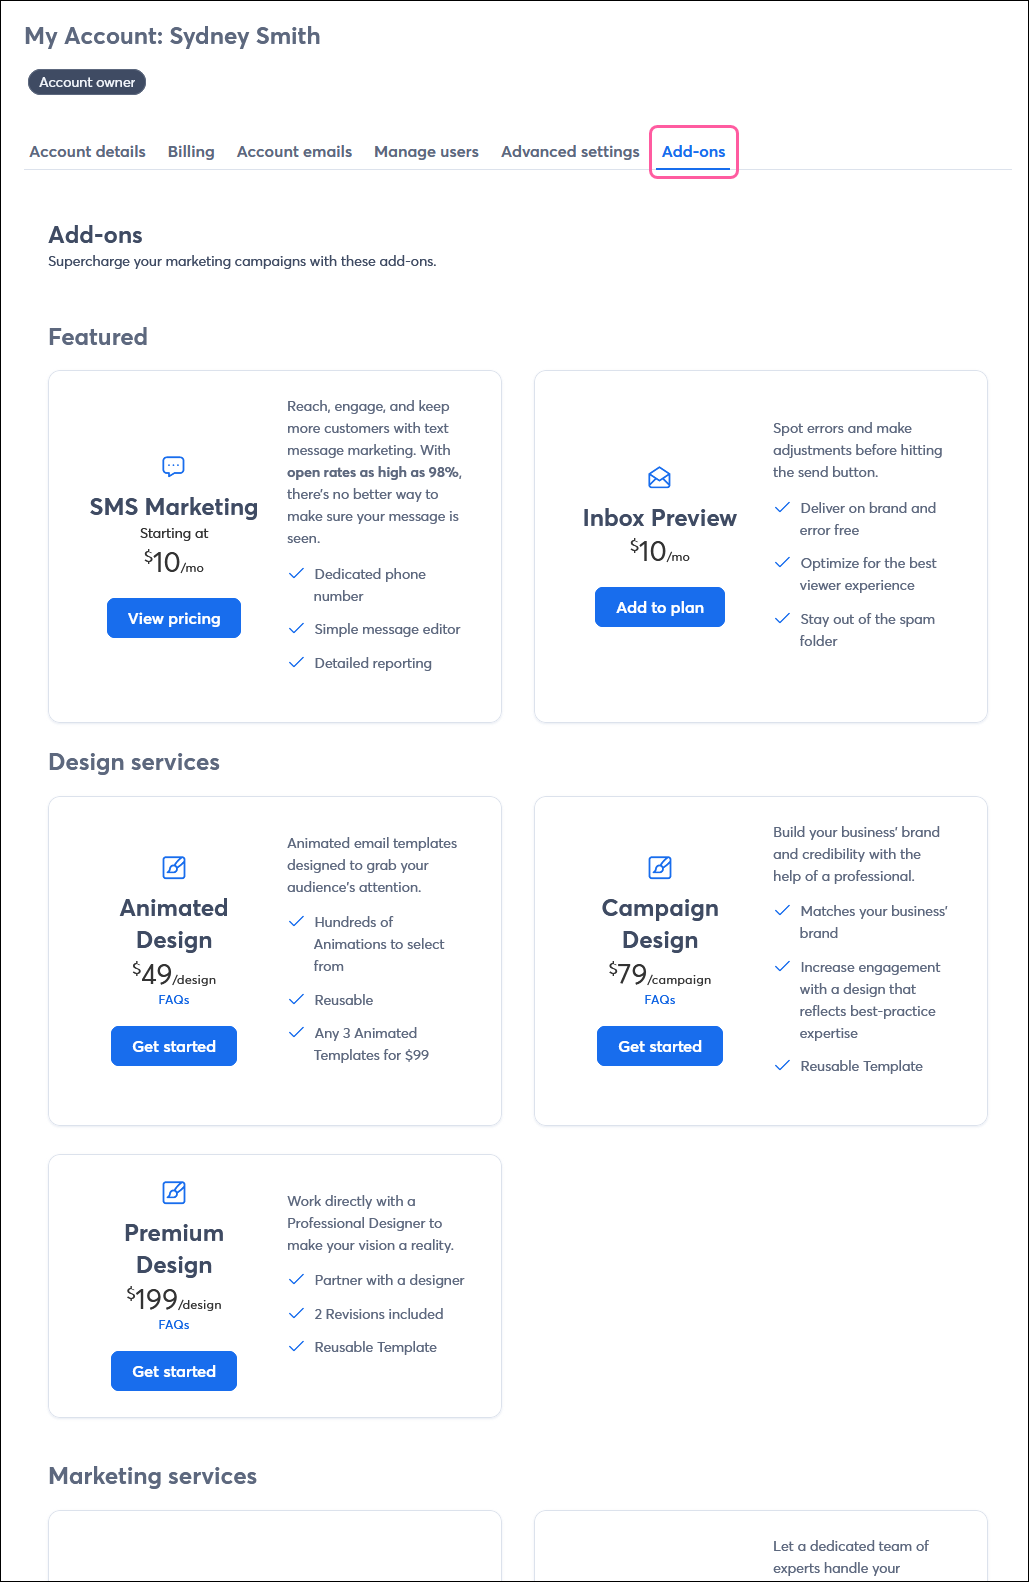
Add-ons tab
On the Add-ons tab, you can add and manage the supplemental features on your account or get expert help with our marketing and design services.