We're making it easier to get around Constant Contact with a brand new left navigation. Not all accounts have that change yet, so if your navigation looks different from our articles, that's why–but everything from the top can now be found on the left!

Email and Digital Marketing
How can we help you?
Search our help articles, video tutorials, and quickstart guides

You've got this. You've got us. Search our Knowledge Base to quickly find answers to your questions.

Make an email look like a website by adding a menu of links

Article: 000023730
Updated: February 2, 2024

Create a horizontal navigation menu bar at the top of an email using a five-column layout block

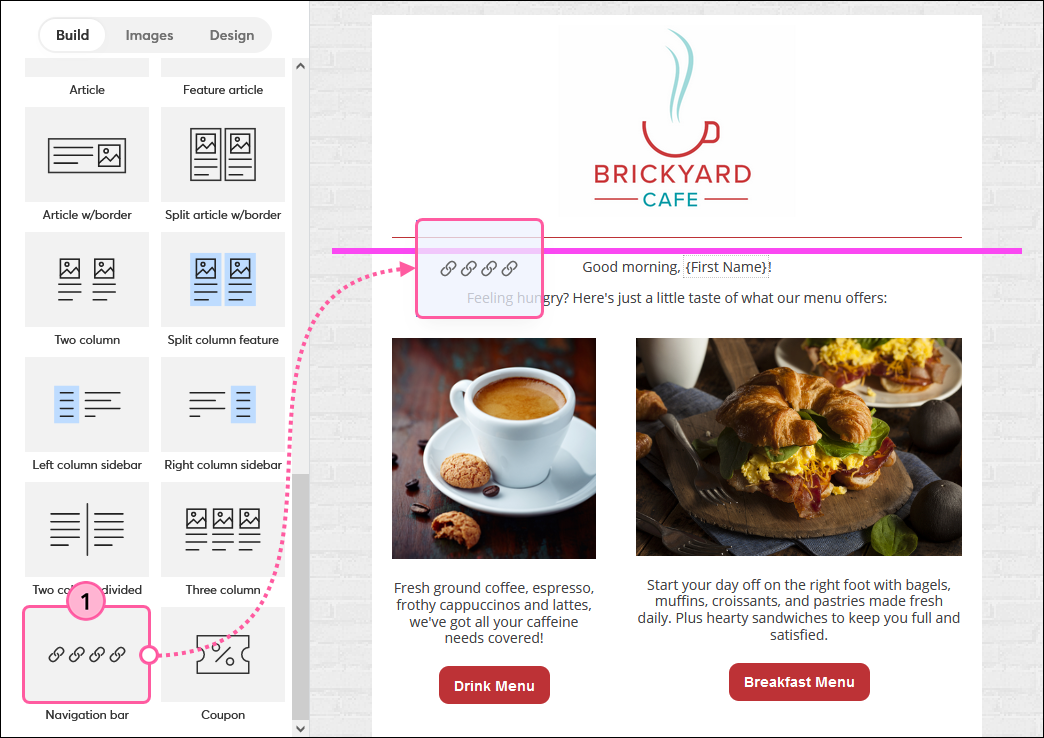
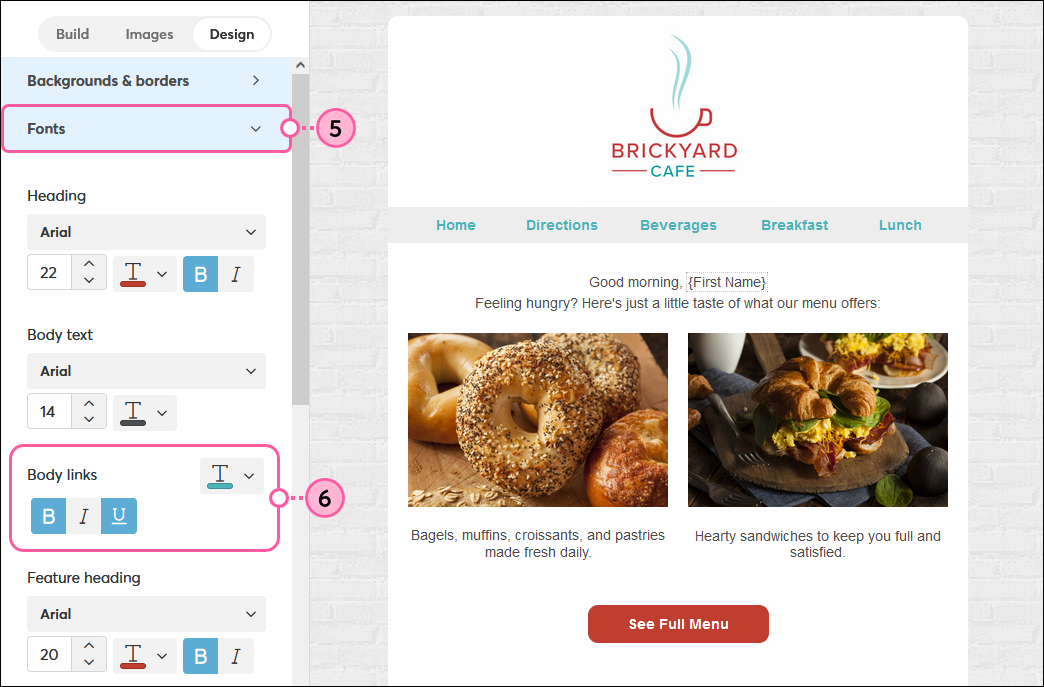
Menu bars are great for organizing multiple links, especially when you want each link to have equal prominence in your email. A five-column layout block gives you even spacing between menu items, and the links can be styled globally from the Design tab so you don't have to adjust each one. When viewing the email on a desktop, the menu bar will display horizontally, but when viewed on a mobile device, the menu will become stacked.


The do's and don'ts

At their best, navigational menus evoke your brand by giving your email the same look and feel as your website. At their worst, they're distracting and compete with your call-to-action. If you want to create an effective menu bar, follow these design tips:

The do's:

To be effective, your menu bar should be short and relate to your email content:

  • Relate the navigation to the call-to-action - You could recreate your full website menu, but it may distract some of your contacts from your main message or call-to-action in your email. Instead, look for links on your website that either relate to your call-to-action or support it with additional information. Save anything that doesn't fit for another email.
  • Enable click segmentation - If you have multiple links in your email, click segmentation lets you add the contacts who click on a specific link to a contact list of your choosing. When you know which contacts are interested, you can send more targeted emails to them later.
  • Use a link that takes you a step further - You lose part of your audience with every click it takes to get from point A to point B. By linking to the most relevant content, you're less likely to get drop-offs. For example, if you want your contacts to see your contact information, don't link to your main webpage. Instead, link directly to the page on your website where your contact information is prominently displayed.
 

The don'ts:

It's tempting to add a menu bar to catch all the contacts who aren't interested in your call-to-action, but jamming a little something for everyone into your email gives you a misleading sense of engagement. It's better to send targeted emails to the contacts who care about the specific content, so your message doesn't get lost and you get a crystal clear picture of your email engagement.

  • Don't compete with your call-to-action - If your click report is telling you that you're getting lots of clicks, you may think it's because you've got a great call-to-action, but when you look closer, your menu is getting all the attention. Only add links if they give a fuller picture of your main content and call-to-action. You can also try swapping the position of the menu bar so that it sits at the bottom of your email instead of at the top.
  • Don't recreate your website navigation - It's the look and feel of your website that you're going for, so don't reinvent the wheel by adding in all the same content! Instead, pick a few of the most important links, especially if they relate to your email content, and leave the rest out.
  • Don't use double-decker bars - Adding multiple menu bars to cover all the different links in your website takes up a lot of screen space when viewed on a mobile device. Your menu can end up stacking and cause unnecessary scrolling to get to your main call-to-action. Instead, narrow down your options so that they work with your call-to-action and don't push it to the bottom of your email.
 
did you knowDid you know? If you're not sure about how to start segmenting your contact list into different audiences, click segmentation can help!  It lets you add those contacts who click on specific buttons, links, and clickable images to a list of your choosing so that you can send them more targeted content next time.
 

Create a menu bar

  1. From the Build tab, scroll down to the Layouts section and drag a Navigation Bar block into your template.

    Build Tab, Drag-and-drop Navigation Bar Layout Block into Template
     
  2. Click on each link in the menu and click the Link icon to add the URL for each menu item. You can change the link text at the same time you add the URL.
    Note: If you don't need all five menu items, columns can be deleted by clicking the trash can icon.

    Text Toolbar with Highlighted Link Button and Trash Can icon
     
  3. Click the Design tab.
  4. (Optional) The color of the menu is controlled by the Feature layout background option in the Backgrounds & borders section. If you want to change the color of your menu bar without affecting the rest of your template, place your cursor over the menu bar, click the gear icon, and then click the paint can icon to choose a new background color.

    Design Tab, Feature Layout Background Color Swatch, Block Settings and Color Options with Color Picker
     
  5. Click to expand the Fonts section.
  6. Choose the color and font styles for the menu links.

    Design Tab, Fonts section expanded, and Body Links Options


Questions?

Ask the Community

Did this article answer your question?


Constant Contact Logo

Copyright © 2025 · All Rights Reserved · Constant Contact · Privacy Center