Acknowledging a birthday or anniversary is a great way to stay engaged with your contacts! For example, you can celebrate with a special coupon or send a reminder for annual membership dues. As long as you're collecting your contacts' birthday or anniversary information, you can create an automated email that's sent annually to your contacts up to two weeks before their birthday or anniversary date.
Create and activate a birthday or anniversary email
 | Review your plan: This feature is not available in all Constant Contact plans. If you don’t have full access, you may need to upgrade your plan. |
To create and activate a new birthday or anniversary email:
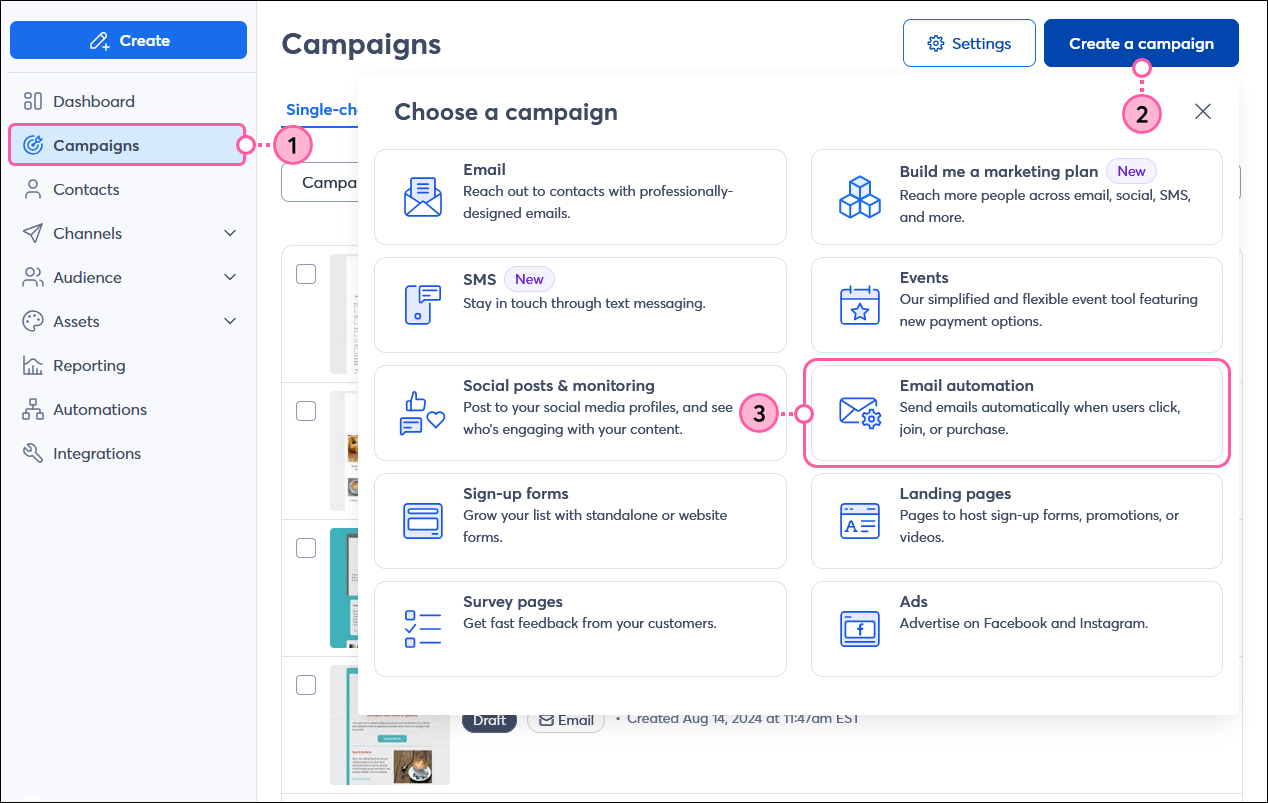
- Click Campaigns.
- Click Create a campaign.
- Select Email automation.
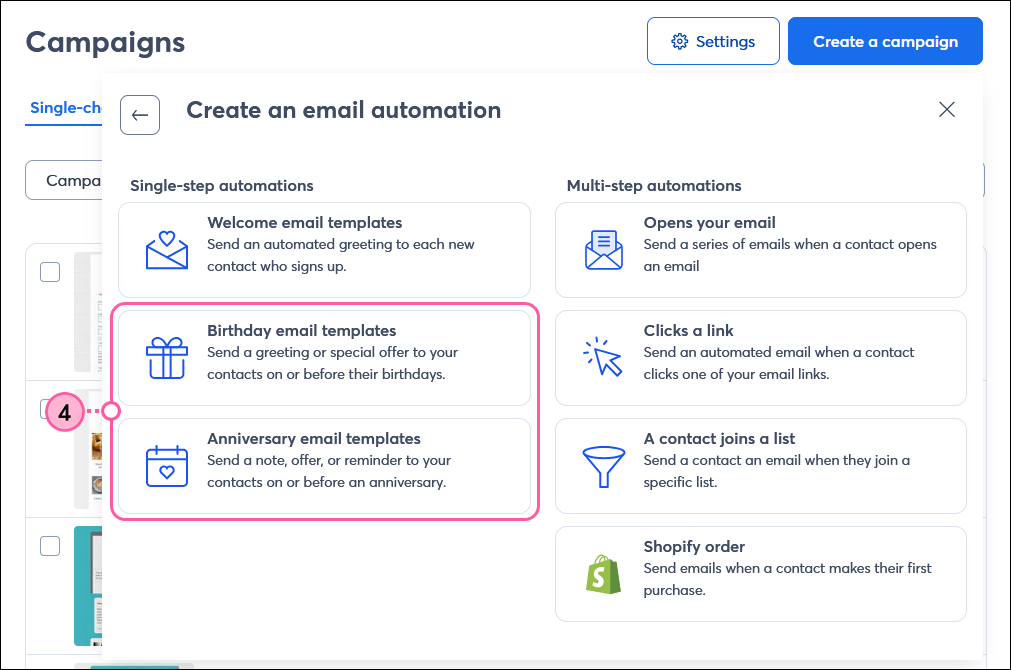
- Select Birthday email templates or Anniversary email templates.
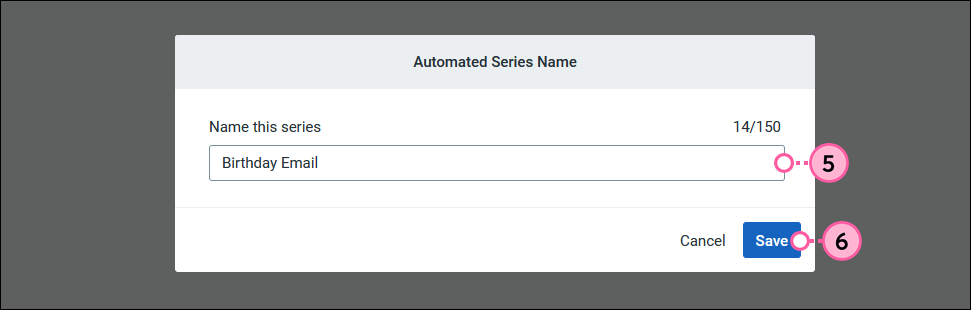
- Give your series a unique name that you’ll recognize in your account later.
Note: Contacts won't see this name — they instead see the email subject line. - Click Save.
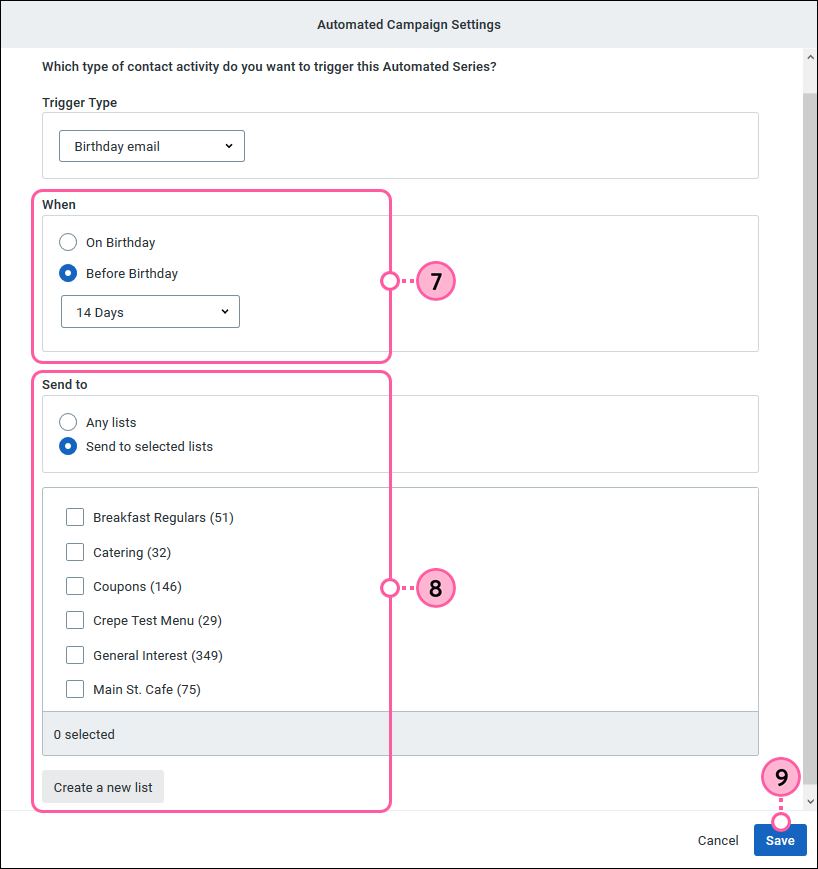
- Choose if you want to send the email on your contact’s birthday or anniversary, or up to 14 days before. The email is sent at approximately 10am ET on the scheduled day. The time cannot be modified.
Note: Anniversary emails are triggered each year, even if the contact has an anniversary date on file for a future year. For example, if you add a contact to your account with a future anniversary date of 6/25/2026, the email will be sent on 6/25/2025 and then again on 6/25/2026. - Choose if you want to send the email to all eligible contacts on any list, or select specific lists.
- Click Save.
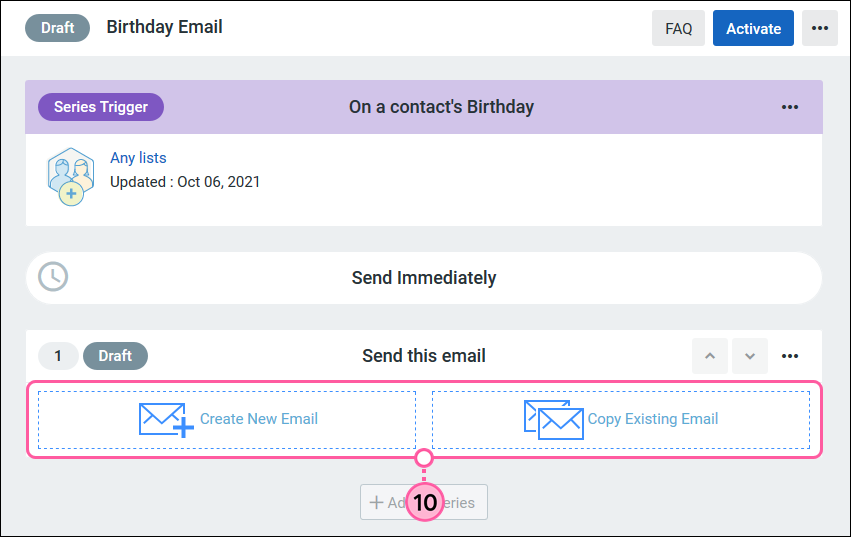
- Select how you'd like to create the email:
- Create New Email - Select a template to create a new email from scratch.
- Copy Existing Email - Select one of your previous emails from the drop-down to make a copy of and click Save.
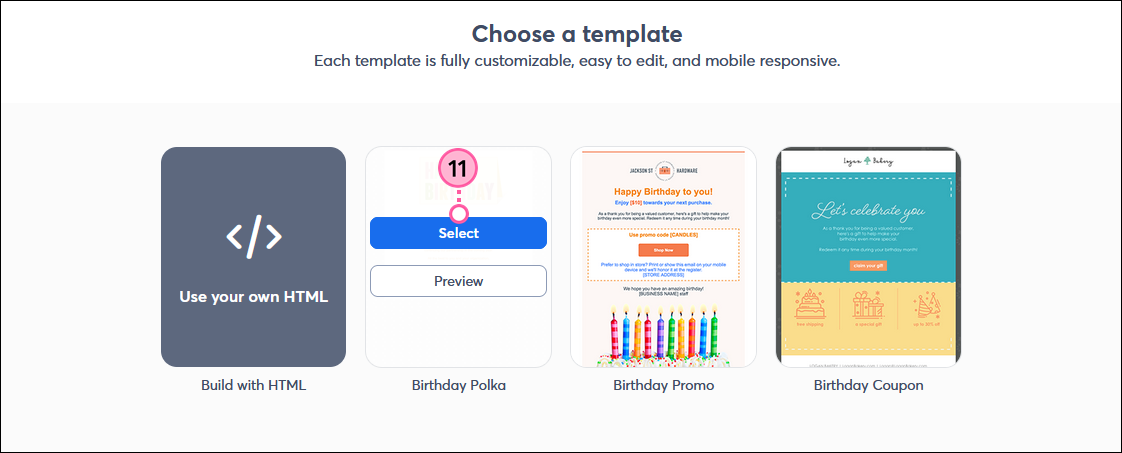
- If you selected Create New Email, choose a template and click Select to start editing it. Preview what the template looks like on a desktop and mobile device by clicking Preview.
- Click to edit the name of your email so you can easily recognize it later. Your contacts won’t see this name - they only see your subject line.
- Enter the new name of your email and click Save.

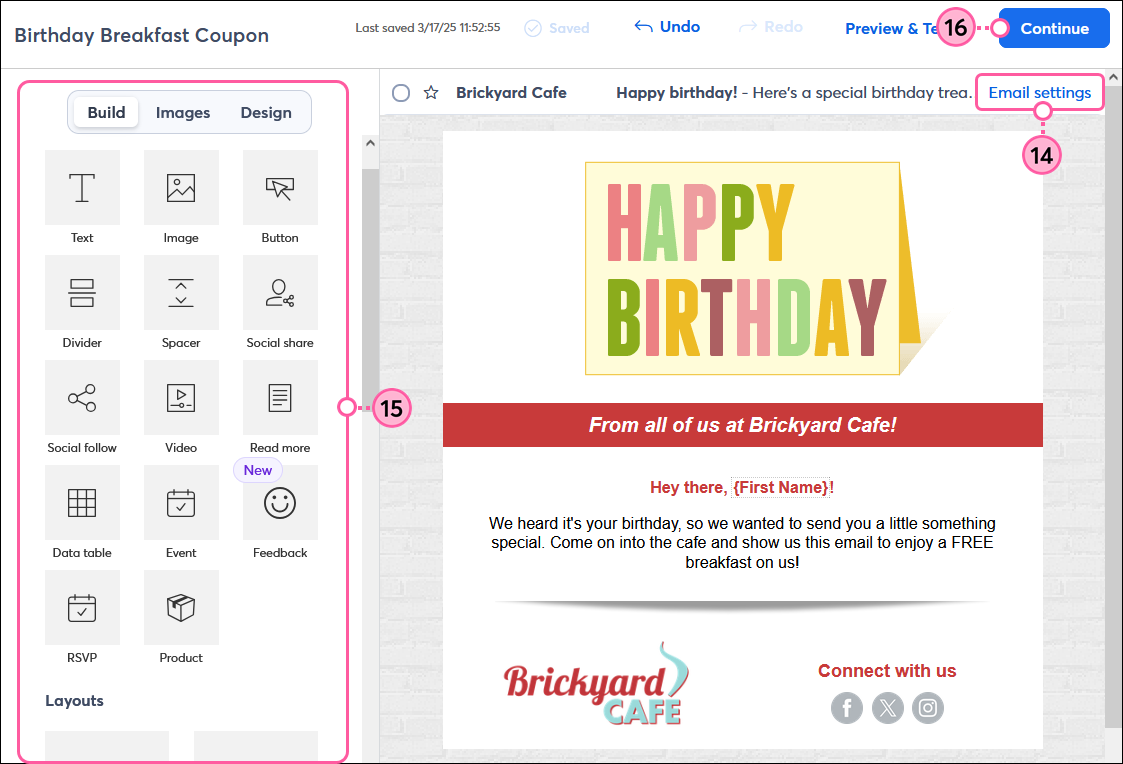
- Click "Email settings" to edit the email header as needed.
- Add your content, logo and images, links, and brand colors.
Tip: If you want to further personalize your email, try adding contact details to your message! - Click Continue to be brought back to your automated email series draft.
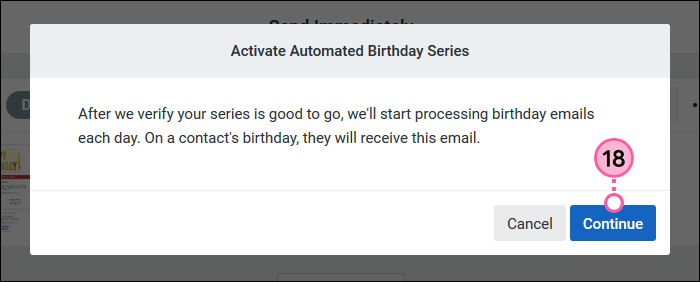
- When you're ready, click Activate.
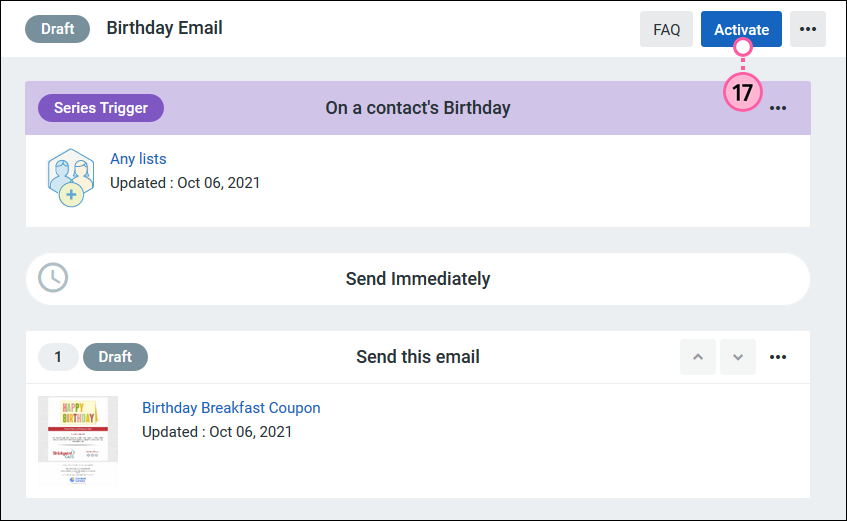
- Click Continue to have your series scanned for errors. If no issues are detected, your series automatically updates to the Active status.
Once you've activated your email, you can make edits to the email at any time. If you need to stop your automated email from sending, you can cancel it, but you can't reactivate it once it's canceled.
Edit an active birthday or anniversary email
If you want to make any changes to the email after it's already been activated, you can edit it while it continues to send to contacts. Once you save your changes, the updated email will overwrite the previous version.
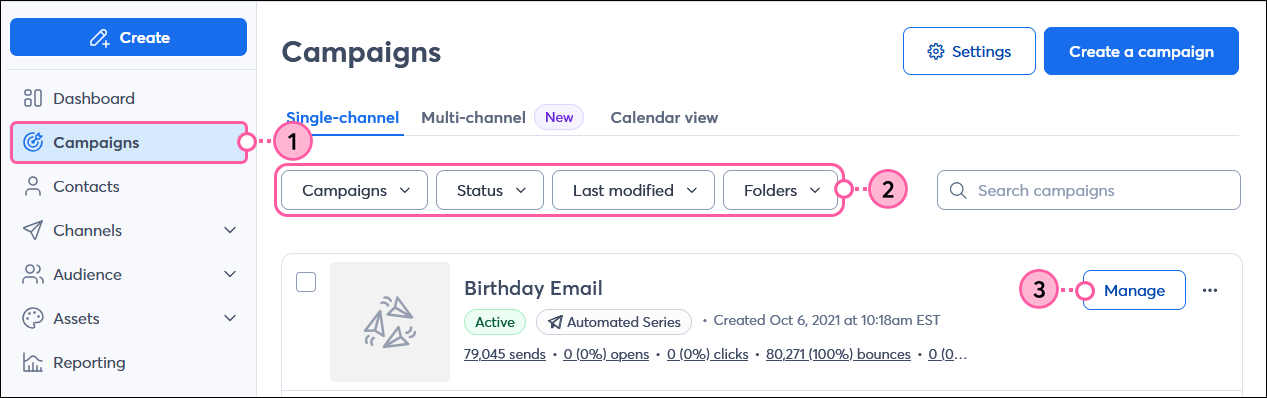
- Click Campaigns.
- (Optional) Use the filters to help narrow your search.
- Click Manage next to your Active birthday or anniversary email.
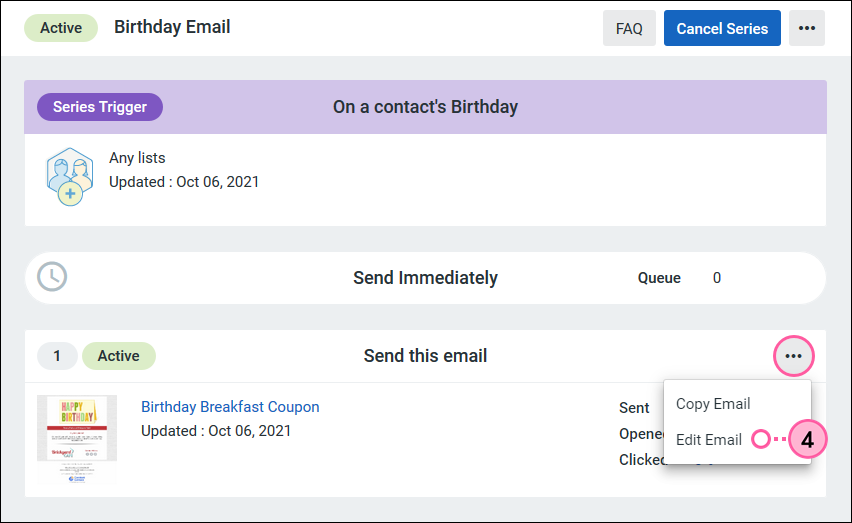
- Click the three dots and select “Edit Email” from the drop-down.
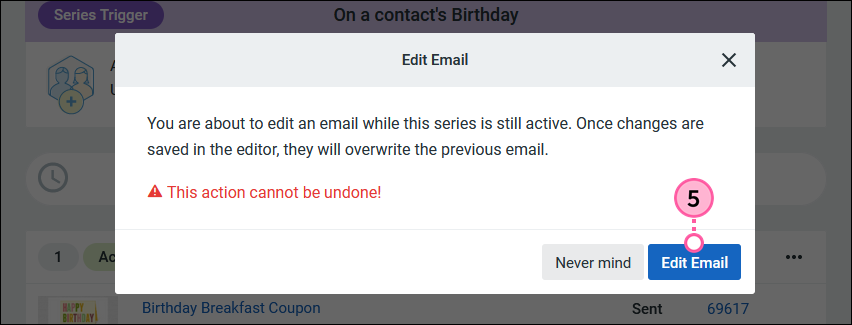
- Click Edit Email.
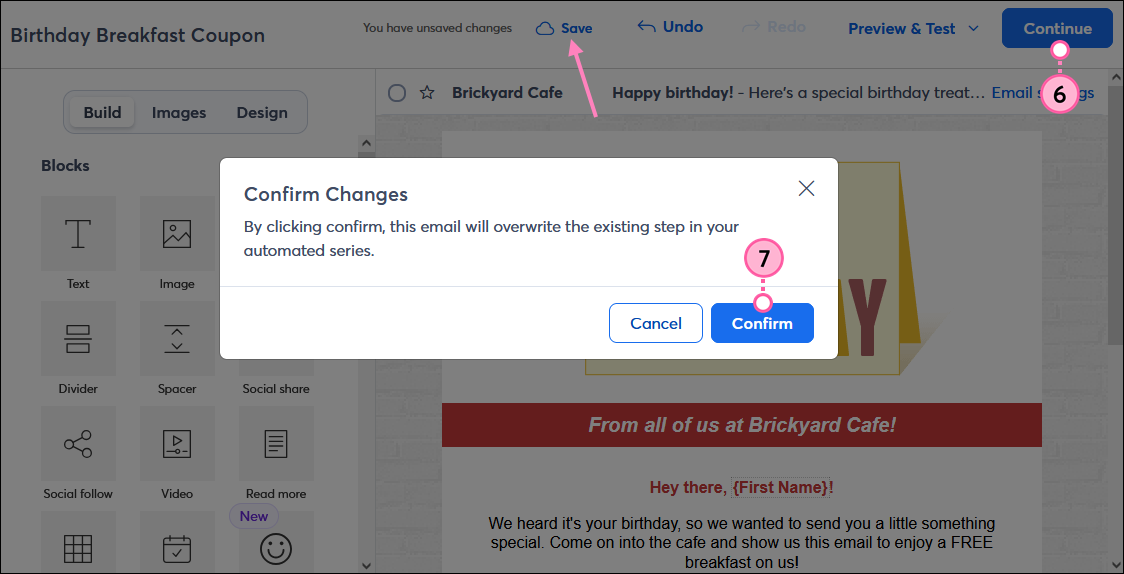
- Make your edits to the email and click Save or Continue when you’re finished.
- Click Confirm to save your changes and overwrite the existing email. Until you save your changes, the previous version of the email continues to send.
 | Important: Once you click Confirm, any changes made will be permanent, and you won’t be able to revert to the previous email version. |
Your changes have been saved, and contacts will receive the updated version of the email.
Deactivate a birthday or anniversary email
If you want to stop the recurring email from sending to your contacts, you can cancel it.
| Important: You can't reactivate the email once it's canceled. |
- Click Campaigns.
- (Optional) Use the filters to help narrow your search.
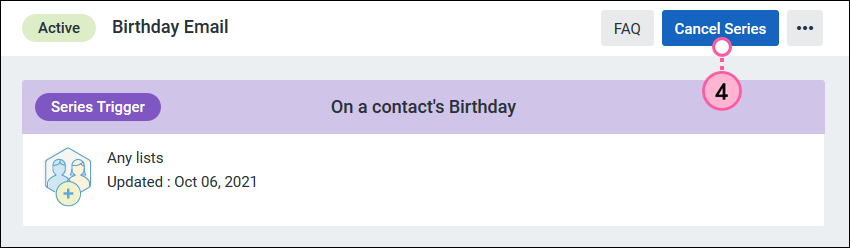
- Click Manage next to your Active birthday or anniversary email.
- Click Cancel Series.
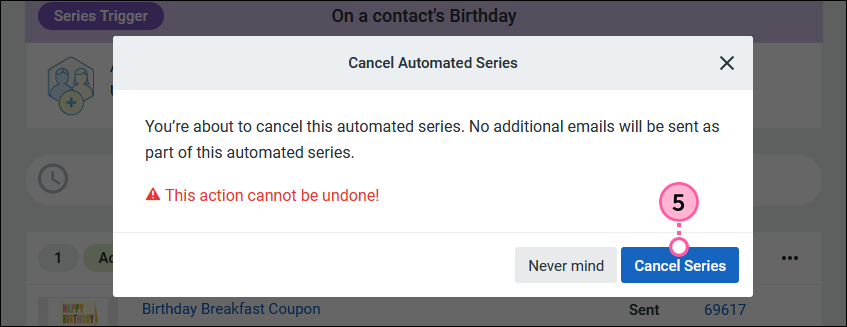
- Click Cancel Series again to confirm.
Your email is now moved into the Ended status, and contacts will no longer receive it.