Email and Digital Marketing
How can we help you?
Search our help articles, video tutorials, and quickstart guides

You've got this. You've got us. Search our Knowledge Base to quickly find answers to your questions.

Add a table to an email

Article: 000041387
Updated: June 5, 2026

Insert a data table block into your email


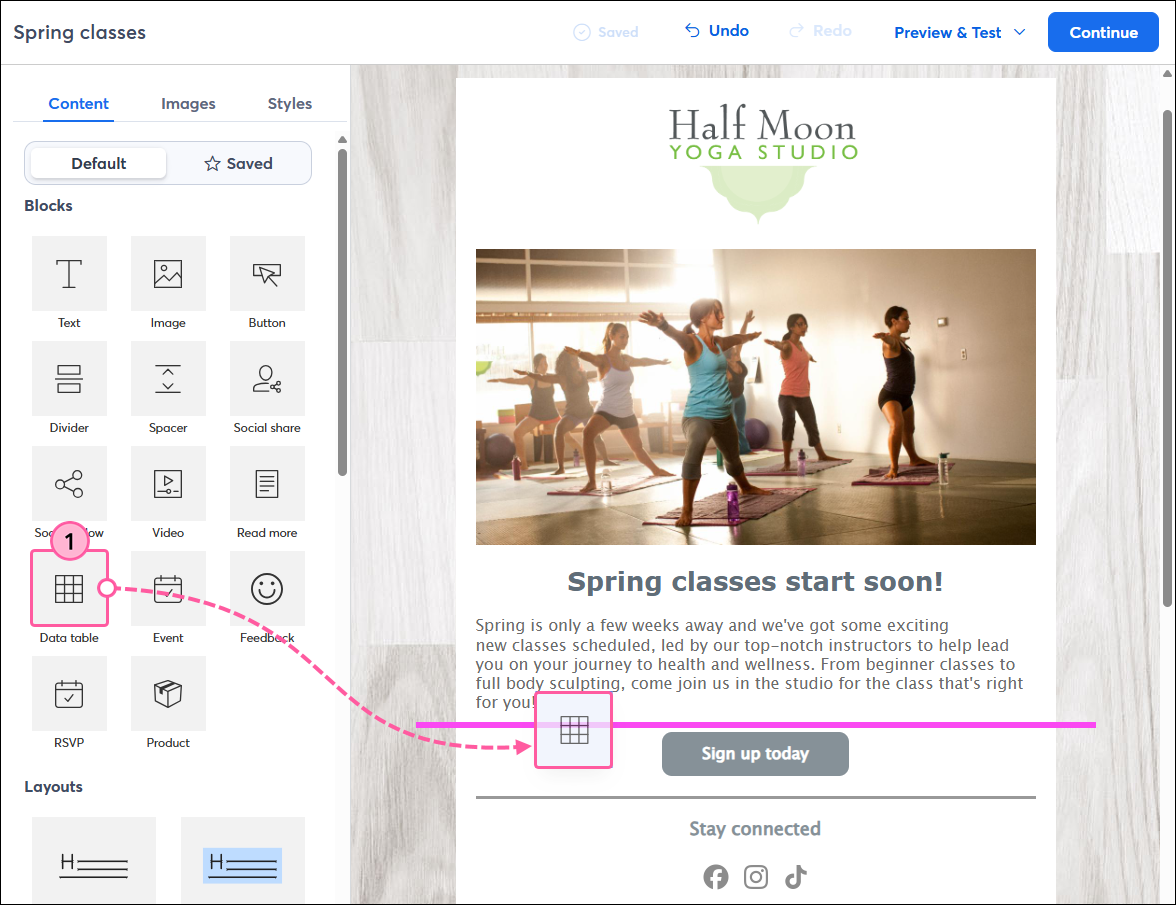
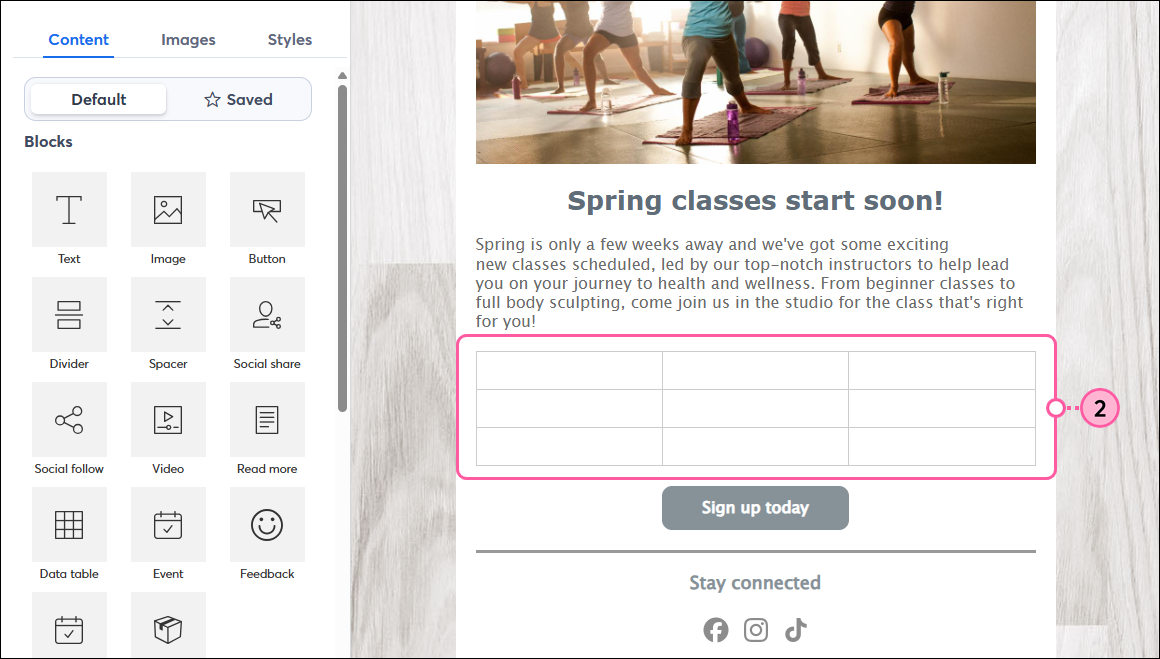
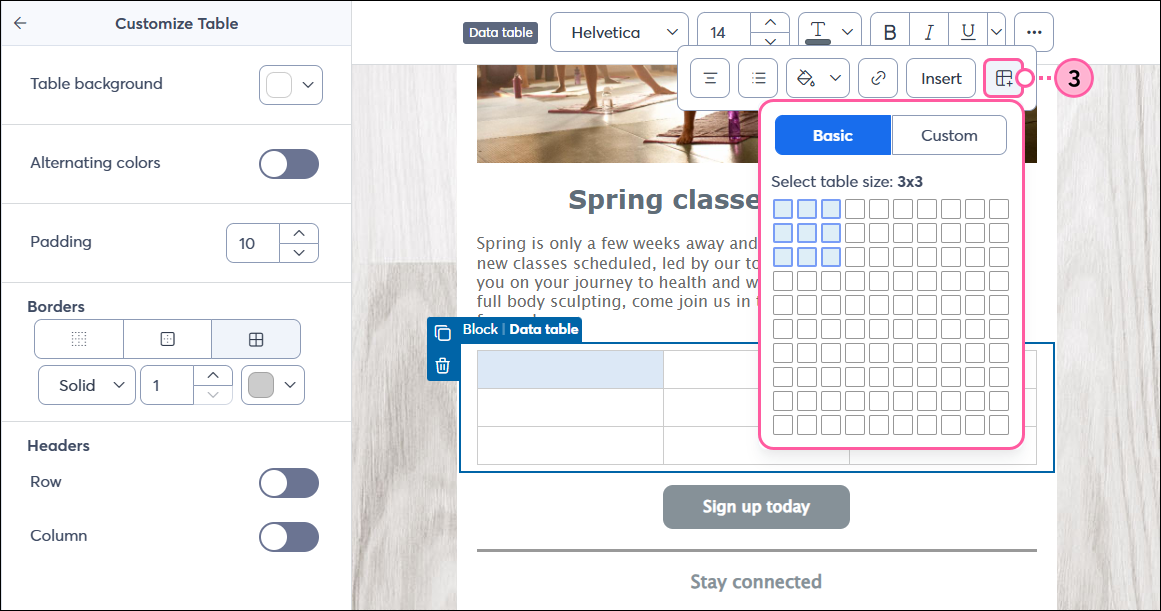
When you create an email, you can insert a table block to better organize your information and customize it to match the rest of your email design. 

While editing your email:

  1. Drag the Data Table block into your email, using the pink guideline to help you find the right spot.

    Drag and drop Data Table block into template
     
  2. Click on the block to edit your table.

    Email with table block added
     
  3. From the toolbar at the top, click the grid symbol to highlight the number of rows and columns you want in your table, or click Custom to enter the number, up to 20 columns and 30 rows. You can also add or delete columns/rows by right-clicking on a cell and selecting the option from the drop-down. 

    Data Table Block toolbar, table icon, and table size selection
     
  4. Click in each cell to enter your content, or copy and paste your data from a spreadsheet to fill in all the cells at once. 
    Note: The column widths adjust proportionally. If you only have 2 or 3 columns in your table and want to be able to adjust the widths, consider using one of our multi-column Layouts from the Content tab.
  5. Use the toolbar to format and style your text

    Empty table cell with text toolbar options
     
  6. (Optional) Use the controls on the left to customize the look of your table:
    • Table background - Select a background color for your entire table.
    • Alternating colors - Click the toggle and select a color to alternate the row color in your table.
    • Padding - Use the arrows to increase or decrease the space inside the table cells.
    • Borders - Choose a table border style, thickness, and color.
    • Headers - Click the toggle and select a color to format a row or column header.

    Table customization options


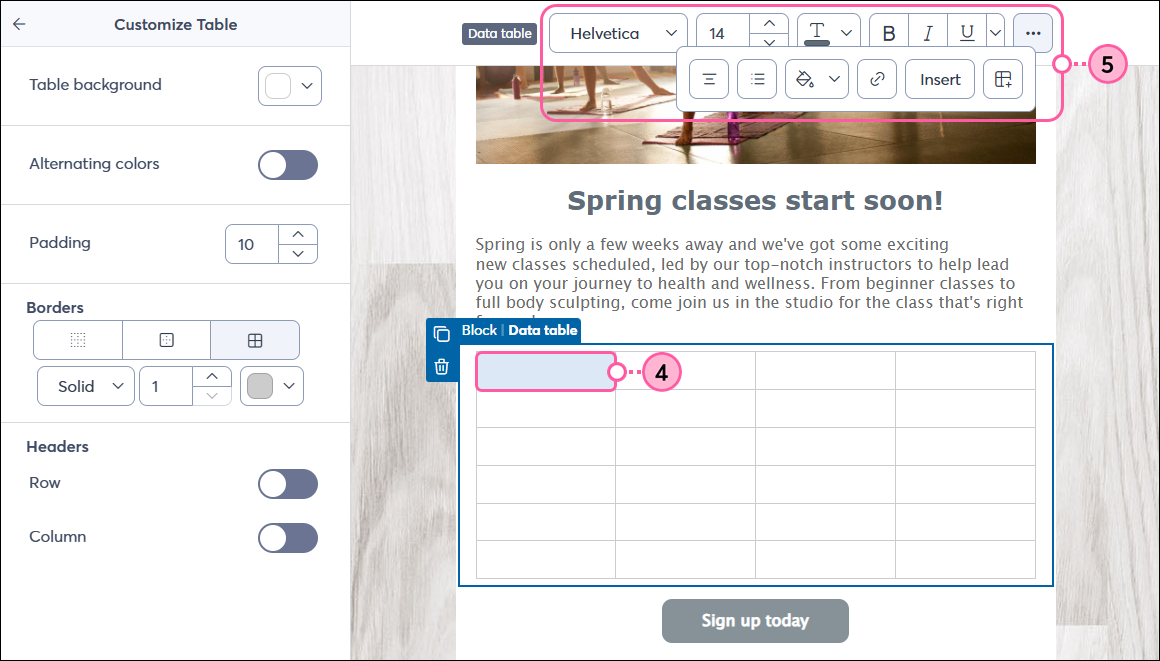
Once you’re finished customizing your table, simply click outside of the table block to continue editing the rest of your email.

Be sure to preview and test your email before sending it to your contacts to see how your table will display on desktop and mobile.

Note: When viewed on a mobile device, your table won’t resize to fit the screen. If your table is wider than the screen, contacts will need to scroll horizontally to see the full table.

Mobile preview of email with table  


Questions?

Ask the Community

Did this article answer your question?


Constant Contact Logo

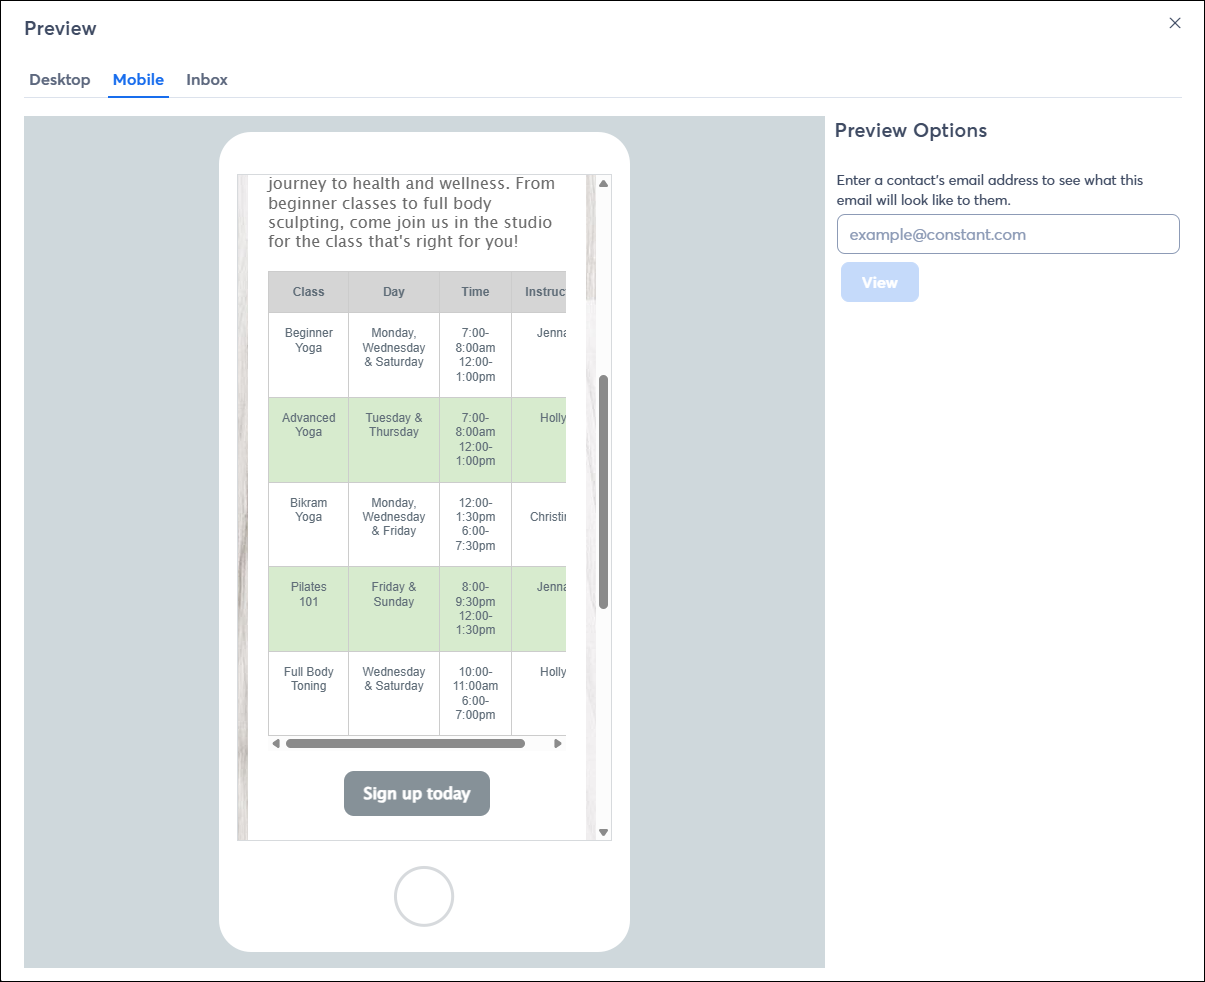
Copyright © 2026 · All Rights Reserved · Constant Contact · Privacy Center