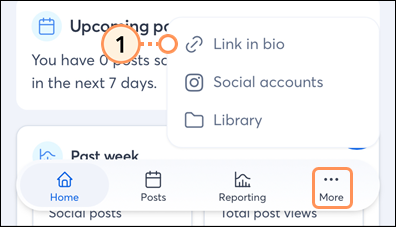
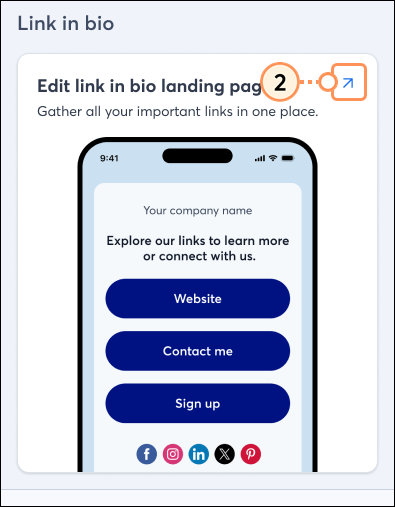
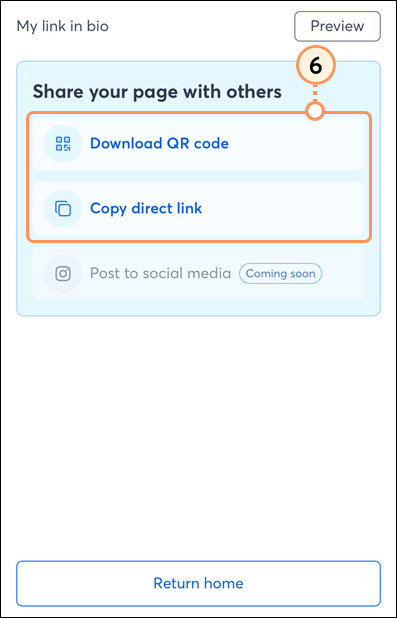
Grow your business on social media with Constant Contact Social, our AI-powered social marketing experience. Connect your social media account and use the tool to generate on-brand content for the upcoming week. Gain insights into what's working and what's not so you can increase your audience and reach more customers. Additionally, access and customize a Link in Bio landing page, download its QR code, and share the direct link.
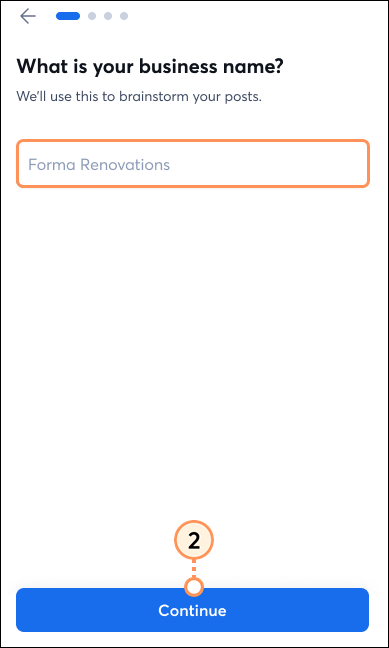
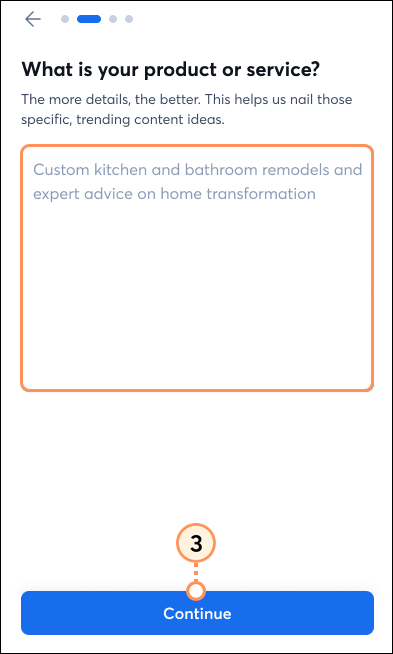
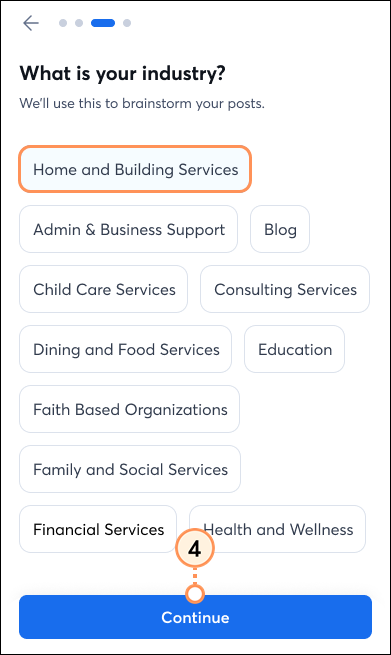
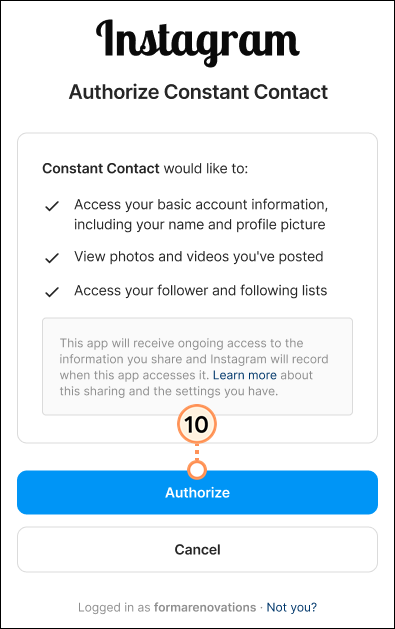
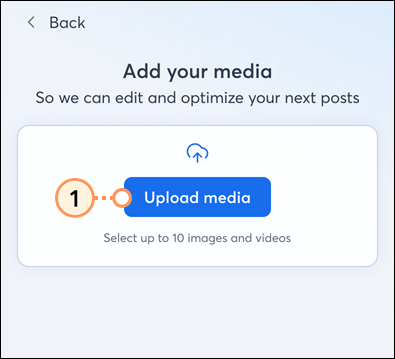
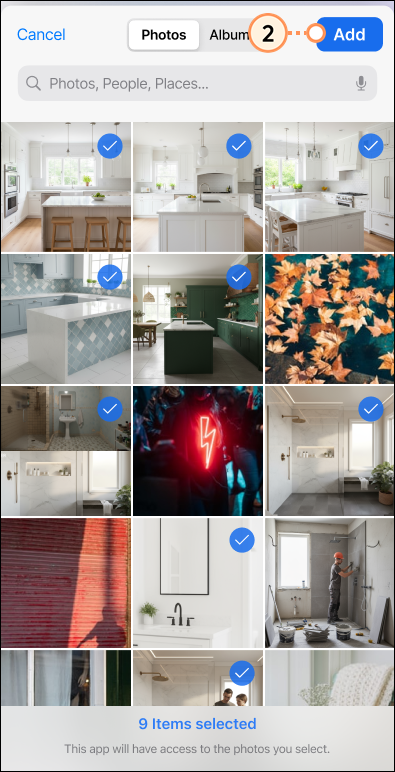
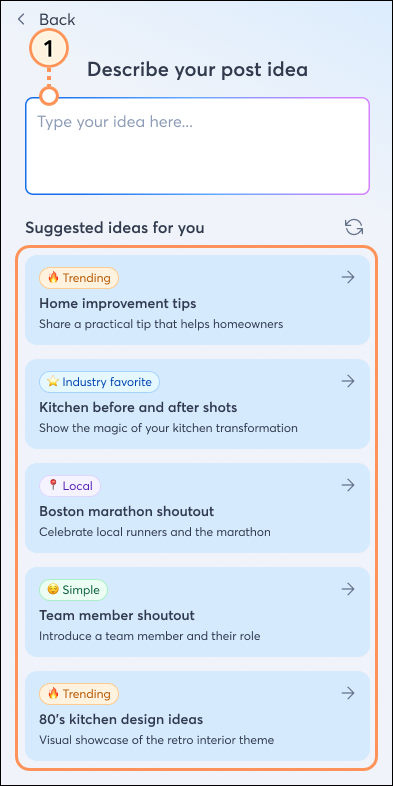
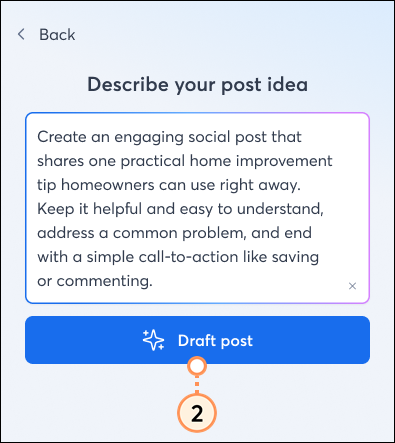
Begin by setting up your Constant Contact Social account.
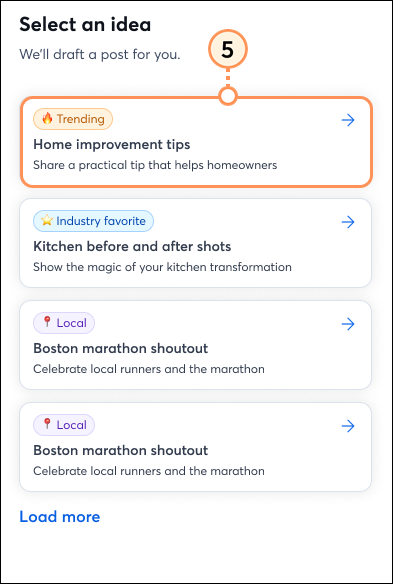
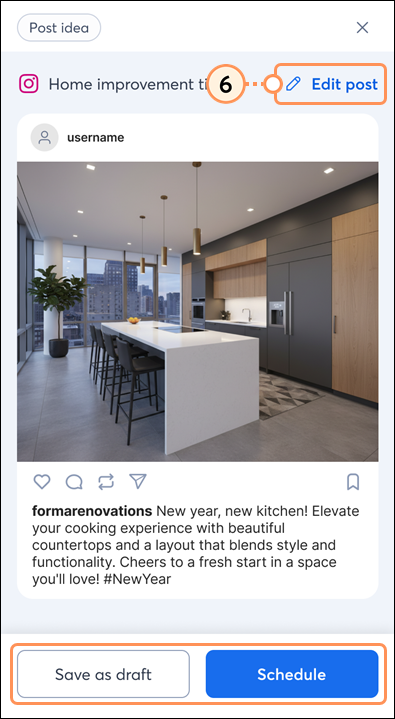


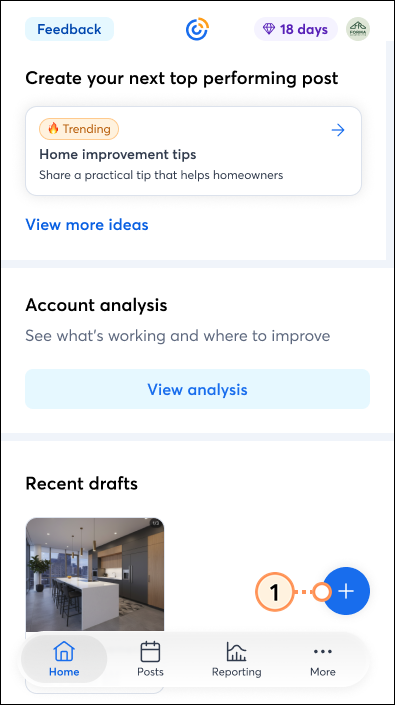
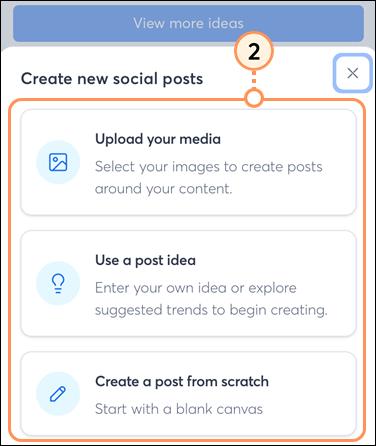
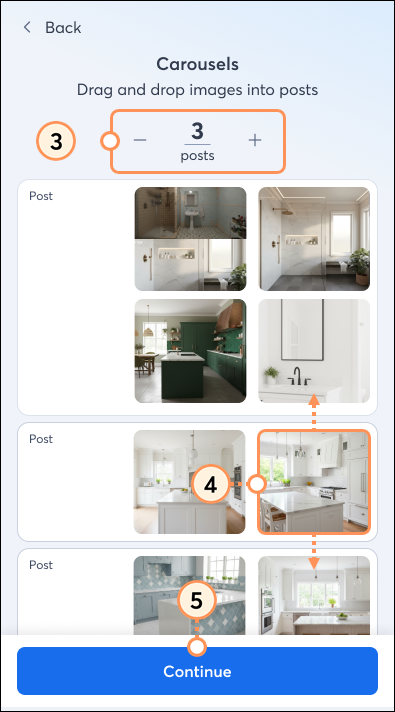
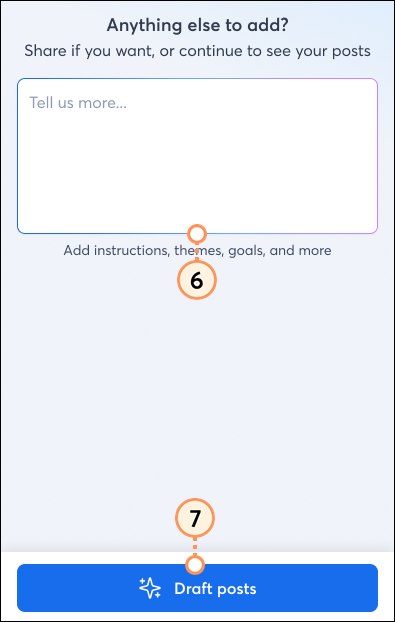
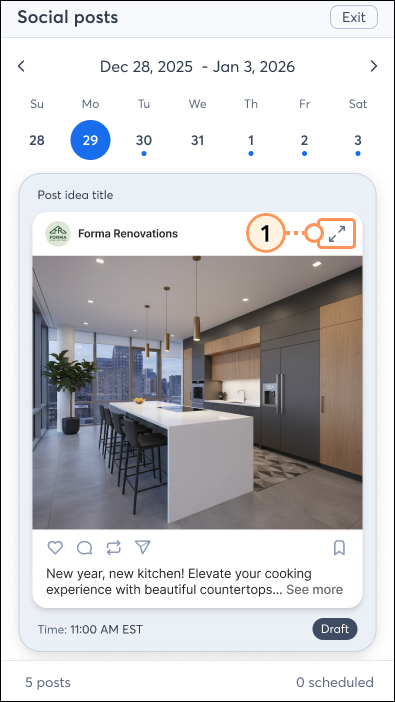
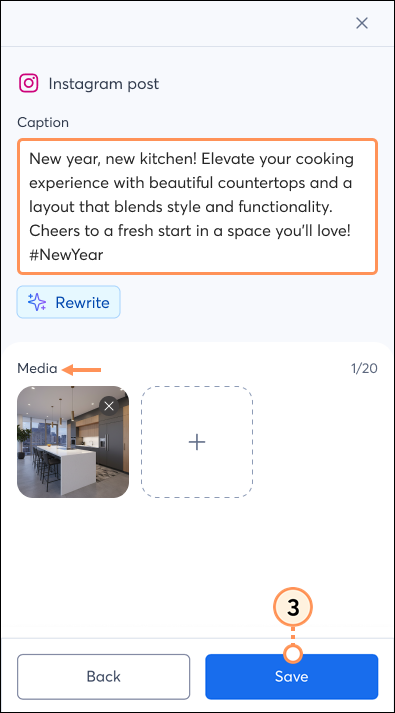
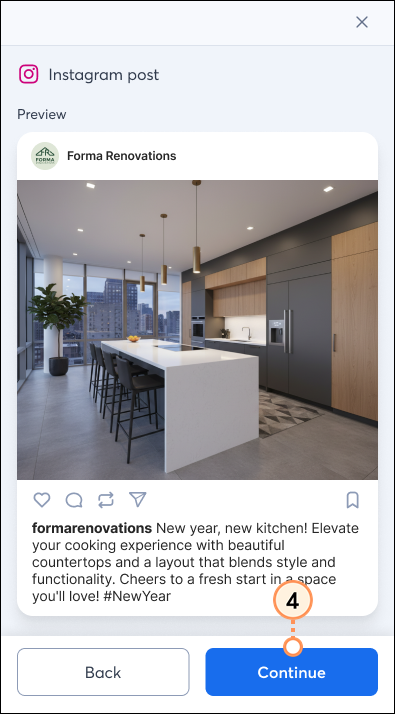
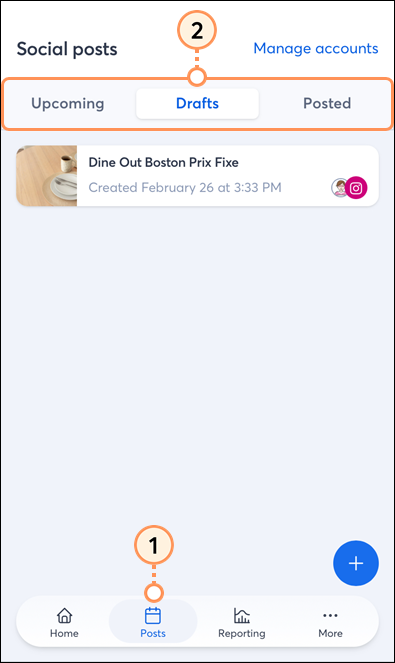
Scroll down the page to review the generated draft posts, and then edit and schedule the ones you like.
Scroll down the page to review the generated draft posts, and then edit and schedule the ones you like.
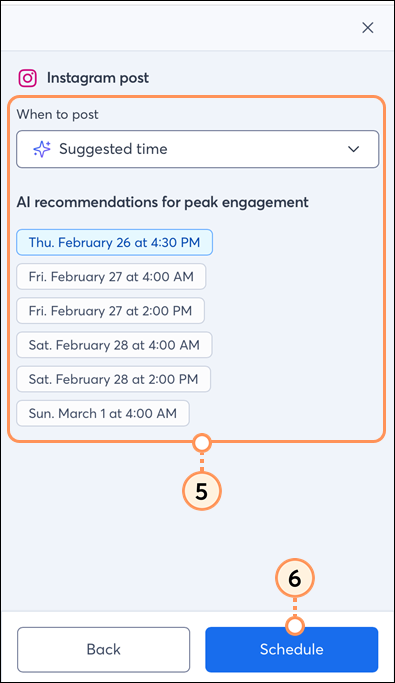 | 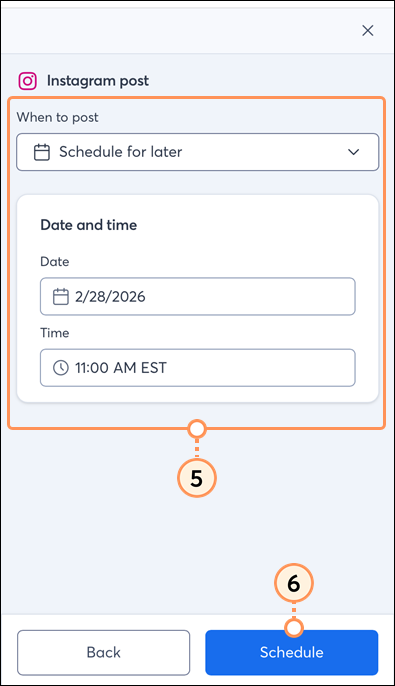 | 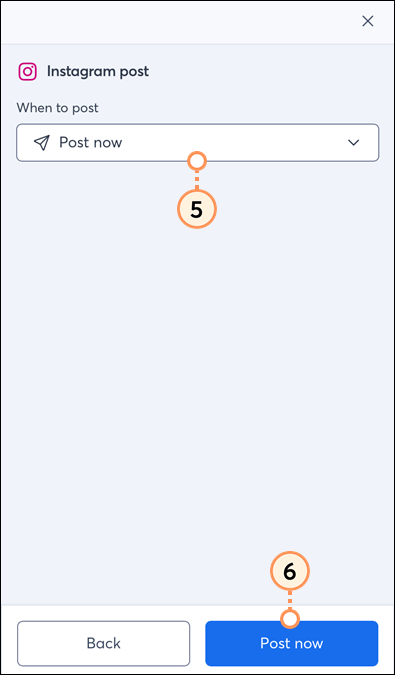 |
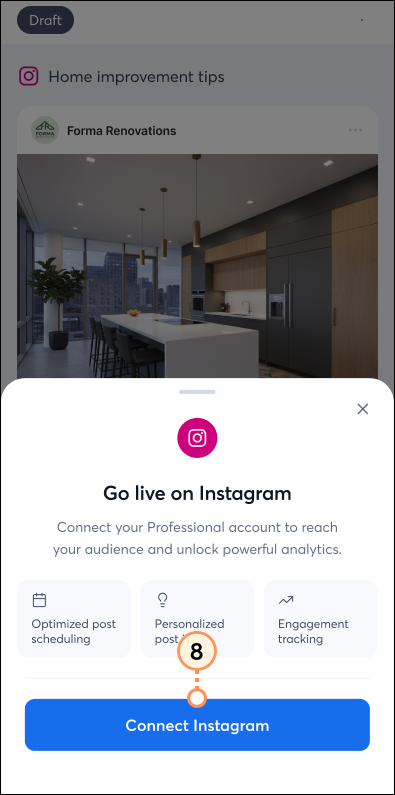
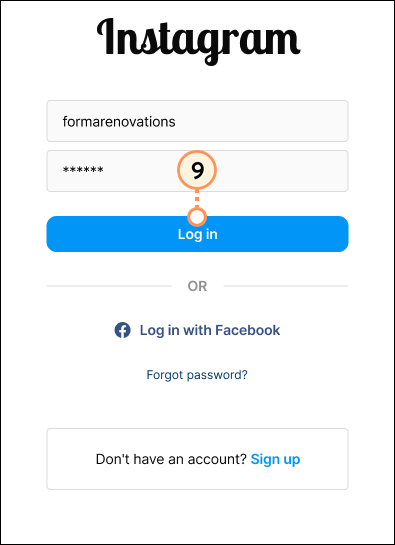
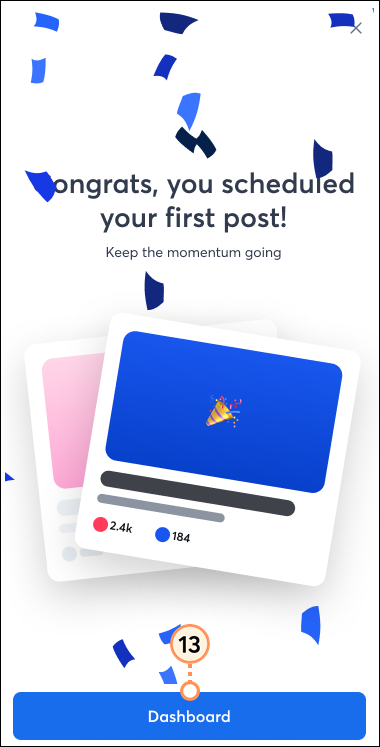
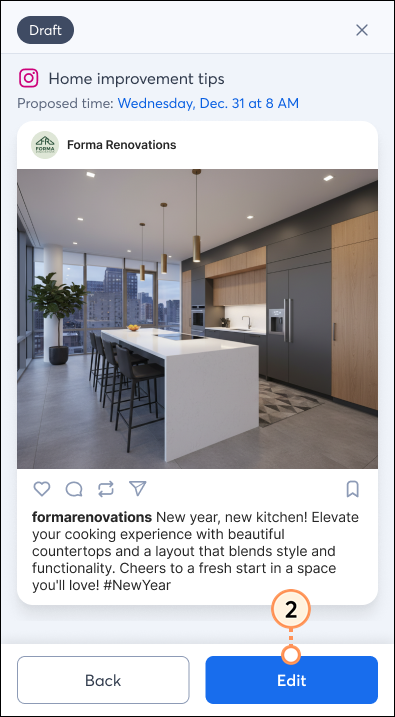
A confirmation banner will appear to confirm that your post has been scheduled/posted. Scroll through the additional recommended posts to review and schedule them.
 |  |
Copyright © 2026 · All Rights Reserved · Constant Contact · Privacy Center