If you need to share information, like parking locations and venue updates, or send a "thank you" or follow-up email after your event, you can send the information only to the people who registered. This way you avoid needlessly contacting those who aren't attending or who haven't responded yet.
Create your email
Preview and/or send a test of your email
Download and print your email
 | Important: Emails will only be sent to primary registrants. If you're allowing registrants to bring guests, and you've collected an email address from those guests, it does not give you or Constant Contact explicit permission to mail these users. If you would like to be able to email every individual event attendee, you should require that each attendee complete their own registration. |
Create your email
- On the "Overview" tab of the Event dashboard, scroll to the "Event Tools" section. Click the Emails card.

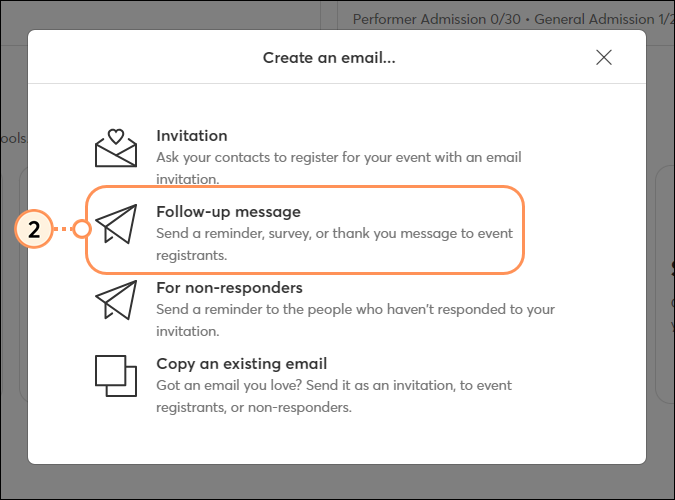
- Click Follow-up message.
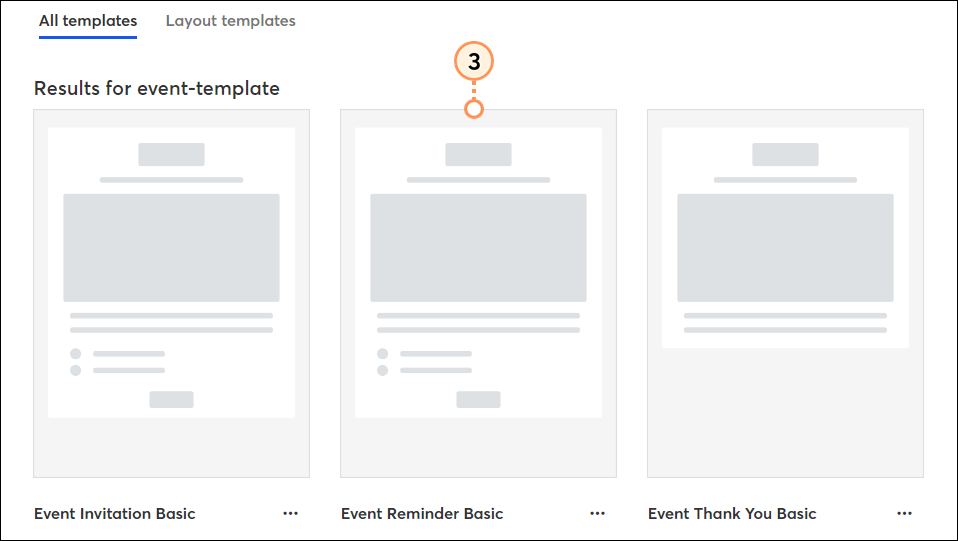
- Select an email template.
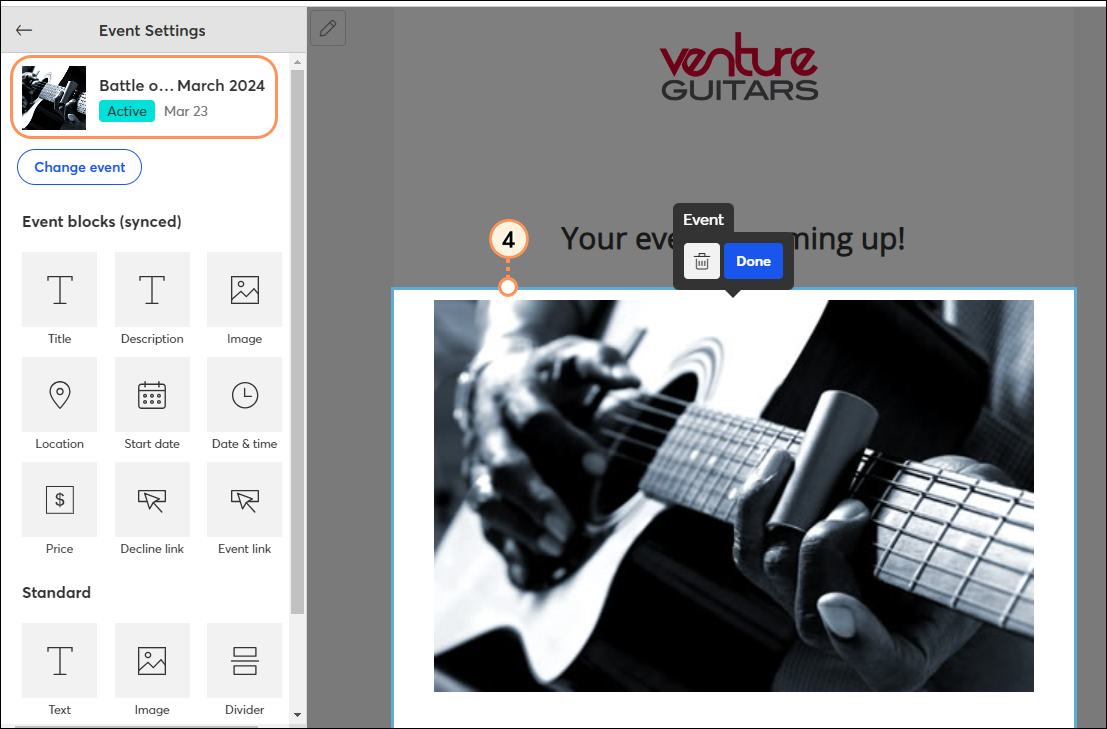
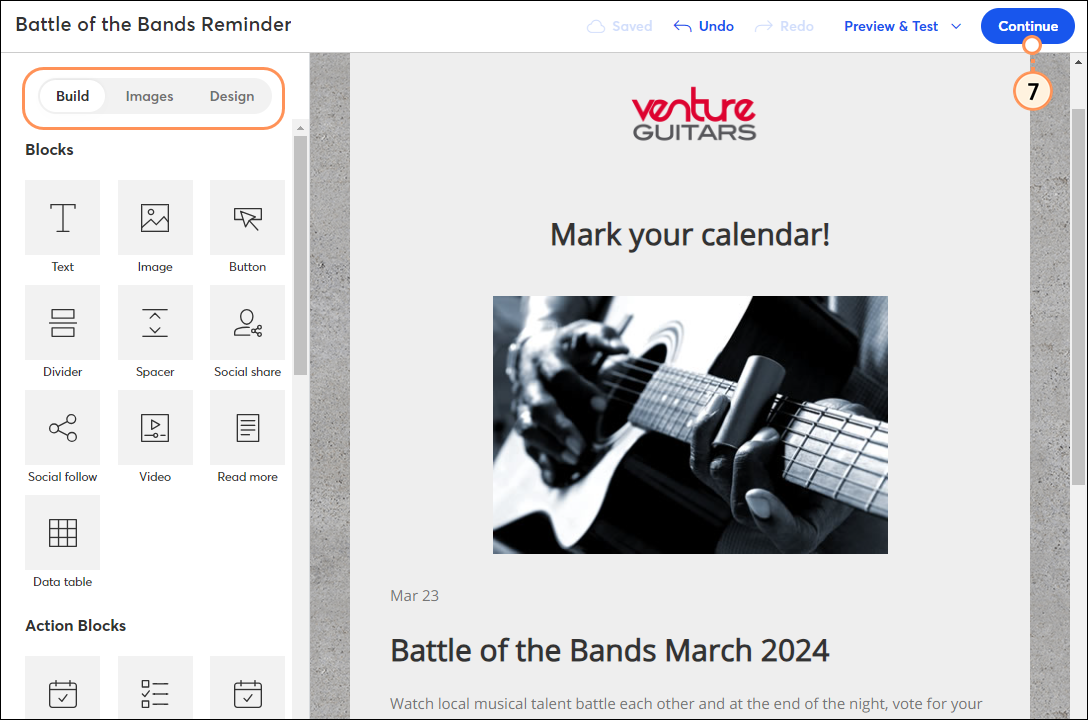
- Once inside the editor, you’ll notice that the email is already connected to your event and has pulled in the synced event elements, like event title, description, and more. Click on the event block to open the Event Settings panel on the left side of the screen.
- Select any of the synced Event blocks or standard blocks and add them to your email template. Use the guidelines to help you find the right spot. Synced blocks will contain the appropriate information from the selected event.
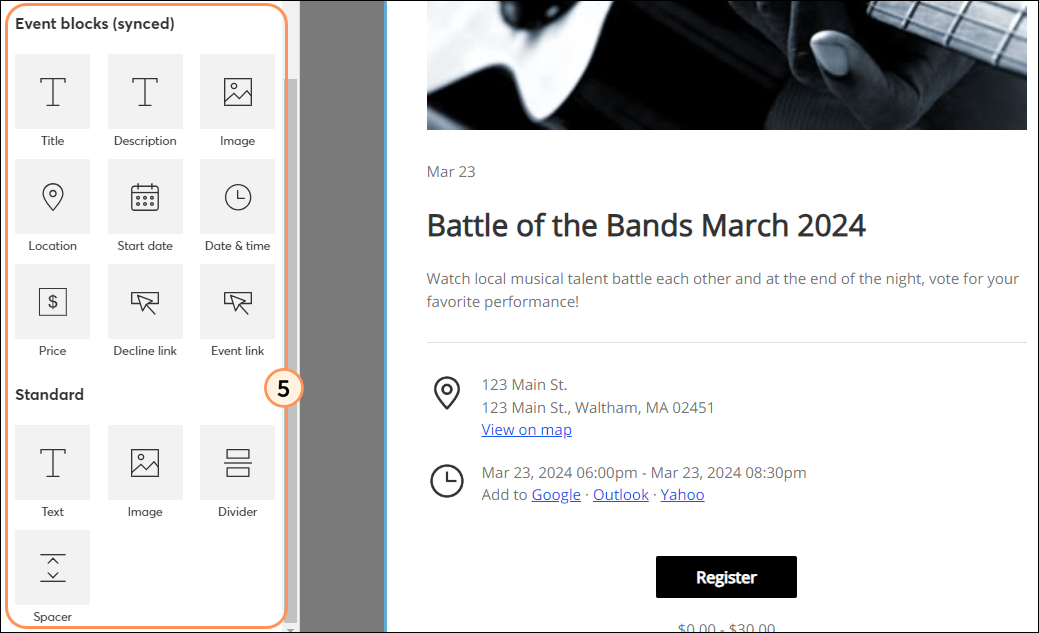
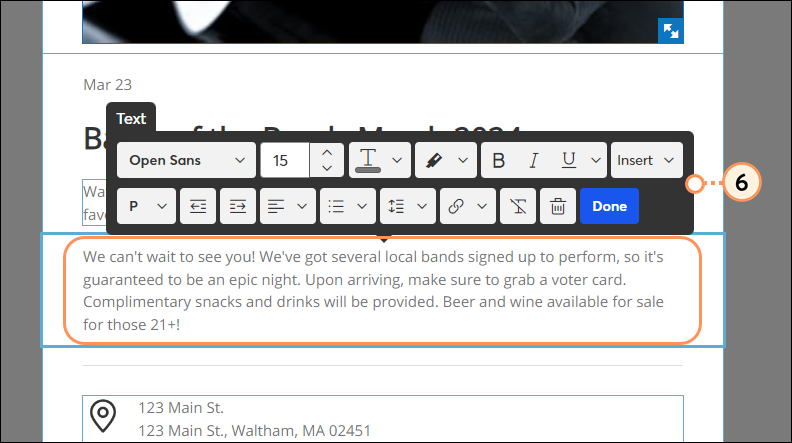
- If you added any Standard blocks, click on them to make desired edits. Synced blocks cannot be edited.
- Customize the rest of your email with your desired blocks, images, and/or design elements. Then click the Continue button to schedule your email to send. The email will send only to those registered for your event.
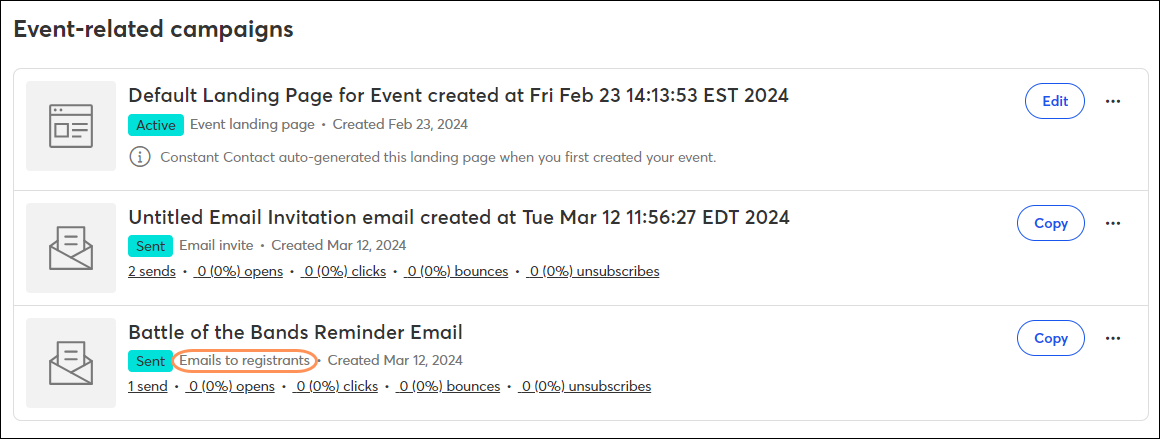
To see a list of all emails sent to registrants for a particular event, on the Event dashboard, scroll to the "Event-related campaigns" section. Follow-up messages will include the text "Emails to registrants".
Preview and/or send a test of your email
Previewing an email and sending yourself a test version of your draft not only gives you a chance to proofread and make edits, but it also gives you an idea of what your email will look like to your contacts when you send the final version. You can send a test version to yourself, or to the people you trust to review your content for you. On the "Overview" tab, scroll to the "Event-related campaigns" section.
- To the right of the event invitation, click the three dots and then click Preview.

- Select each of the tabs to preview the way your email looks on a desktop, a mobile device, or within different email clients using Inbox Preview.
- If you'd like to send a test email, type in the email address you want to send your test email to. You can add up to 5 email addresses.
- Optionally, type a personal note to give instructions to your proofreaders. This note is only visible on the test send and won’t display on the live send to your contacts.
- Click Send test.

Download and print your email
To download and/or print a copy of your email invitation, on the "Overview" tab, scroll to the "Event-related campaigns" section:
- To the right of the event invitation, click the three dots and then click Download & print.

- Select your desired options, and then click Download. Click the printer icon to print a physical copy.
