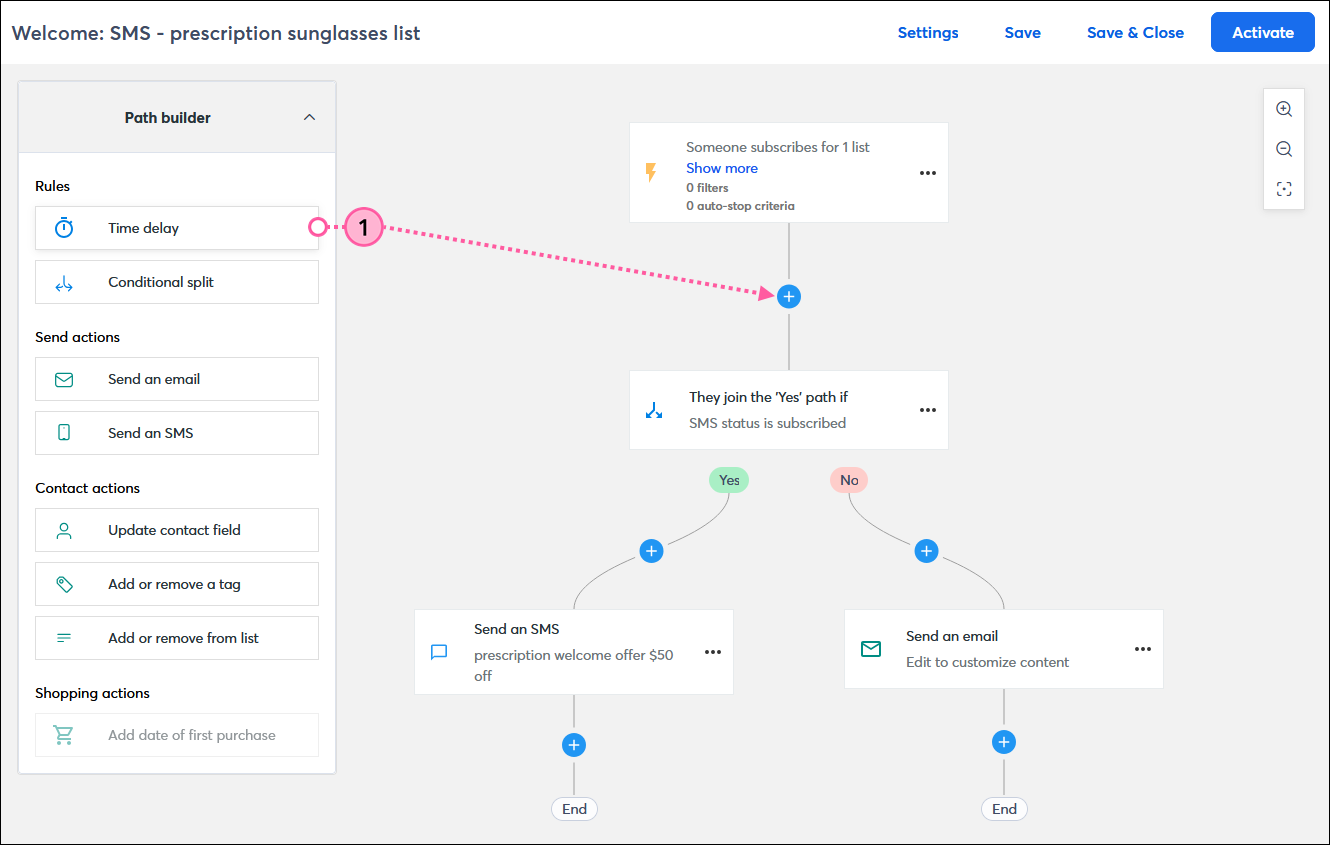
Timing is everything! Sending a communication too quickly can turn your customers off, and if you send it too late, your customers may have already moved on. Adding a time delay to your automation path allows you to specify the amount of time that passes between communications, and you can always edit it later if it's not quite right. During the time delay, we collect data for the next step in the path, allowing your contacts to continue after the designated pause.
A time delay rule must fall below the path's trigger and should be followed with either a send action, contact action, or shopping action.
It's that easy! Repeat the steps for each time delay you want to add to your path. If you want to change its location in the path, you can drag a time delay to any position marked with a plus sign.
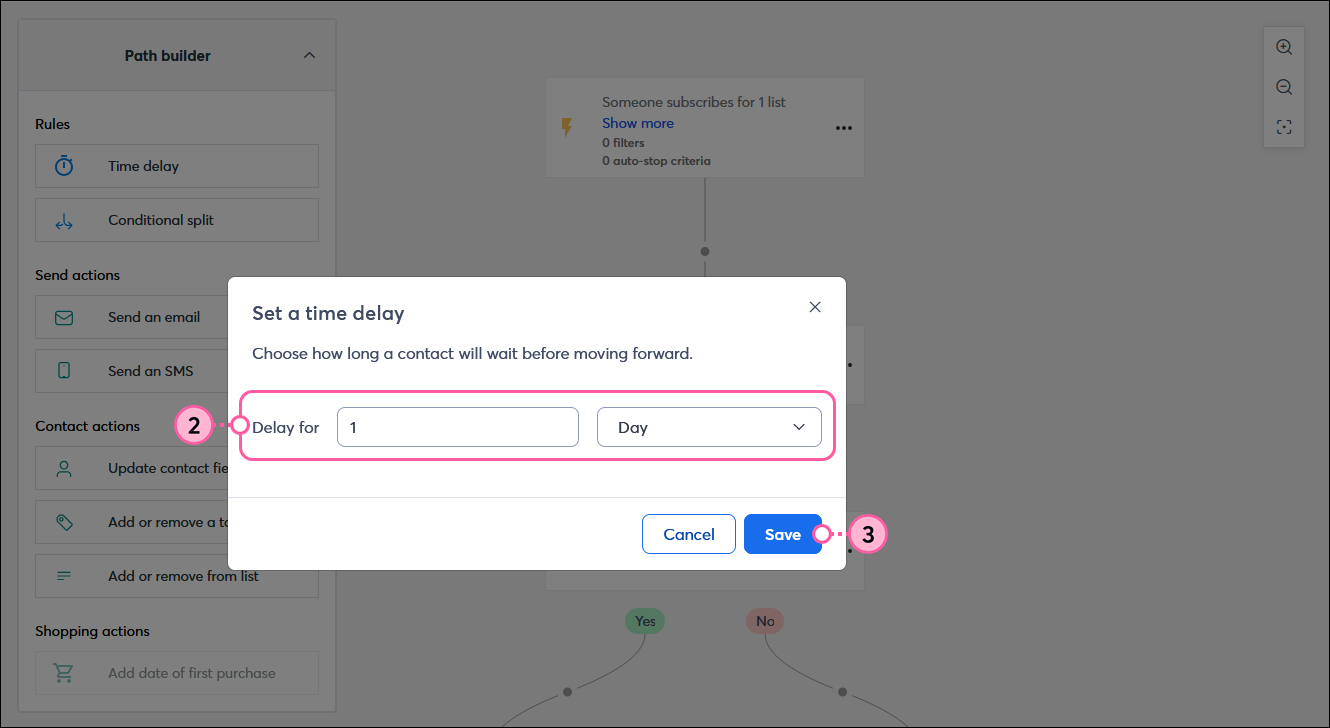
| Design tip: We recommend adding a time delay step to a path if you are using a conditional split with an email or SMS link click condition. Placing the time delay before the conditional split and setting the delay for at least 1 day helps to ensure that all click tracking data is captured. |
| Did you know? If a time delay is placed after a trigger, the time delay doesn't start until the trigger conditions are met. You can't control the timing of most trigger types. Date-based triggers, such as birthdays or anniversaries, start processing at 5:00 a.m. ± 30 minutes, using the timezone selected in your account settings. You can set the duration of your time delays from this starting point. |
Using time delays lets you stretch your path out from minutes to months. It's completely up to you! Time delays begin based on when a contact satisfies the conditions of the trigger, or after an action within a step is completed, such as when an email is sent or a tag is removed.
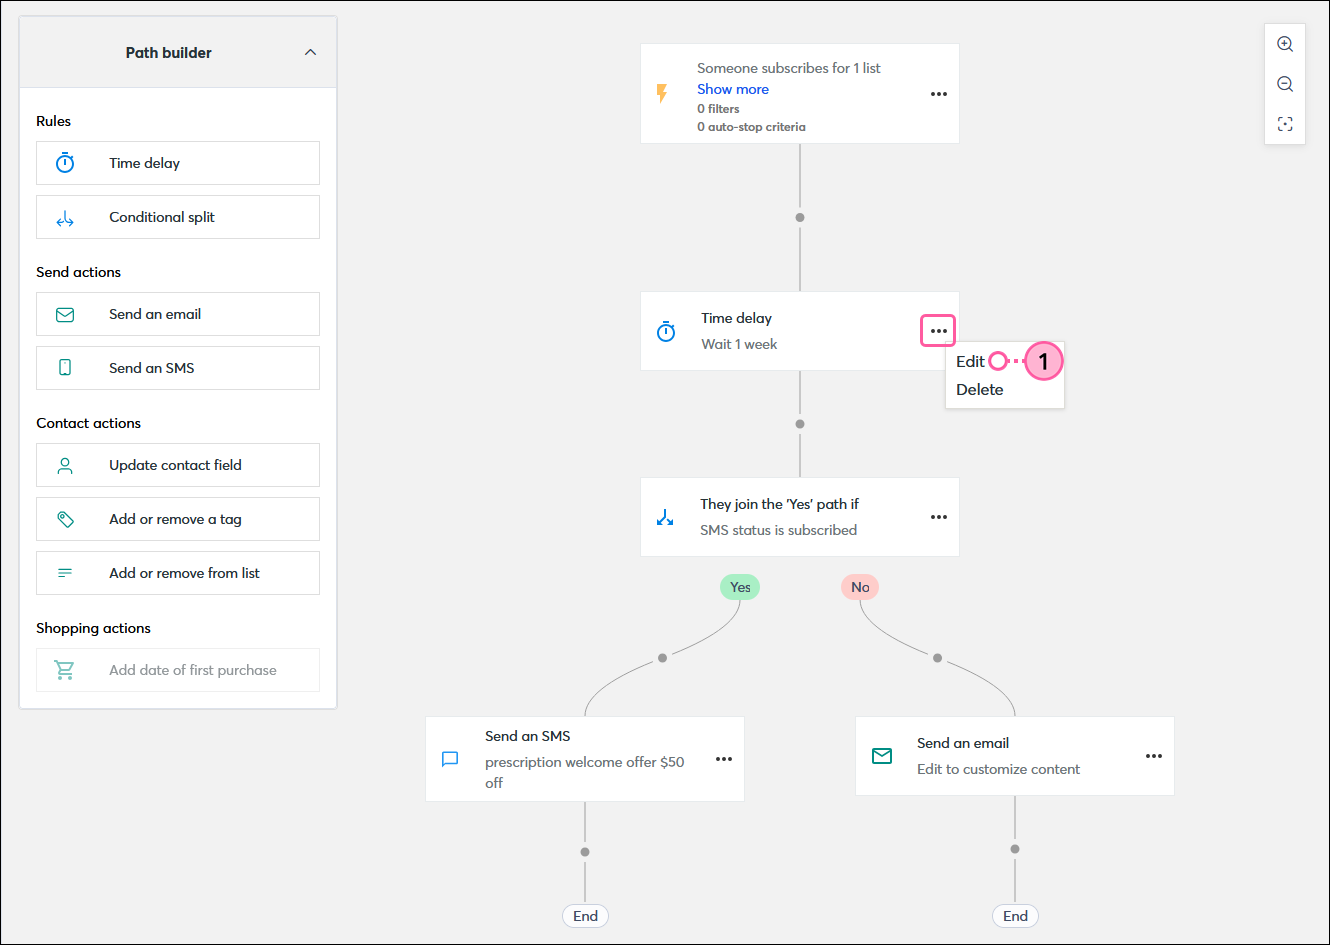
Repeat the steps for each time delay in your path. You can add more time delays by dragging one from the Roles section of the Path builder.
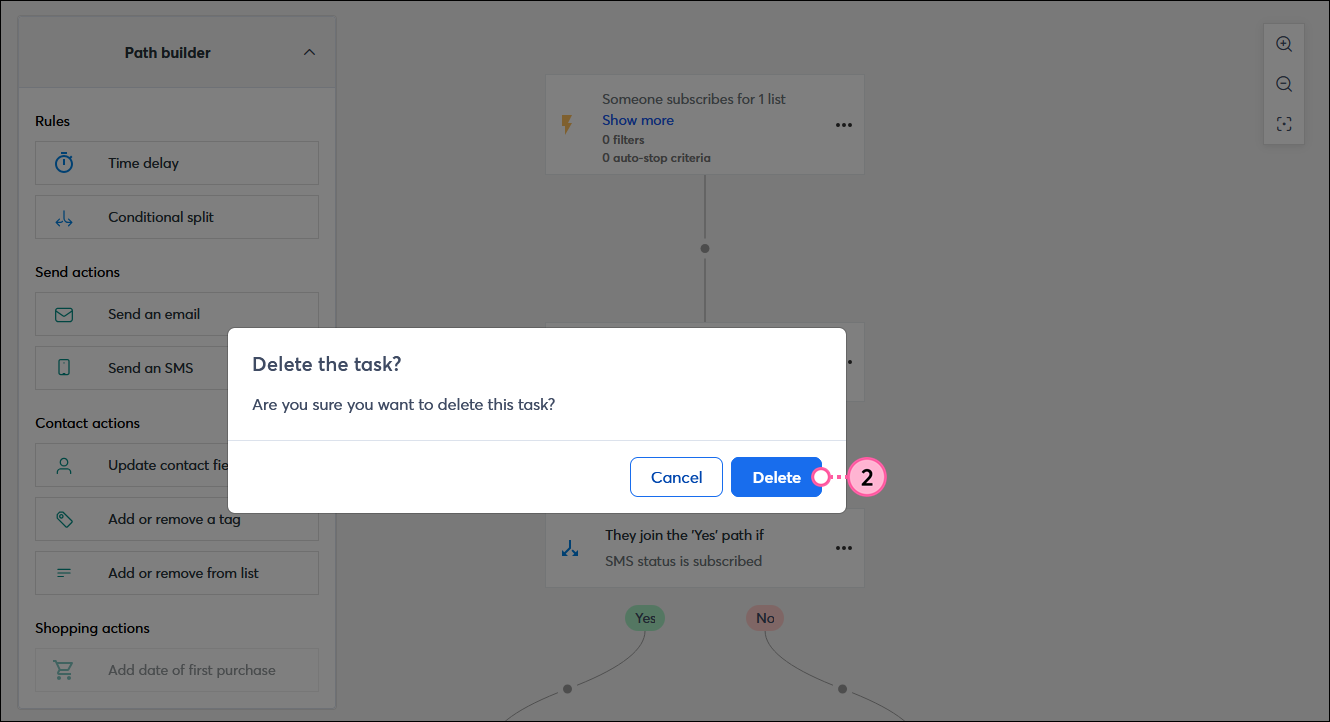
When you delete a time delay rule, it can't be undone, but it's easy to add another in if you need it. Contacts who are new to the path will never know the path was updated, and contacts who are on the time delay step when it's deleted will move on to the next step.
Copyright © 2026 · All Rights Reserved · Constant Contact · Privacy Center