Bring people together, build relationships with existing customers and find new ones, and drive revenue through your events! With the Constant Contact event tool, it’s easy to create, promote, and manage your event, all in one place. With options to make an in-person or virtual event, paid or free, and the ability to customize your tickets and registration form, you can create an event that meets your needs.
Desktop instructions:
Mobile web instructions:
This overview will help you get started with your event! Within each section below, you'll find links to our articles on each portion of the event creation flow. Check out these articles for more detailed instructions!
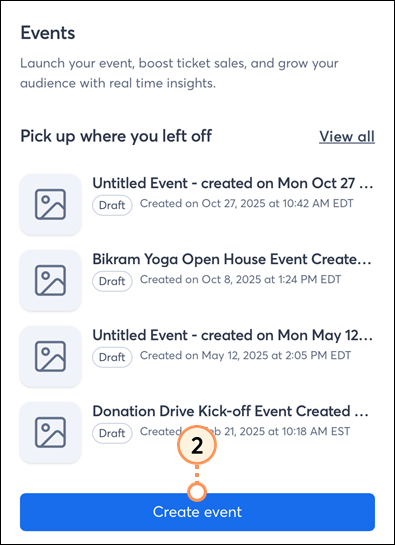
To create a new event:

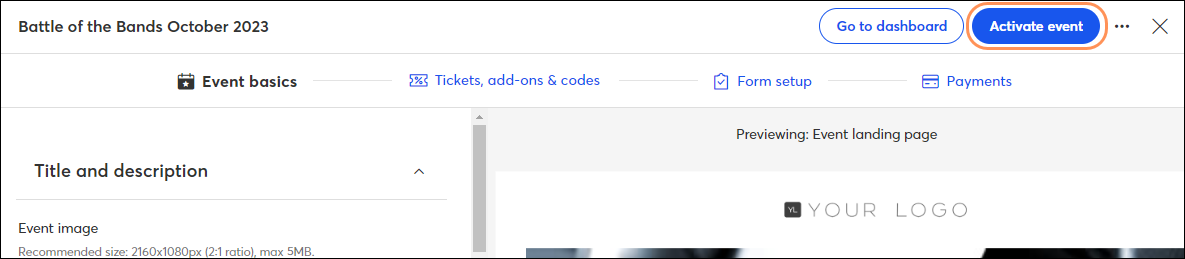
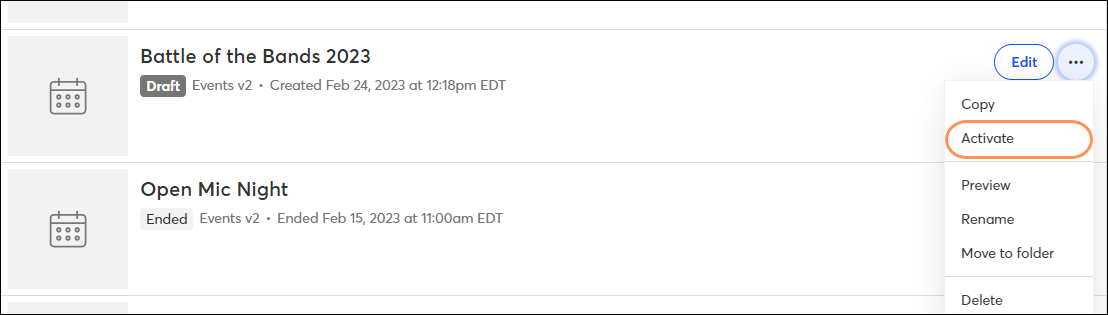
While setting up your event, you can save it and leave it in draft status at any time. Once you're ready, you can activate it by clicking the blue Activate event button and begin sending invitations and promoting your event online.
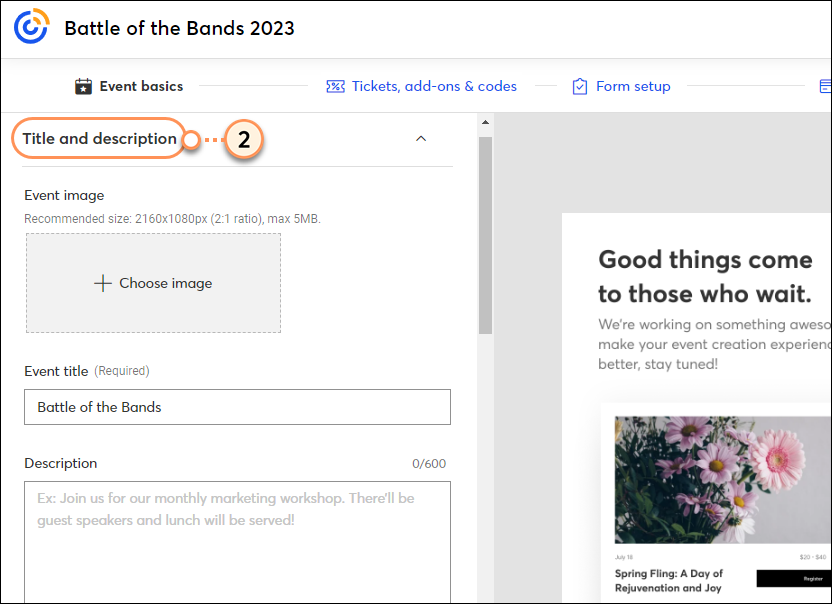
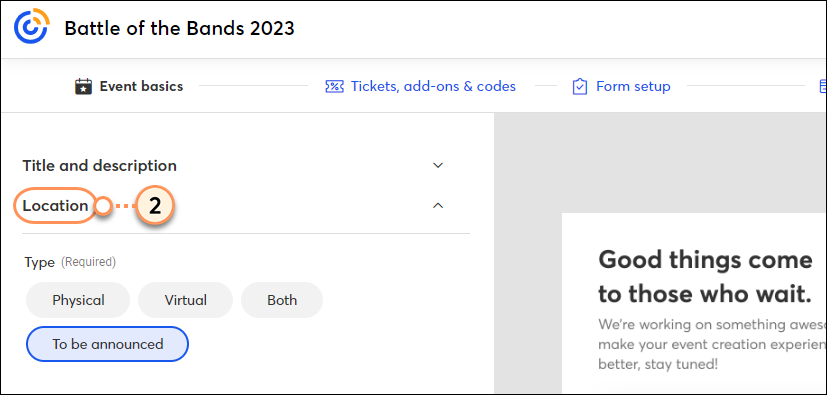
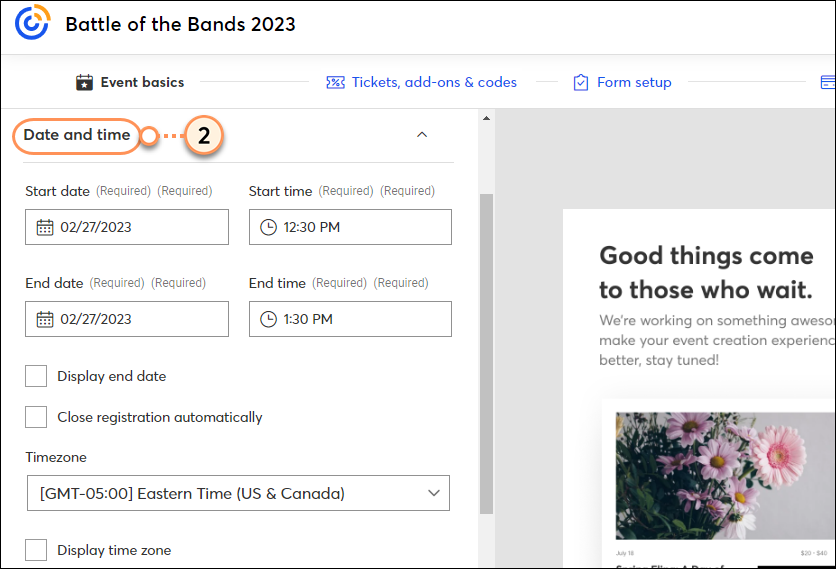
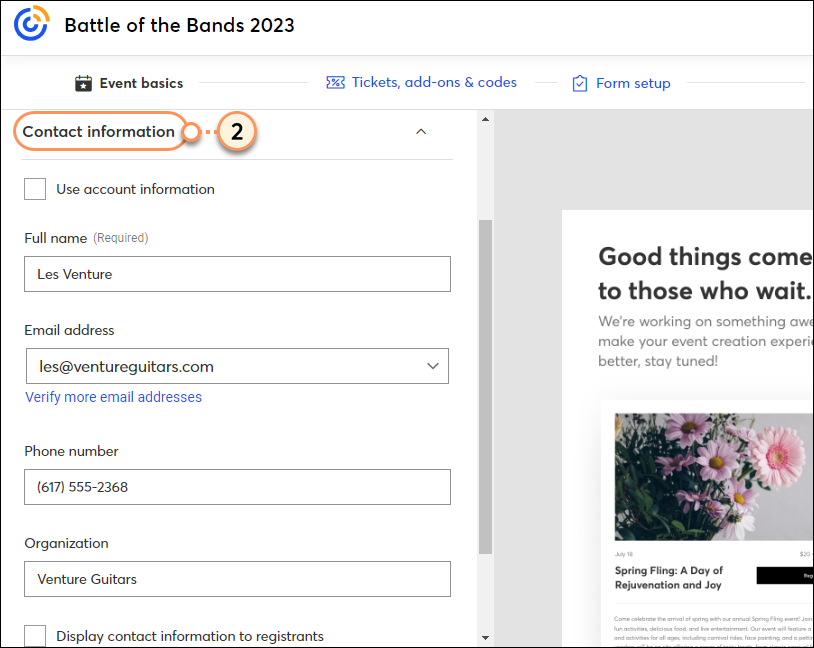
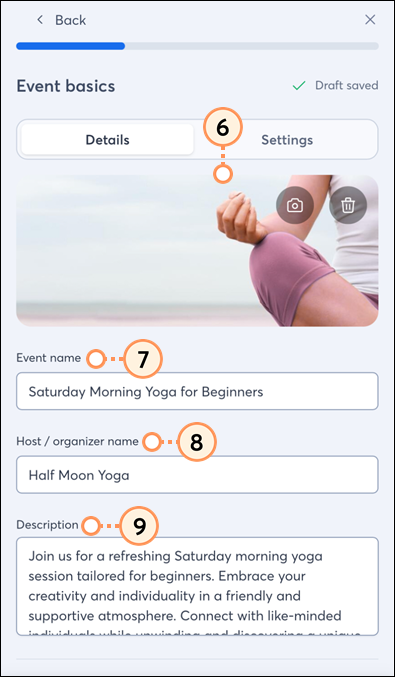
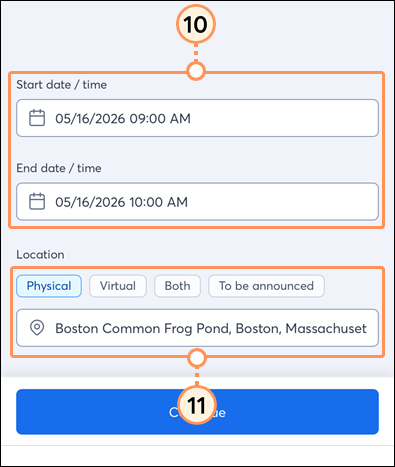
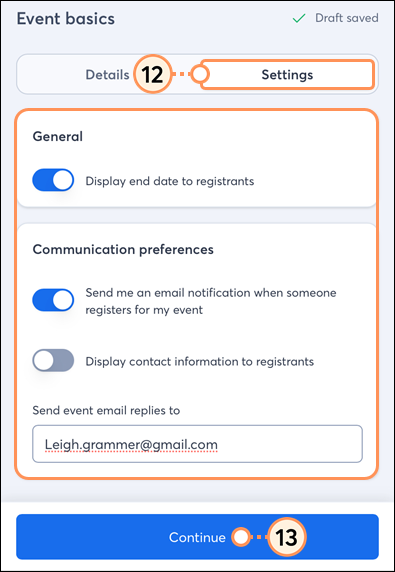
The Event basics section is where you'll fill out the what, where, when, and any other pertinent information related to your event.

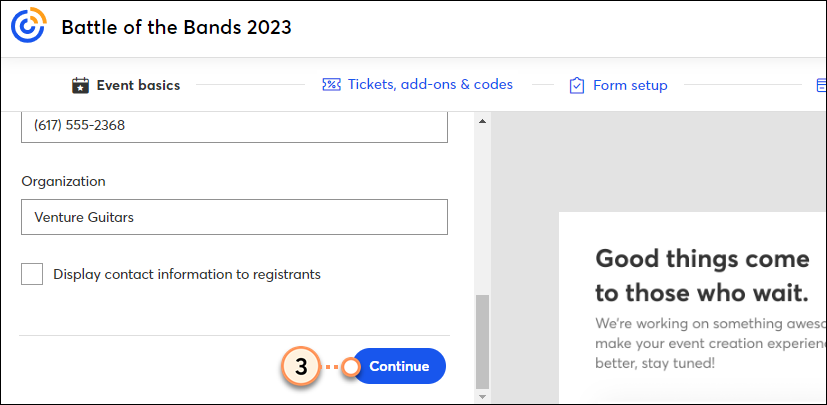
If you need to step away at any point, click Go to dashboard in the upper right, then click Save changes.
| Learn more: Looking for more detailed instructions on setting up your event basics? Visit our article on setting up the event basics. |
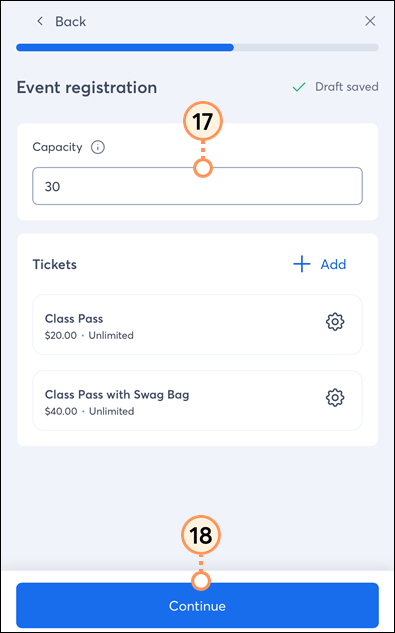
On the Tickets, add-ons, and codes tab of the Event builder, you can:
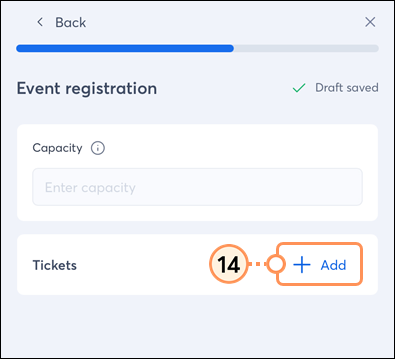
To provide tickets for your registrants as part of the registration process, click Create > Ticket. If you are hosting a ticketless event, click Continue without tickets.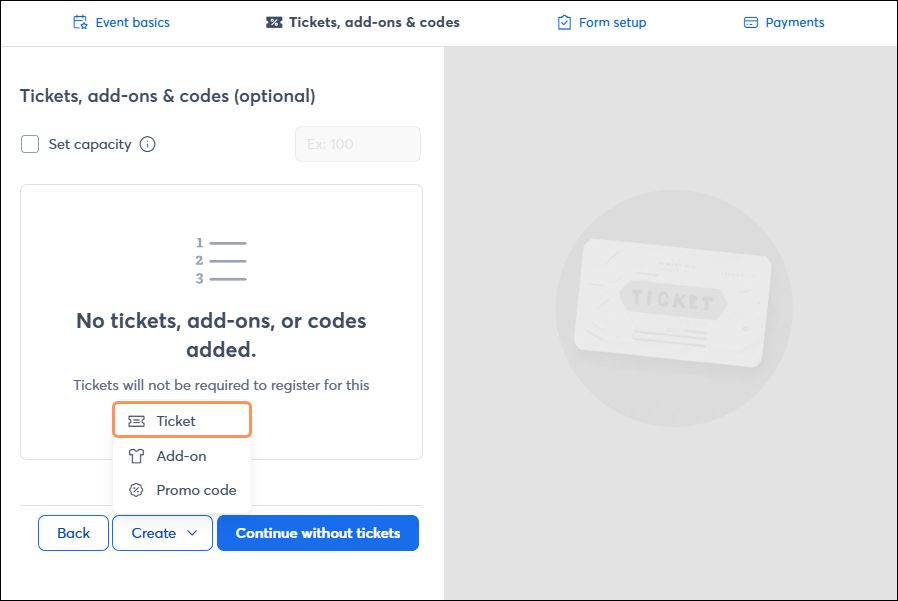
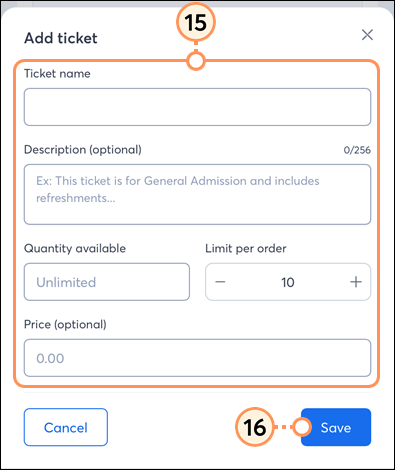
Here you'll be able to enter the following ticket information:
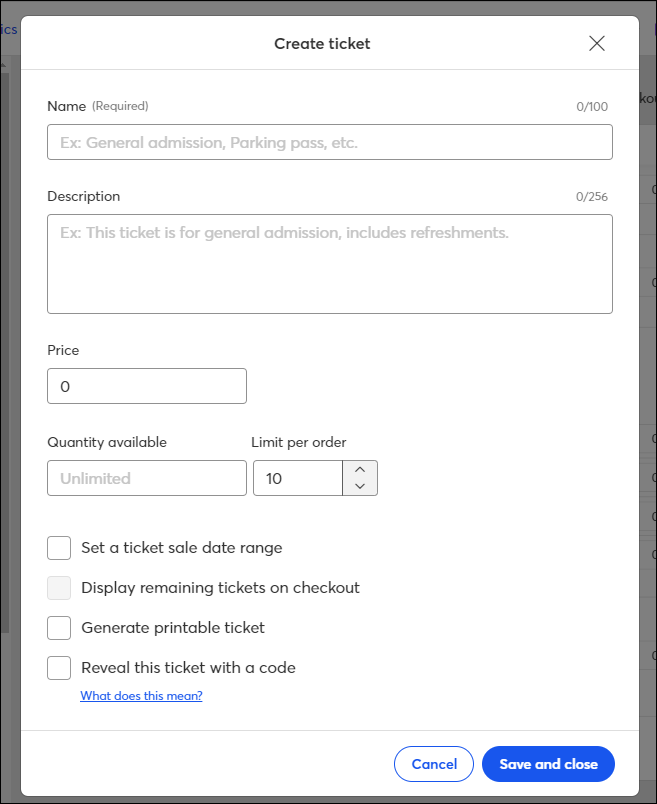
Additionally, you can:
| Learn more: Ticket selection is an important part of the registration process. For more detailed instructions, visit our article on configuring and selling event tickets to learn how to create tickets that will meet your needs. |
Allow registrants to purchase items from you when they register for your event. To create an item, click Create > Item for Sale.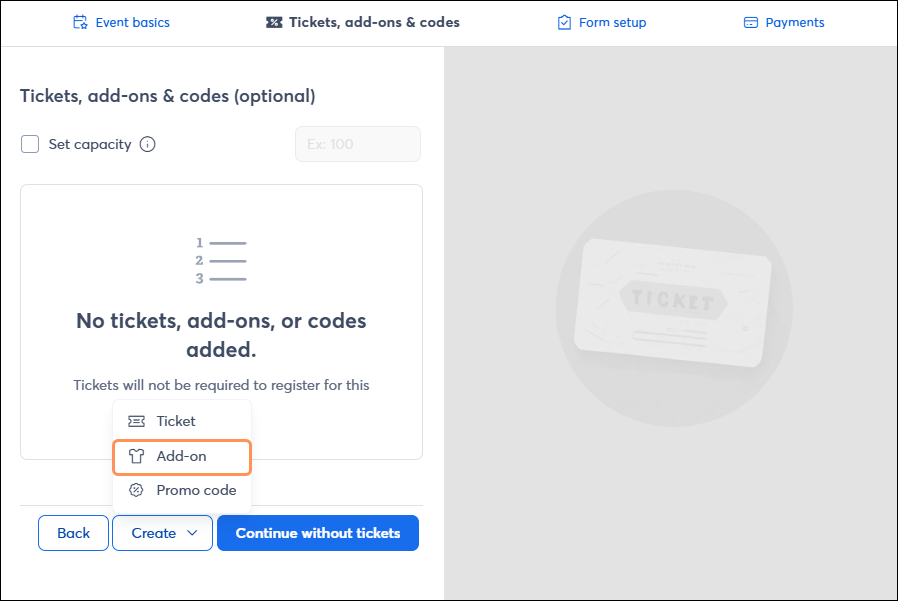
Here you'll be able to add the following add-on information:
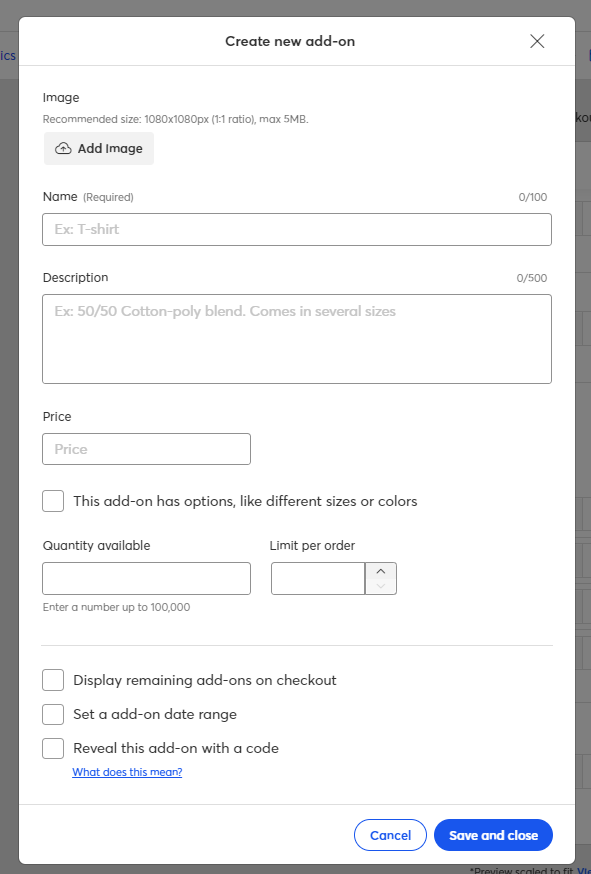
Additionally, you can choose whether to display the remaining amount to registrants, set an add-on date range, and choose to have this add-on revealed with a code.
| Learn more: For more detailed instructions, check out our article on including registration add-ons. |
You can create promo codes for your registrants to apply a discount or reveal a hidden ticket. To create a promo code, click Create > Promo code.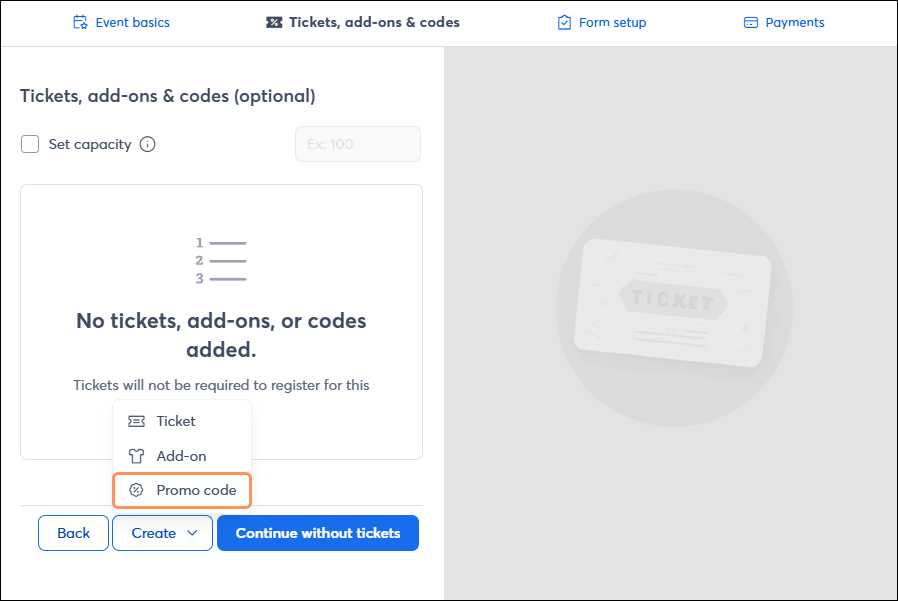
Here you'll be able to enter the following promo code information:
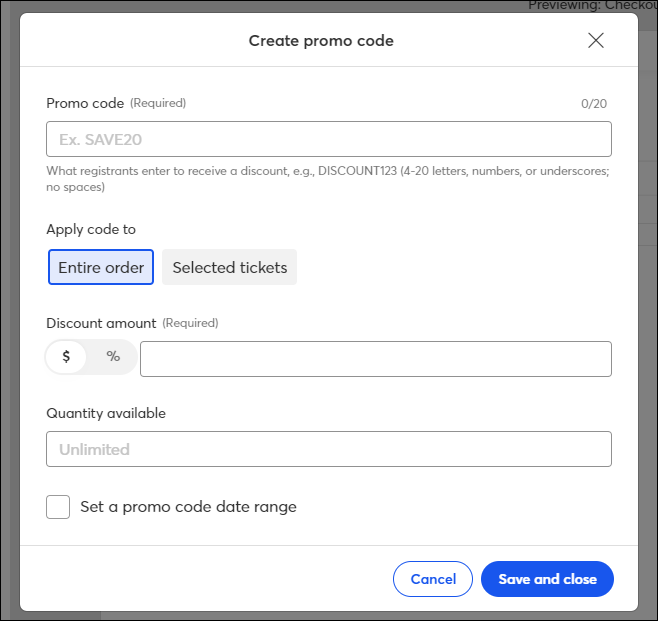
When applying a code to the entire order, the promo code will allow your registrants to apply a discount to their order by the dollar amount or percentage amount you entered.
When applying a code to selected tickets/add-ons, the promo code will allow your registrants to apply a discount to their order if they select the ticket/add-on that the code is tied to. You’ll notice that if you apply the promo code to a hidden ticket/add-on, the “Discount amount” field becomes optional. If you’d like the promo code to reveal a hidden ticket/add-on, skip adding a discount amount and click Save and close. If you want your code to apply a discount in addition to revealing a hidden ticket/add-on, you can also add the discount amount.
Additionally, you can set a date range for when the promo code is active. If a registrant attempts to use this code outside the set date range, they’ll be notified that the code is invalid.
| Learn more: To get step-by-step instructions and see an example of a promo code, visit our article on creating redeemable promo codes for your event. |
Once you’ve configured your tickets, add-ons, and promo codes, click Continue to proceed to the Form setup. If you need to step away at any point, click Go to dashboard in the upper right. Then click Save changes.
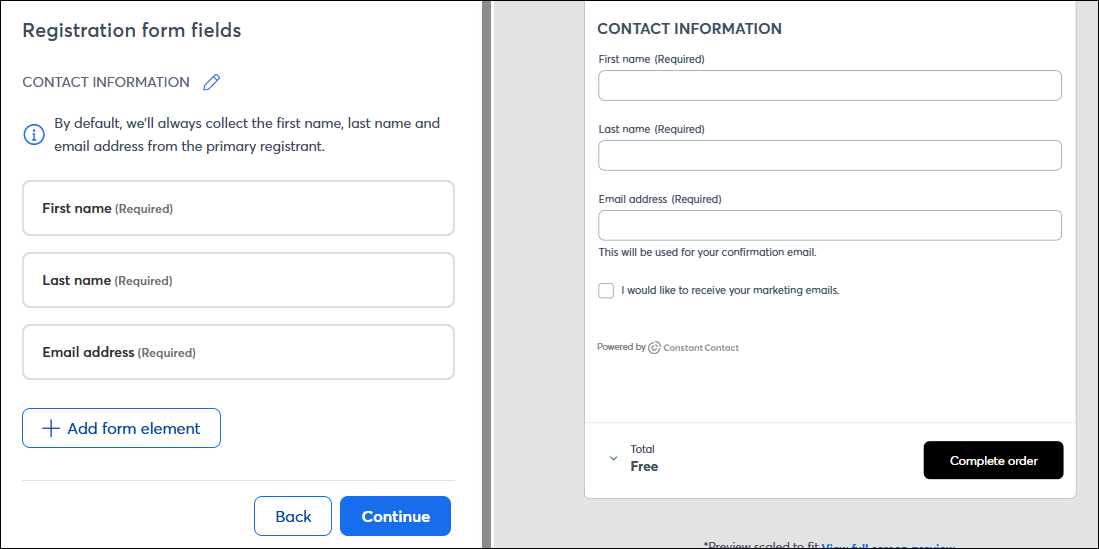
On the Form Setup tab of the Event builder, you can create and customize your event registration form.
Prevent registrants from registering multiple times with the same email address. If you want to allow your registrants to sign up for your marketing communications, which Constant Contact recommends, check the "Allow registrants to opt in to marketing communications" box and choose to which list you'd like these contacts added. Optionally, you can also customize the messaging of the opt-in checkbox to align with your brand’s tone or provide more information about what subscribers can expect to receive from you.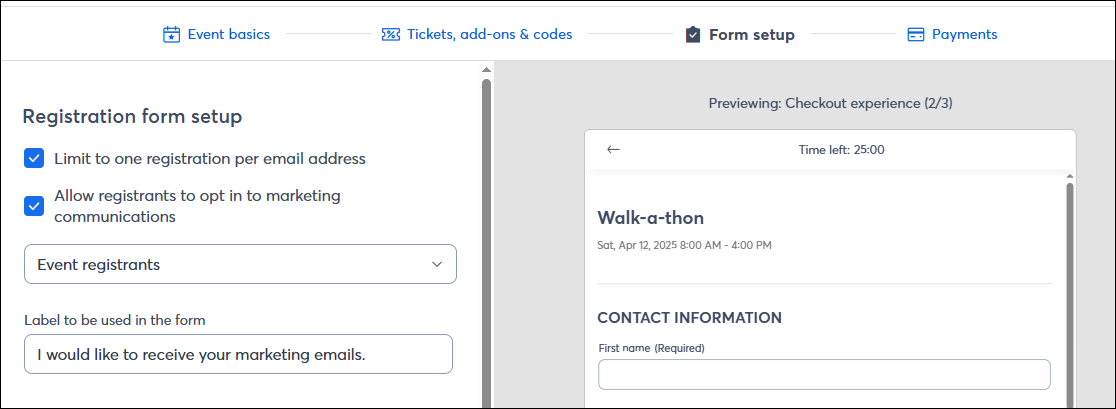
Click Add form element to add standard or custom fields to your registration form. For each field, you'll have the ability to select which ticket(s) the field applies to.
Once you’ve completed setting up your registration form, click Continue to proceed to the Payments section.
If you need to step away at any point, click Go to dashboard in the upper right. Then click Save changes.
| Learn more: If you're looking for more detailed instructions, visit our article on customizing your event registration form to learn how to build your form in a way that gets exactly the registrant information you need. |
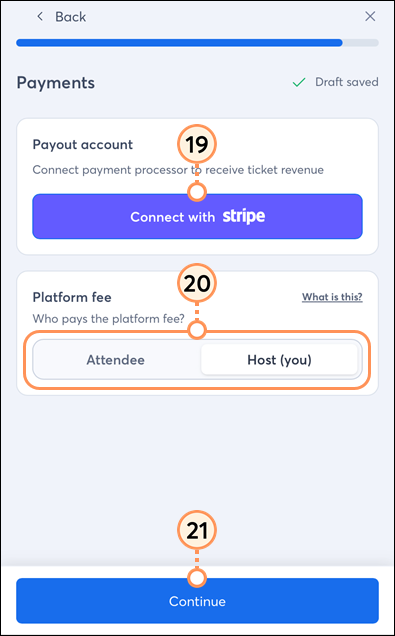
On the Payments tab of the Event builder, you can choose if you want to add the platform fees to the registrant's order total or deduct them from your total revenue. Then select the currency in which payments should be made and which payment methods you'll accept from registrants. Click Connect to link one of your existing PayPal and/or Stripe accounts or to sign up for a new account. If you have paid tickets or add-ons that were configured earlier in the flow, you will not be able to activate your event until a payment processor is selected and configured to an account.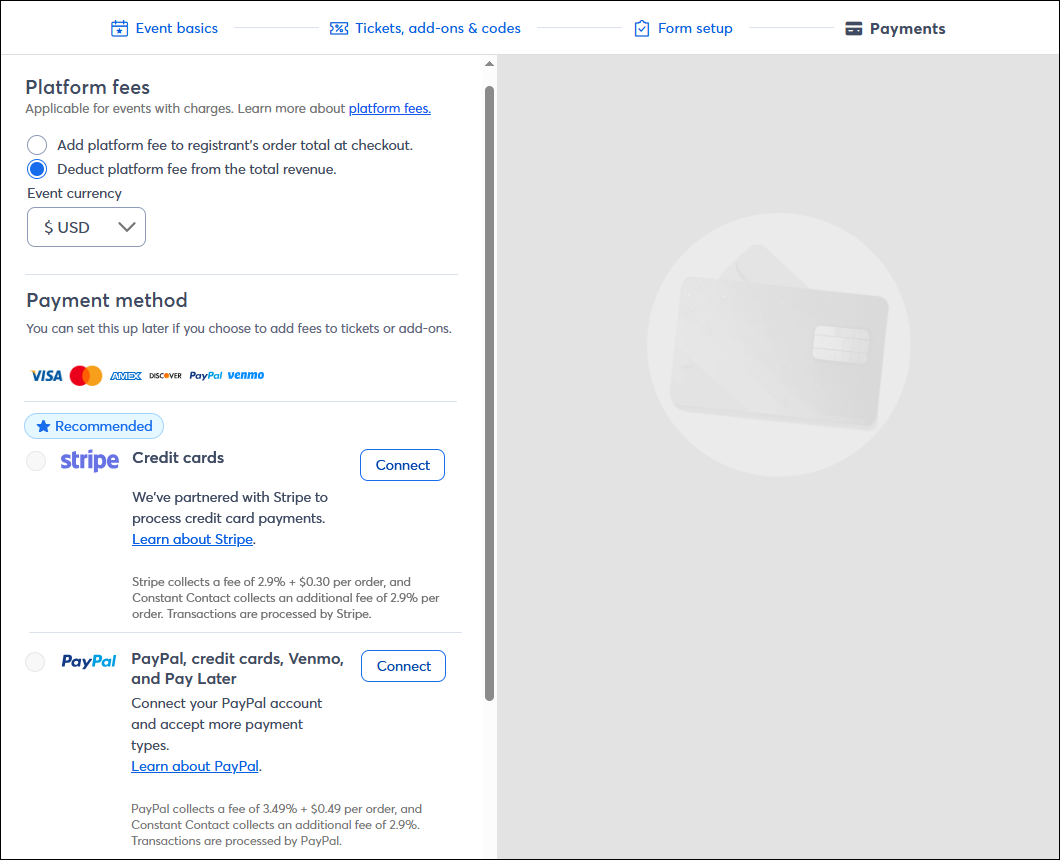
When transacting with PayPal, you can choose to optionally accept payments via Venmo or Pay Later, which offers your registrants additional checkout methods. PayPal will determine eligibility for both, and it depends on several factors.
Venmo: How to know if I’m eligible?
Pay Later: How to know if I’m eligible?
When transacting with Stripe, you can accept payments via a credit or debit card or with Stripe Link payments.
Once you've configured a payment processor, click Save and complete.
After filling out your event basics, creating tickets and promo codes, customizing your registration form, and selecting payment options, you're ready to make your event live and begin accepting registrations. There are a few ways to activate your event:
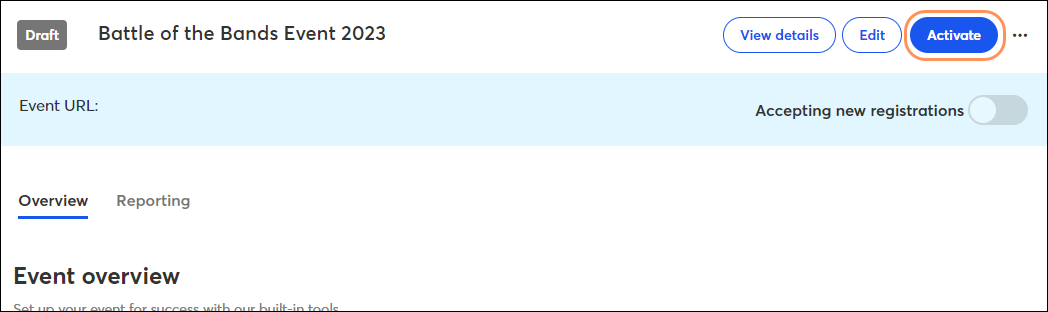
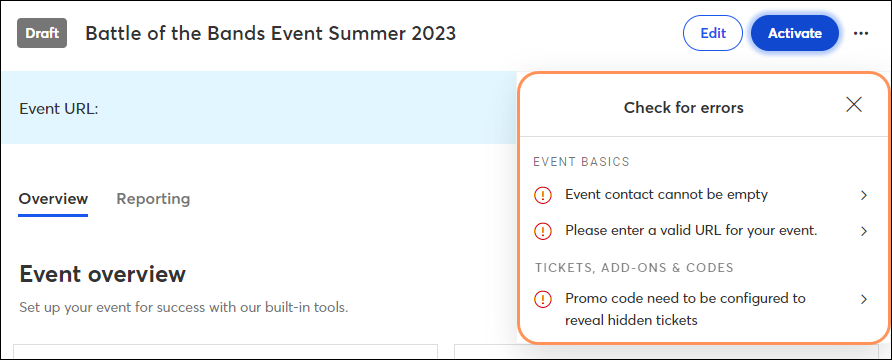
If information that's required to activate your event is missing, a checklist of the outstanding items will appear. Click on any of the checklist items to bring up the field that needs updating.
| Did you know? After you've activated your event, you can pause registration at any time by switching the "Accepting new registrations" toggle at the top of the dashboard. If someone accesses the registration URL, they will see a message stating that registration is not currently open. |
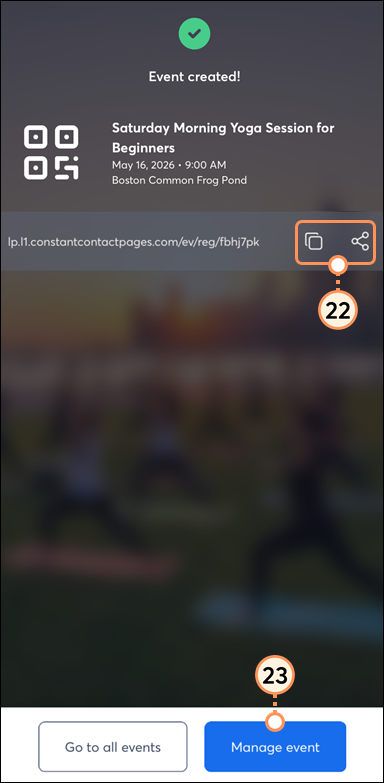
Once you've activated your event, you can begin accepting registrations. Copy the Landing Page URL and Registration URL located on the dashboard and begin sharing your event. Create an event invitation email or promote your event online!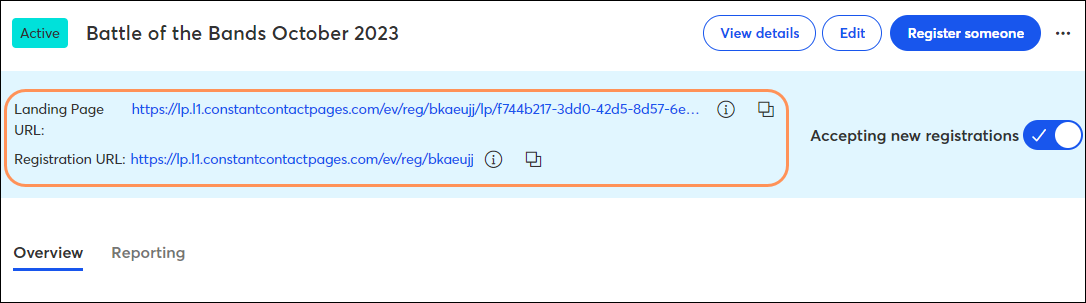
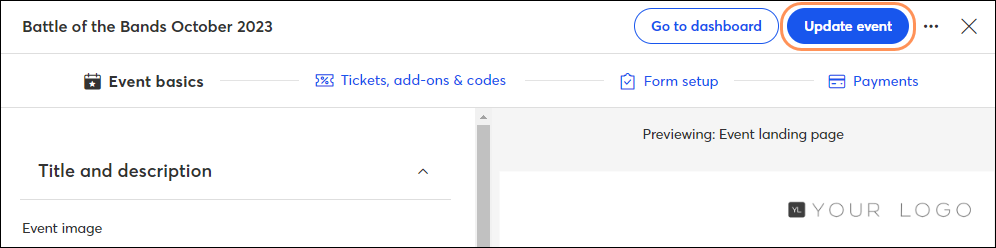
If you need to edit your event details while it's active, you can do so by clicking the Edit button on the dashboard.
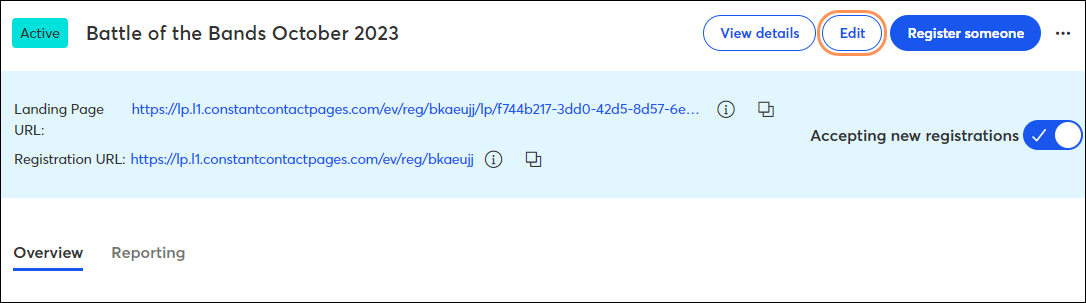
Once you've made your edits, click Update event.
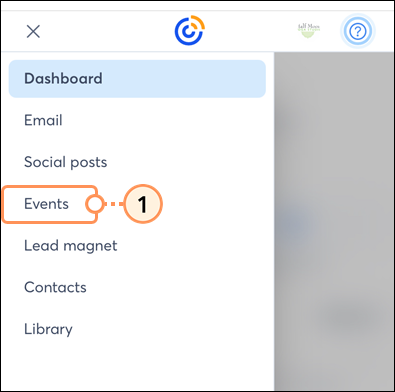
If you are using Constant Contact on your mobile device's web browser (versus your desktop computer or Constant Contact's mobile app), the flow for creating an event is more streamlined:

Now that your event is created, you can also access it when using Constant Contact on a desktop. More detailed edits, such as customizing your event registration form, including add-ons, and building promo codes, can be accessed via your desktop.
Copyright © 2026 · All Rights Reserved · Constant Contact · Privacy Center