Would you rather read about enrolling in multi-factor authentication? Scroll down for detailed steps.
The security of your Constant Contact account is important to us! To help keep your account more secure from hackers and account takeovers, we're in the process of requiring users to enroll in Multi-Factor Authentication (MFA), at no additional cost.
When you attempt to log into your account from a new or unrecognized device, MFA requires a secondary factor to verify your identity, such as a push notification on your mobile device or a code received via text message or phone call. Don't worry, you won't be required to enter your secondary factor every time you log in.
 | Tip: If you have multiple people who work in your account and share your login information, be sure to add them as individual users instead so that they can have their own account login and MFA factors set up with their own devices. |
To skip to a particular section of this article, click on the appropriate link in the Table of Contents below:
Enrolling in MFA through My Account
If you’re being prompted to set up MFA upon logging into your account, skip to these steps for selecting your secondary factor.
 | Important: Once you enroll in MFA, you can't unenroll. |
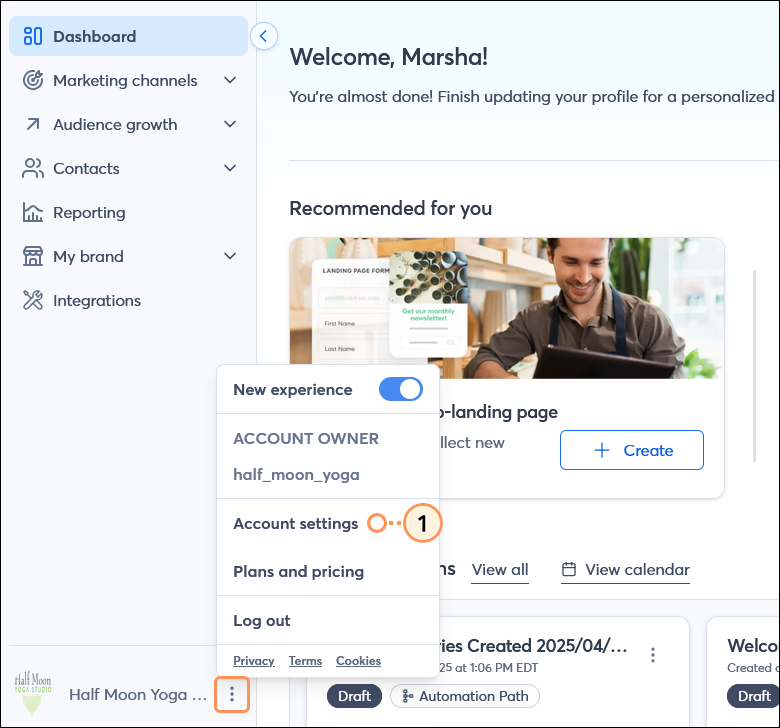
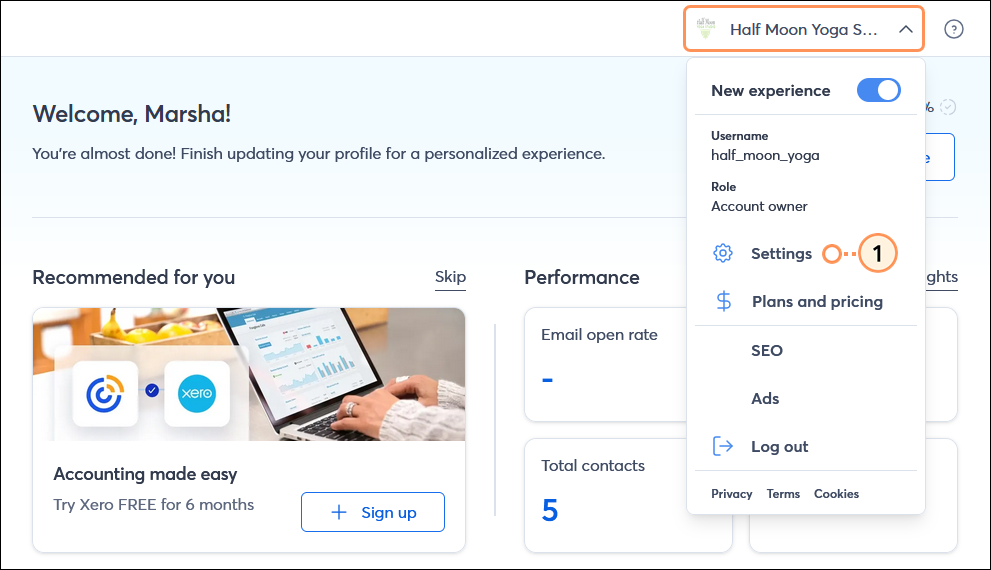
- Depending on your account, click the three dots in the lower-left (or the profile icon if the menu is collapsed) or the profile name in the upper-right and select Settings.
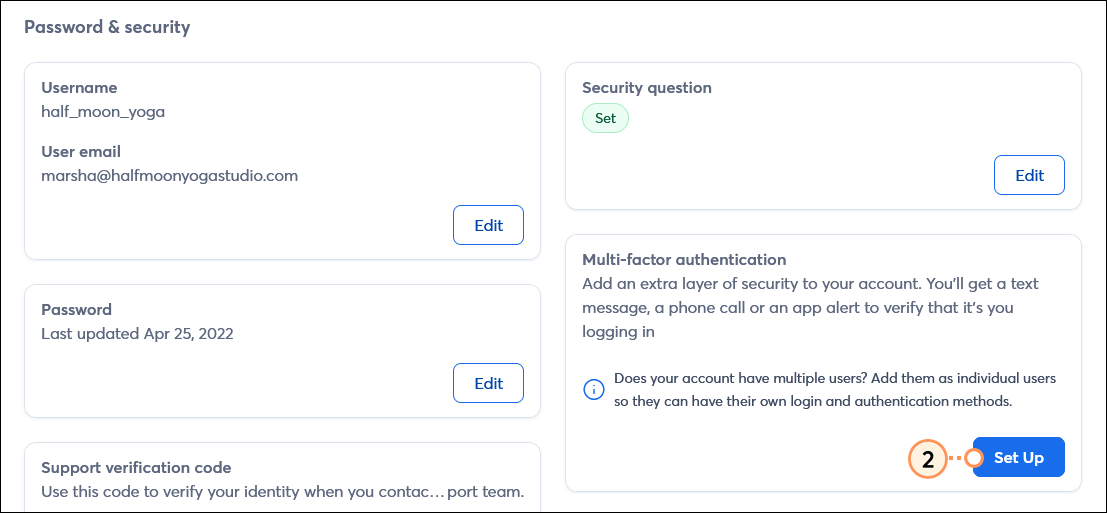
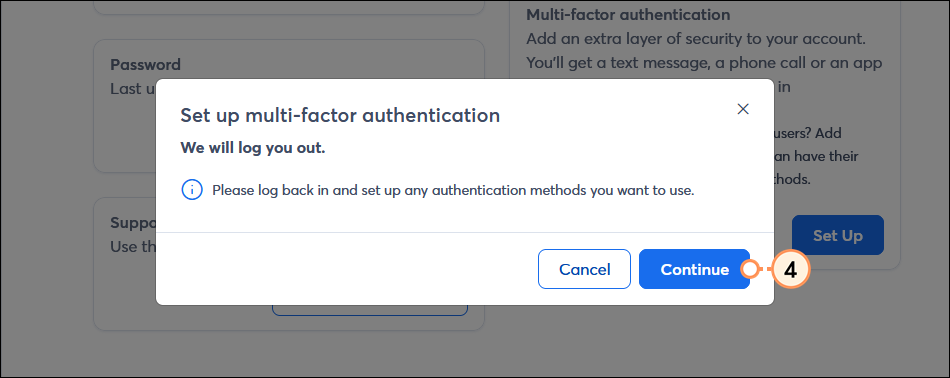
- Scroll down to the Multi-factor authentication section and click Set Up.
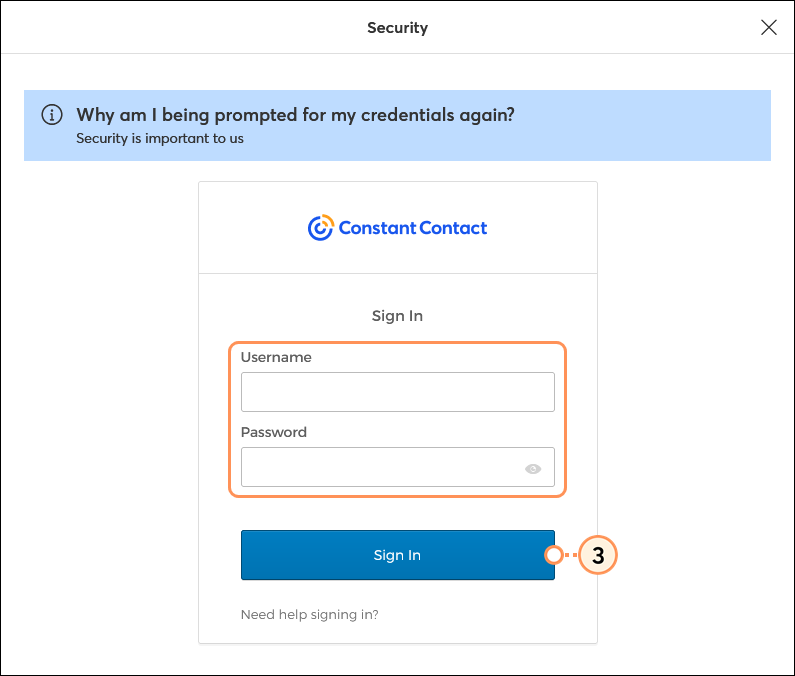
- If prompted, enter your Constant Contact username and password, then click Sign in.
- Click Continue to finish enrolling in MFA. You'll be logged out of your account.
The next time you log into your Constant Contact account, you’ll be prompted to set up your secondary factors of authentication.
Selecting a secondary factor of authentication
 | Did you know? Email addresses can't be used as secondary factors because they can be easily compromised. MFA requires something you have (i.e. your smartphone) in addition to something you know (your password). |
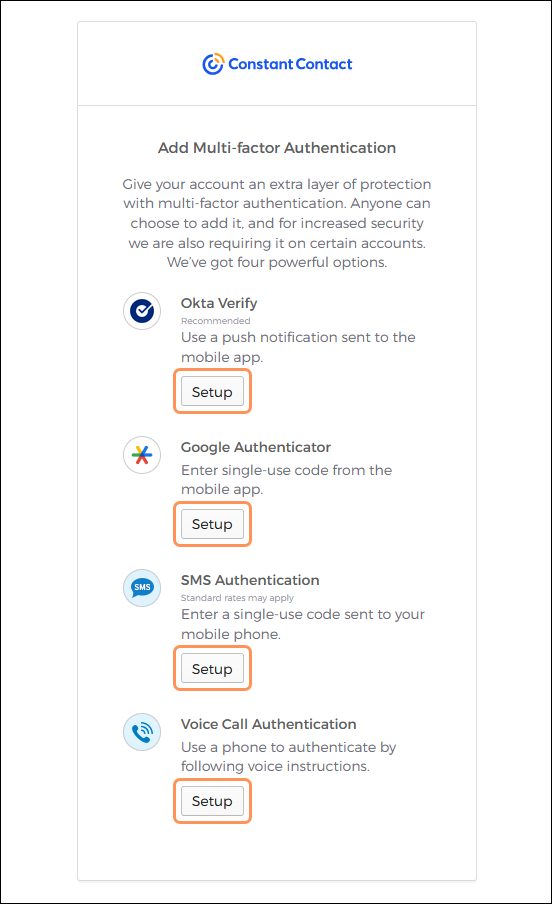
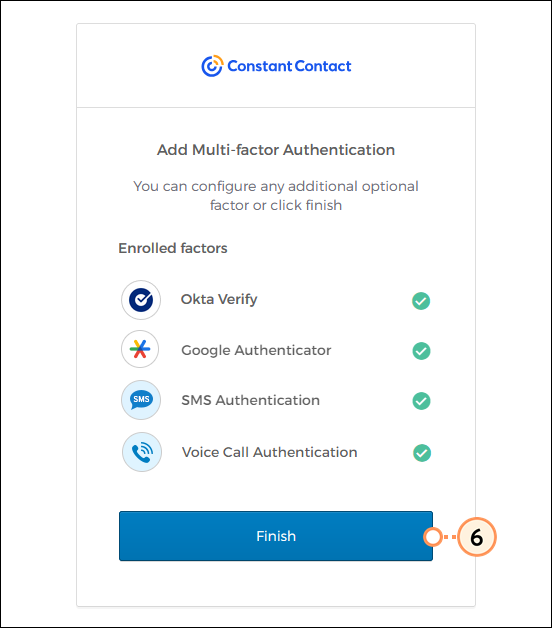
Once enrolled in MFA, the next time you log into your Constant Contact account, you’re prompted to choose from the following options to set up your secondary factor(s) of authentication:
- Okta Verify - Download the Okta Verify app (for Android or Apple) to your mobile device so you can verify your identity by approving a push notification sent to your device.
- Google Authenticator - Download the Google Authenticator app (for Android or Apple) to your mobile device to generate a one-time code for you to enter when logging into your account.
- SMS Authentication - Enter your mobile phone number so you can receive a text message with a one-time code for you to enter when logging into your account.
- Voice Call Authentication - Enter a phone number so that you can receive a phone call with a verbal one-time code for you to enter when logging into your account.
Each secondary factor can only be associated with one device, so we recommend setting up multiple secondary factors with different devices, such as your mobile phone, landline, work phone, and tablet. This will help to prevent you from being locked out of your account if you lose or misplace one of your devices. For example, if you set up SMS Authentication with your mobile phone, you should set up Voice Call Authentication with your landline phone.
| Important: It is recommended that you set up more than one secondary factor! This will help prevent you from being locked out of your account if your device is unavailable. |
Note: We advise against using third-party apps as a replacement for one of our approved apps for MFA.
To begin, click Setup for the method you want to enroll in.
Setting up Okta Verify
If you're already using Okta Verify and need help adding a new account, please visit Okta's Support.
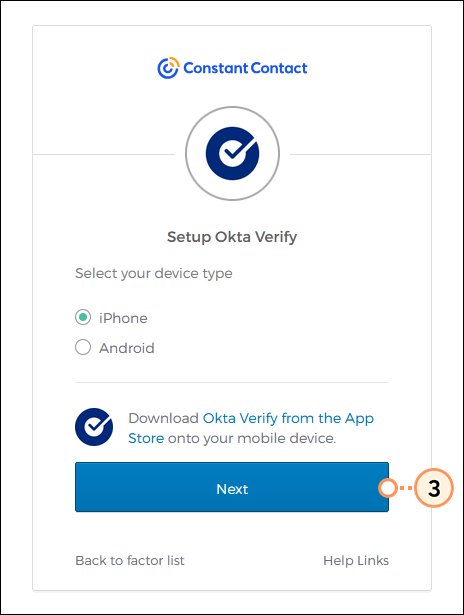
- Select if you have an iPhone or Android device.
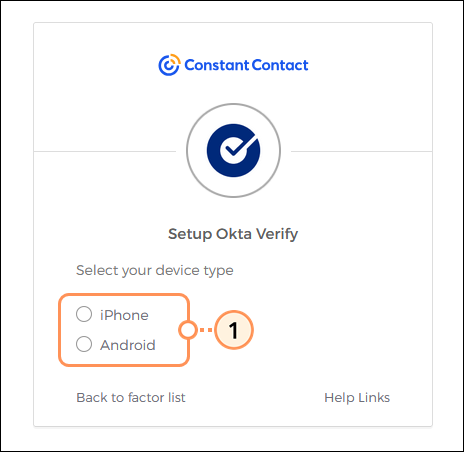
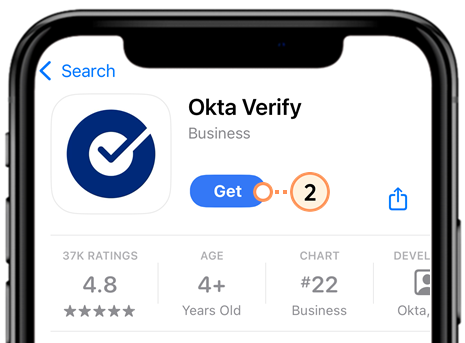
- Download the Okta Verify app from your device’s app store.
- Back on your desktop screen, click Next.
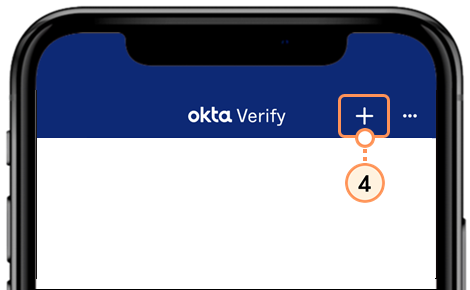
- Open the Okta Verify app on your device and click the plus sign (+) in the top right to add an account.
Tip: To save time, you can add the account automatically by opening your device’s camera and scanning the QR code displayed on your desktop screen.
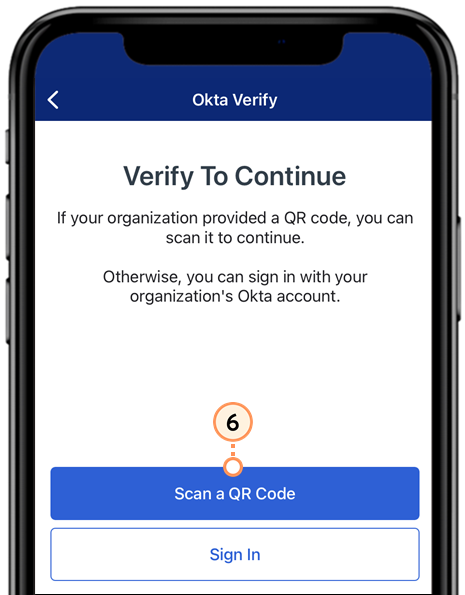
- Select the Organization account type.

- Click Scan a QR Code.
- Use your device’s camera to scan the QR code provided on your desktop screen.
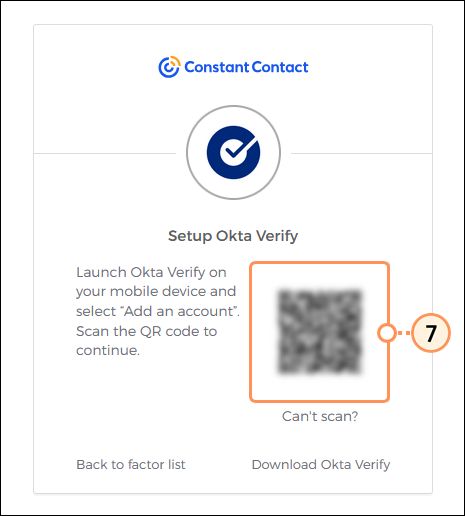
- Click Done.
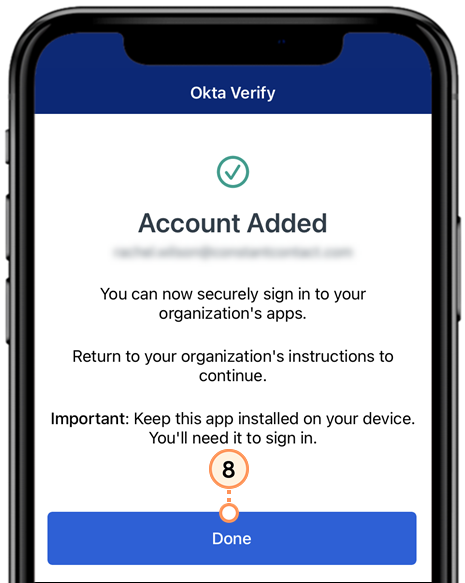
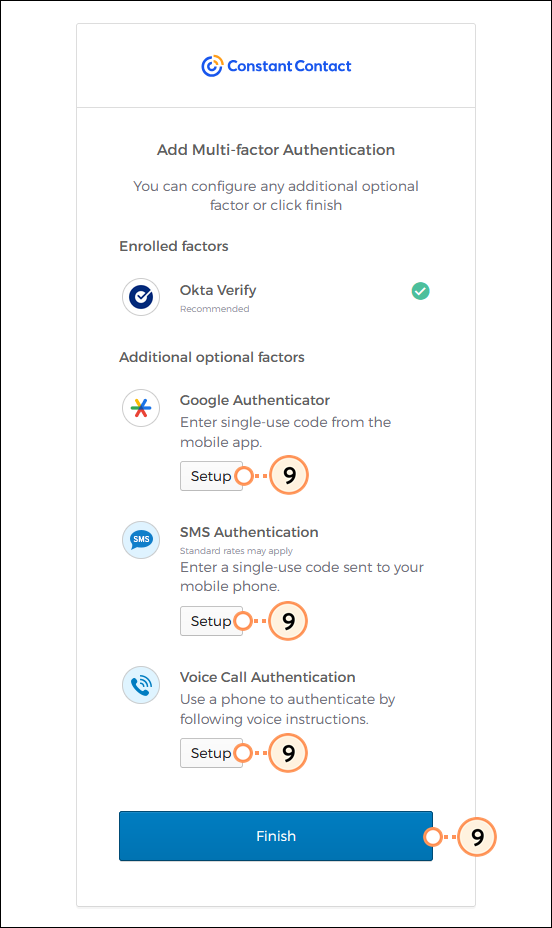
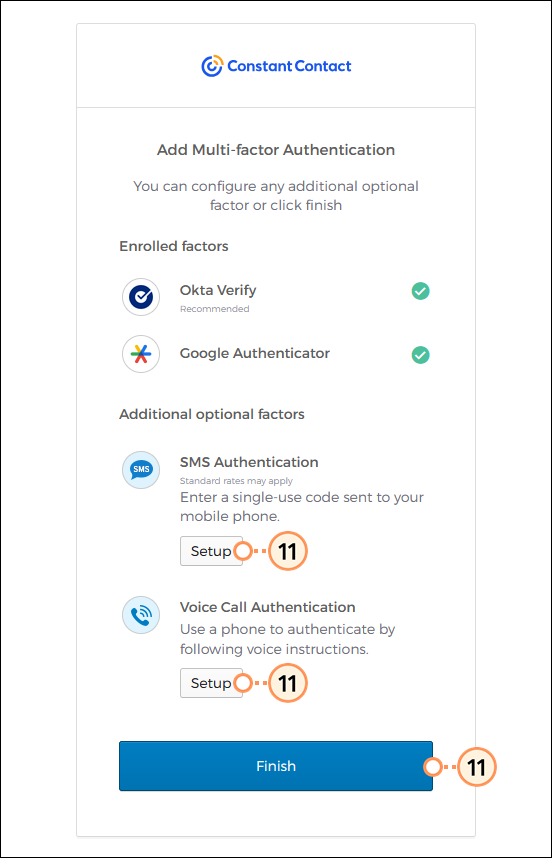
- It's recommended that you set up an additional secondary factor. Back on your desktop screen, click Setup for the next method you want to enroll in. If you're done setting up all your desired factors, click Finish.
Setting up Google Authenticator
If you're already using Google Authenticator and need help adding a new account, please visit Google's Support.
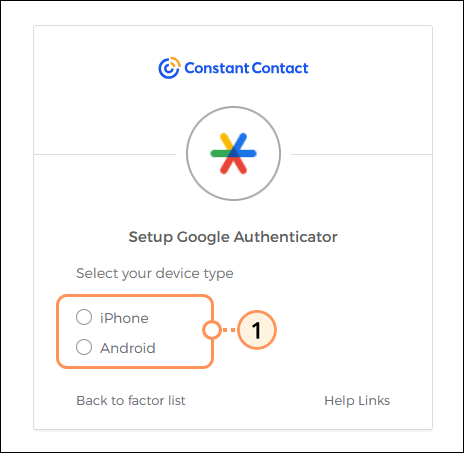
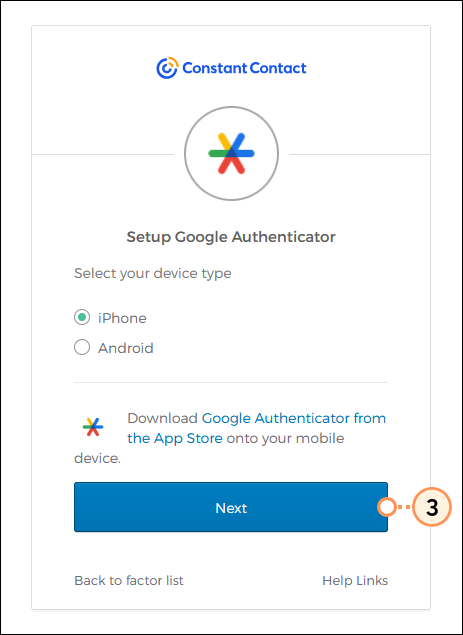
- Select if you have an iPhone or Android device.
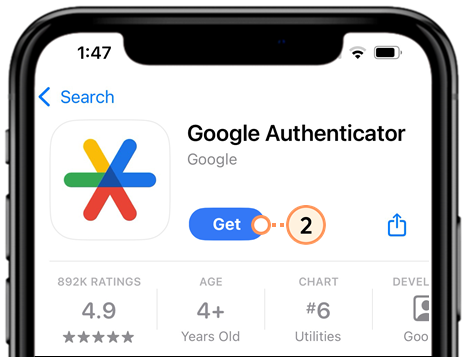
- Download the Google Authenticator app from your device’s app store.
- From your desktop screen, click Next.
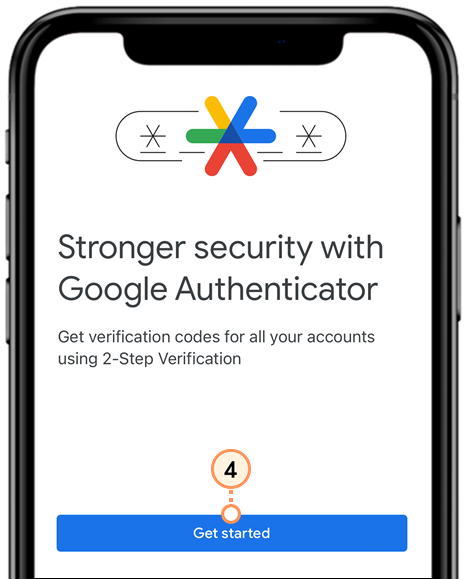
- Open the Google Authenticator app on your device and click Get started.
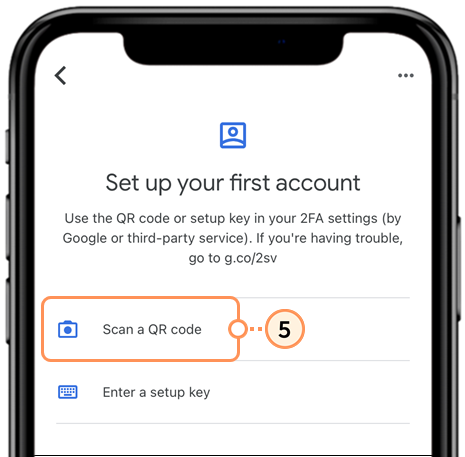
- Click Scan a QR code.
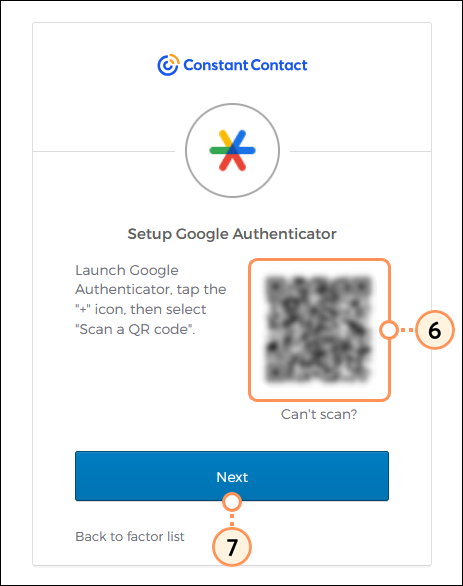
- Use your device’s camera to scan the QR code on your desktop screen.
- Click Next.
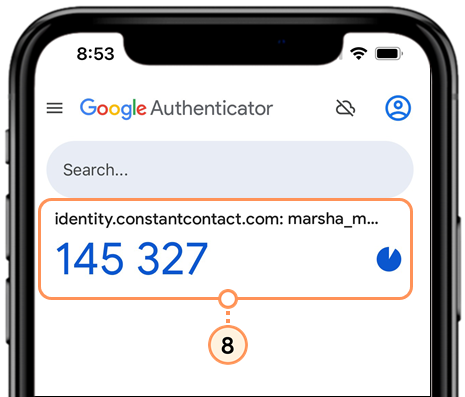
- Locate the code in the Google Authenticator app.
Note: Your Constant Contact account will display as “identity.constantcontact.com (your username)” within the Google Authenticator app.
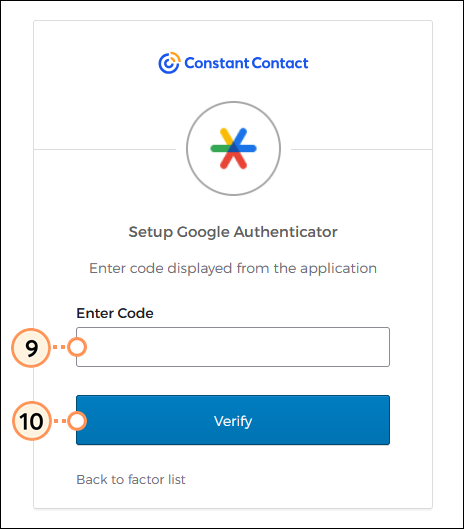
- Back on your desktop screen, enter the code in the field.
- Click Verify.
- It's recommended that you set up an additional secondary factor. Click Setup for the next method you want to enroll in. If you're done setting up all your desired factors, click Finish.
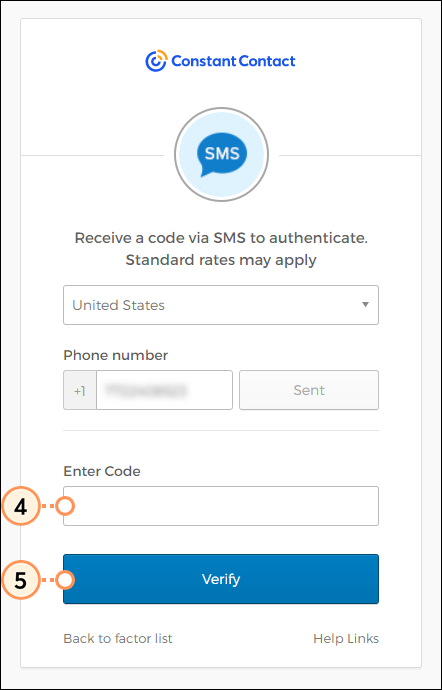
Setting up SMS Authentication
Note: Both U.S. and international numbers are supported with SMS authentication. Text and data rates may apply.
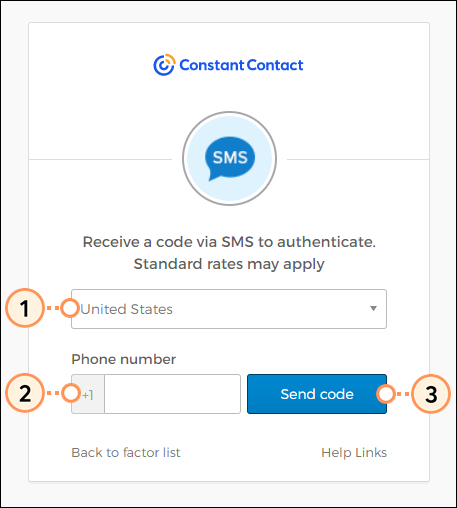
- Select your country from the drop-down.
- Enter your phone number in the field.
- Click Send code.
- In the field, enter the code you received via text message on your mobile device.
- Click Verify.
- It's recommended that you set up an additional secondary factor. Click Setup for the next method you want to enroll in. If you're done setting up all your desired factors, click Finish.
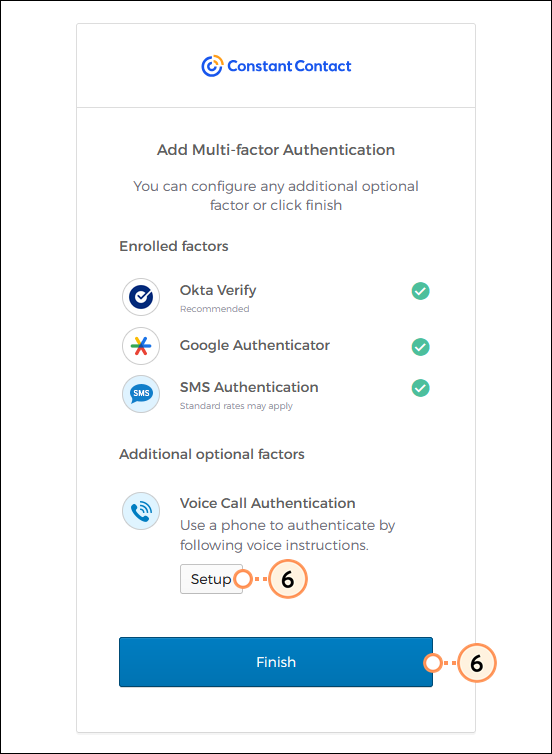
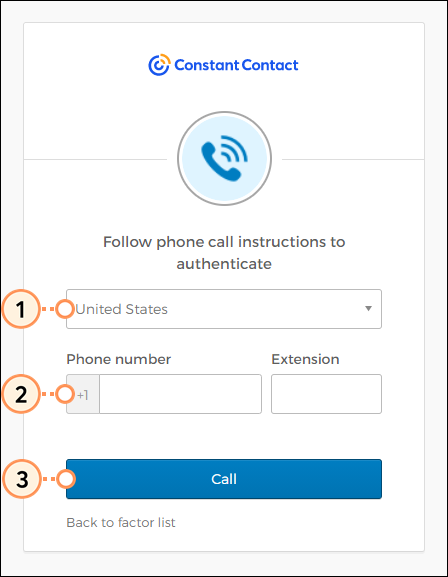
Setting up Voice Call Authentication
Note: Both U.S. and international numbers are supported with Voice Call authentication.
- Select your country from the drop-down.
- Enter your phone number in the field.
- Click Call.
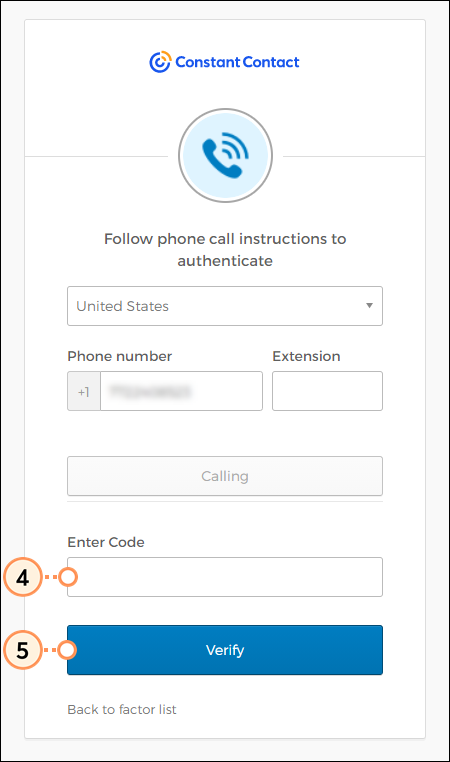
- Answer the call on your phone and enter the code provided.
- Click Verify.
- It's recommended that you select an additional secondary factor. Click Setup for the next method you want to enroll in. If you're done setting up all your desired factors, click Finish.
Logging in with MFA
Any time you log into your account from a device we don’t recognize, you’ll be required to enter your secondary factor of authentication.
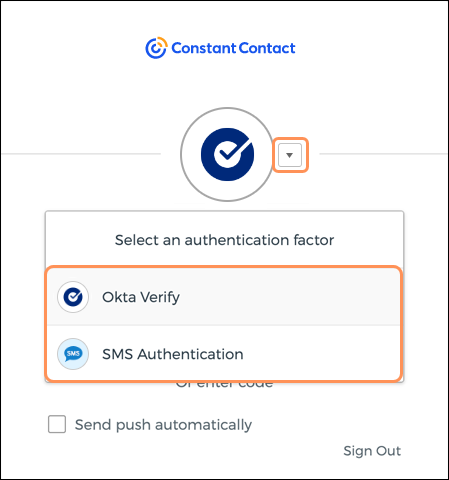
If you have more than one factor set up and want to use a different one to log in, click the arrow and select a factor from the drop-down.
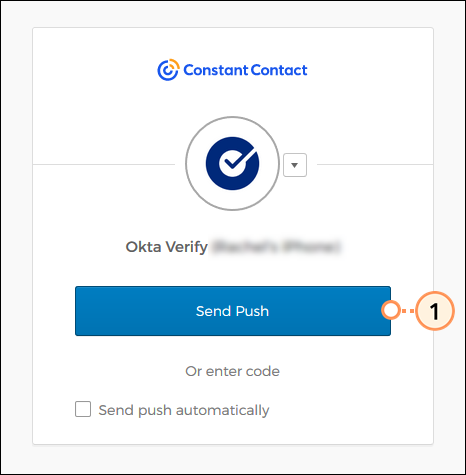
Logging in with Okta Verify
- Click Send Push.
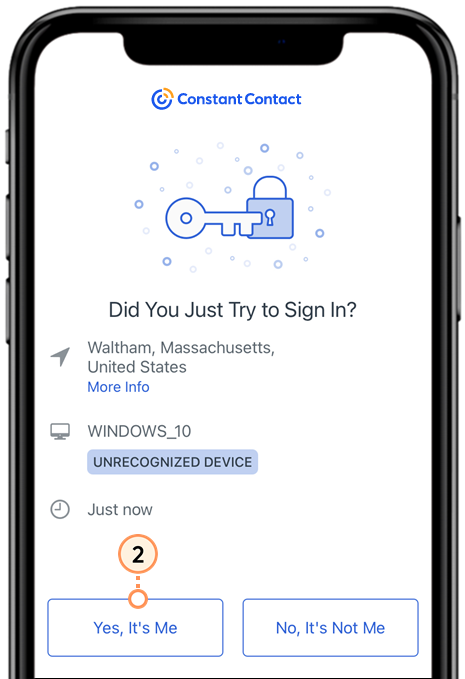
- Open the notification on your device and click Yes, It’s Me to approve the login attempt.
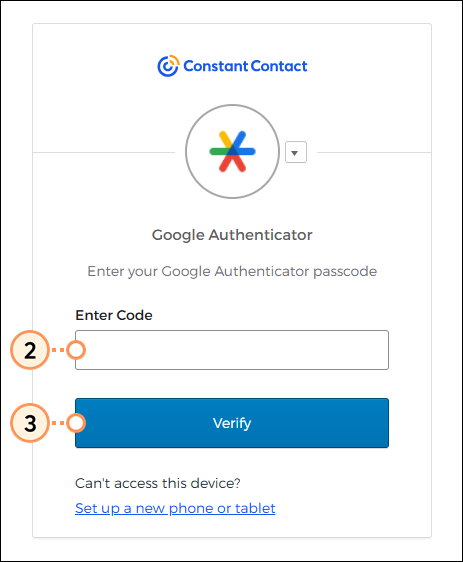
Logging in with Google Authenticator
- Open the Google Authenticator app on your device and locate the code provided.
Note: Your Constant Contact account will display as “identity.constantcontact.com (your username)” within the Google Authenticator app.

- On your desktop screen, enter the code in the field.
- Click Verify.
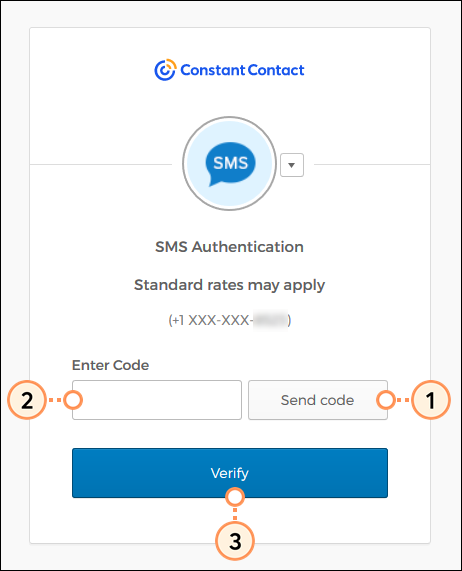
Logging in with SMS Authentication
- Click Send code.
- Enter the code received via text message.
Note: The code will be valid for 5 minutes. If the code expires, you’ll need to click Resend code to receive a new code. - Click Verify.
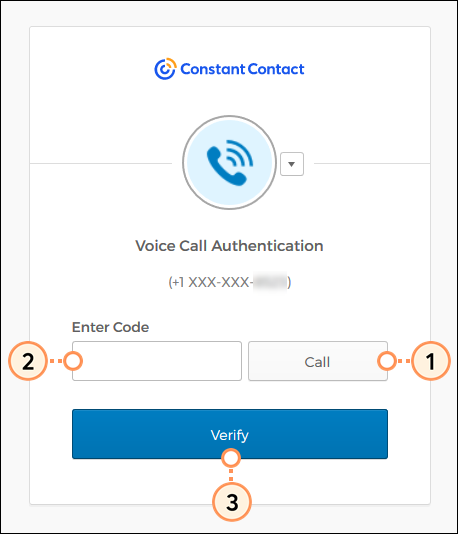
Logging in with Voice Call Authentication
- Click Call.
- Answer the call on your phone and enter the code provided.
- Click Verify.
Updating your secondary factors
If you need to update your MFA secondary factors, you can reset them from within your account or at login.
| Important: If you have multiple factors set up and want to reset one of them, you’ll need to update all of them. |
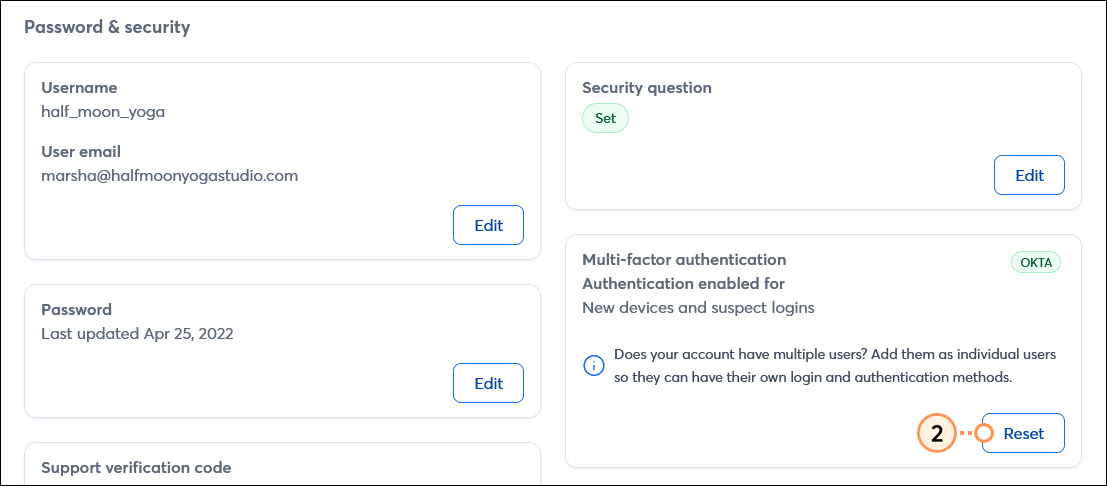
Within your account
If you're logged into your account:
- Depending on your account, click the three dots in the lower-left (or the profile icon if the menu is collapsed) or the profile name in the upper-right and select Settings.
- Scroll down to the Multi-factor authentication section and click Reset.
- If prompted, enter your Constant Contact username and password, then click Sign in.
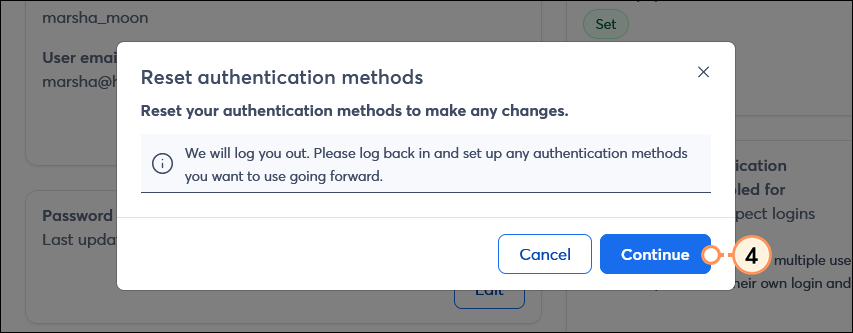
- Click Continue to reset your MFA factors. You'll be logged out of your account.
When you log back into your Constant Contact account, you’ll be prompted to set up your new secondary factors.
While logging in
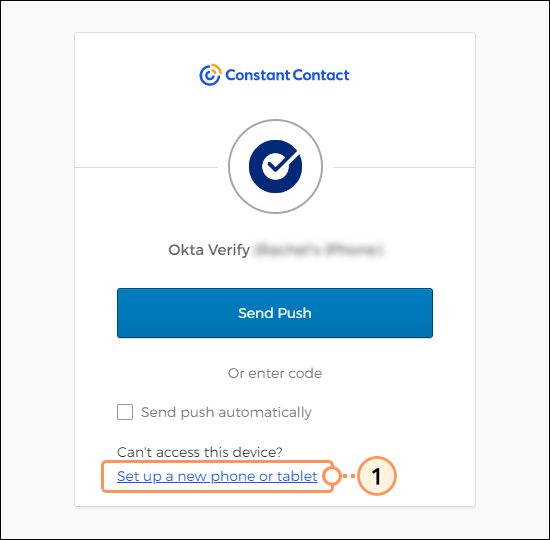
If you lost or don’t have access to the device you used to set up MFA, you can reset your factors at login.
Simply click the “Set up a new phone or tablet” link and then follow the prompts on the screen to continue setting up a new device for authentication.
Once you're finished, the next time you log back into your Constant Contact account, you’ll be prompted to set up your new secondary factors.
Any links we provide from non-Constant Contact sites or information about non-Constant Contact products or services are provided as a courtesy and should not be construed as an endorsement by Constant Contact.