In certain scenarios, you may want your contacts to each receive a different, unique image within an email. If you want to dynamically insert images into your email, then this guide is for you.
| Administrators | ✓ | |
| Company Managers | ||
| Marketing Managers | ||
| Sales Managers | ||
| Salespersons | ||
| Jr. Salespersons |
The Dynamic URL field will accept two different kinds of merge variables. You can either create Setting Global Merge Variables, or you can create Creating Custom Fields.
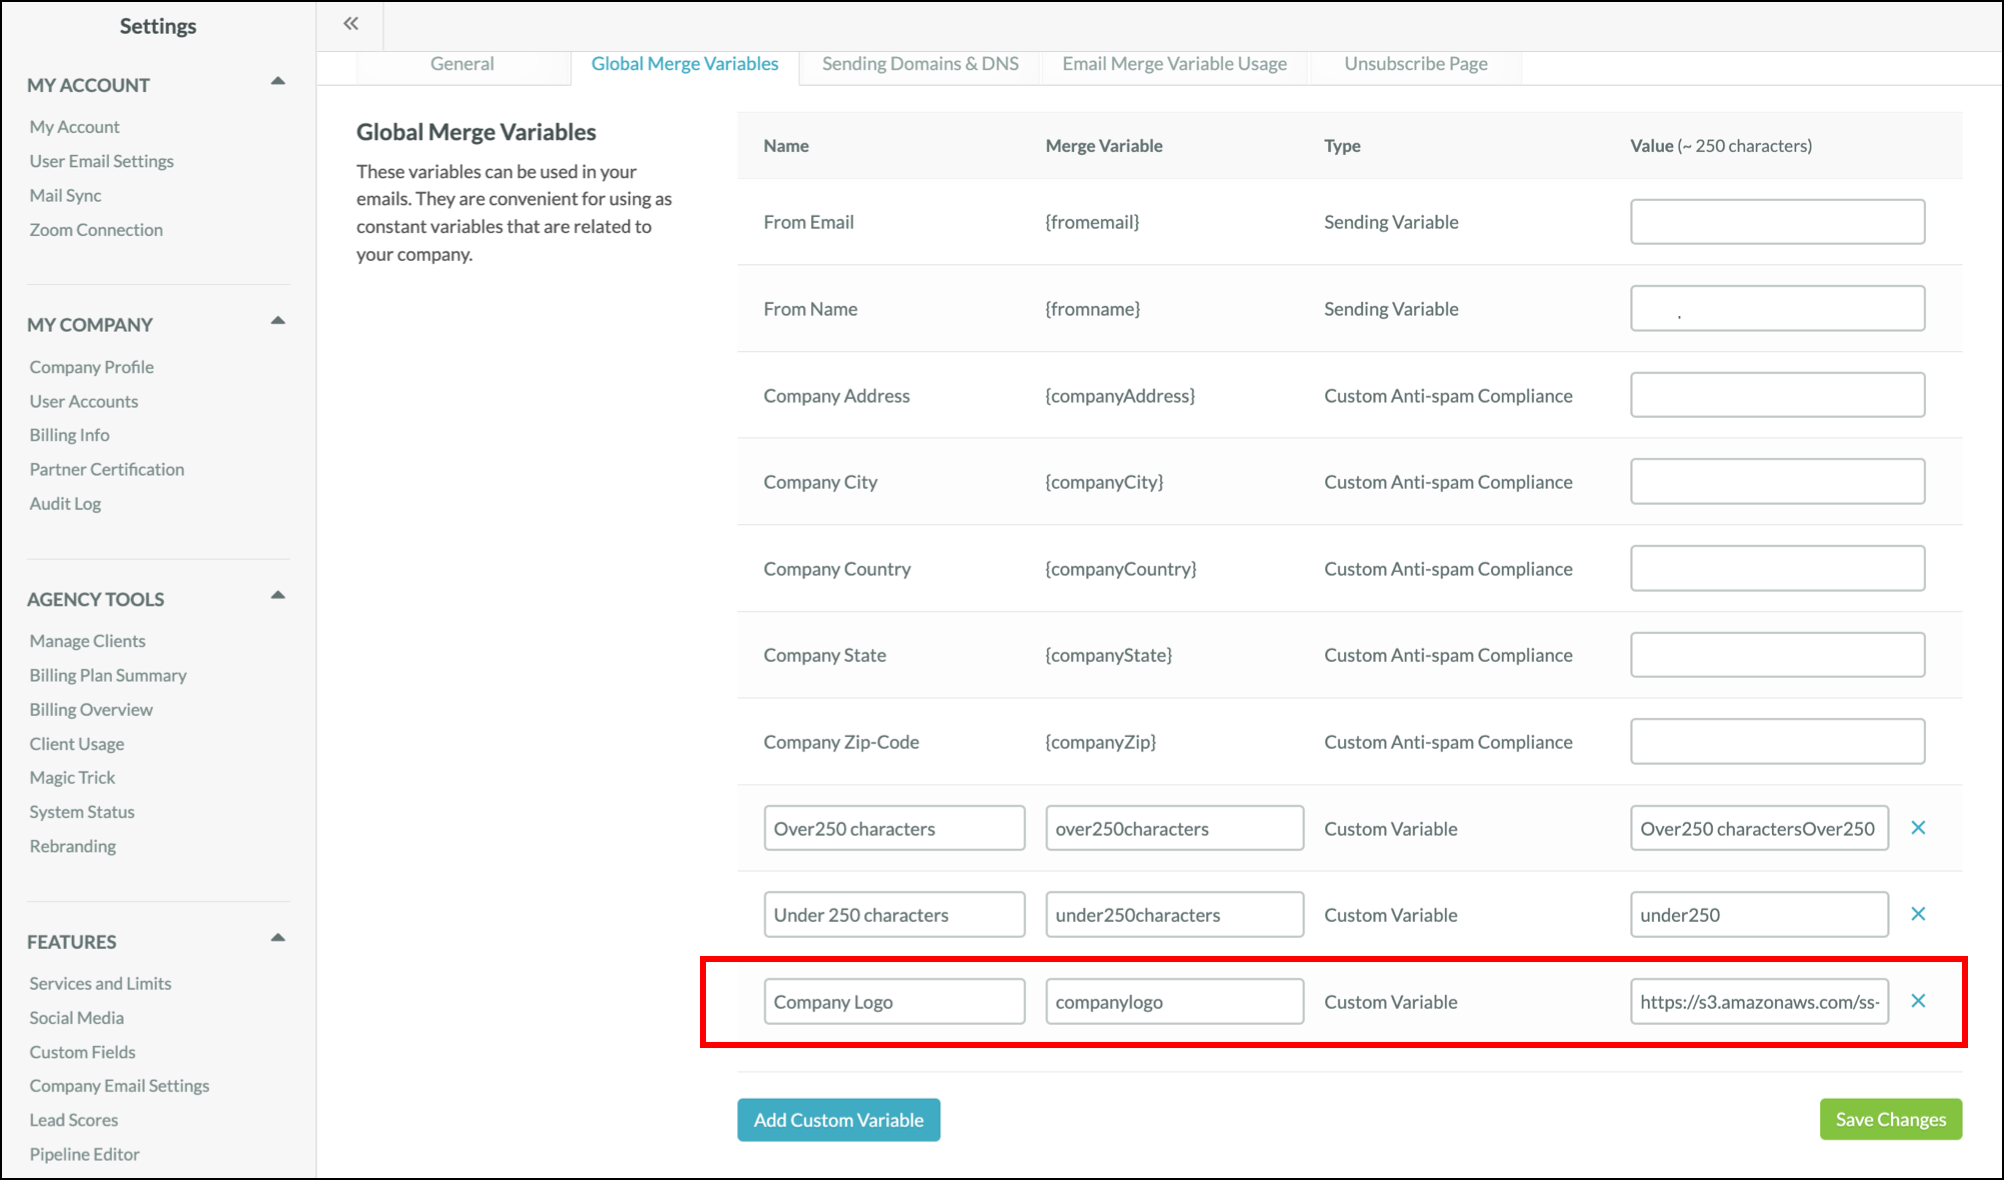
If you want the exact same image to appear whenever you insert the variable as an image URL–for example, if you always want your business’ logo to appear when you use {$companyLogo} — you will create the variable as a Global Merge Variable. Within the Global Merge Variable, you will need to ensure your image is hosted on either your website or within Lead Gen & CRM. Then you can copy and paste the image URL into the “Value” field for the Global Merge Variable.
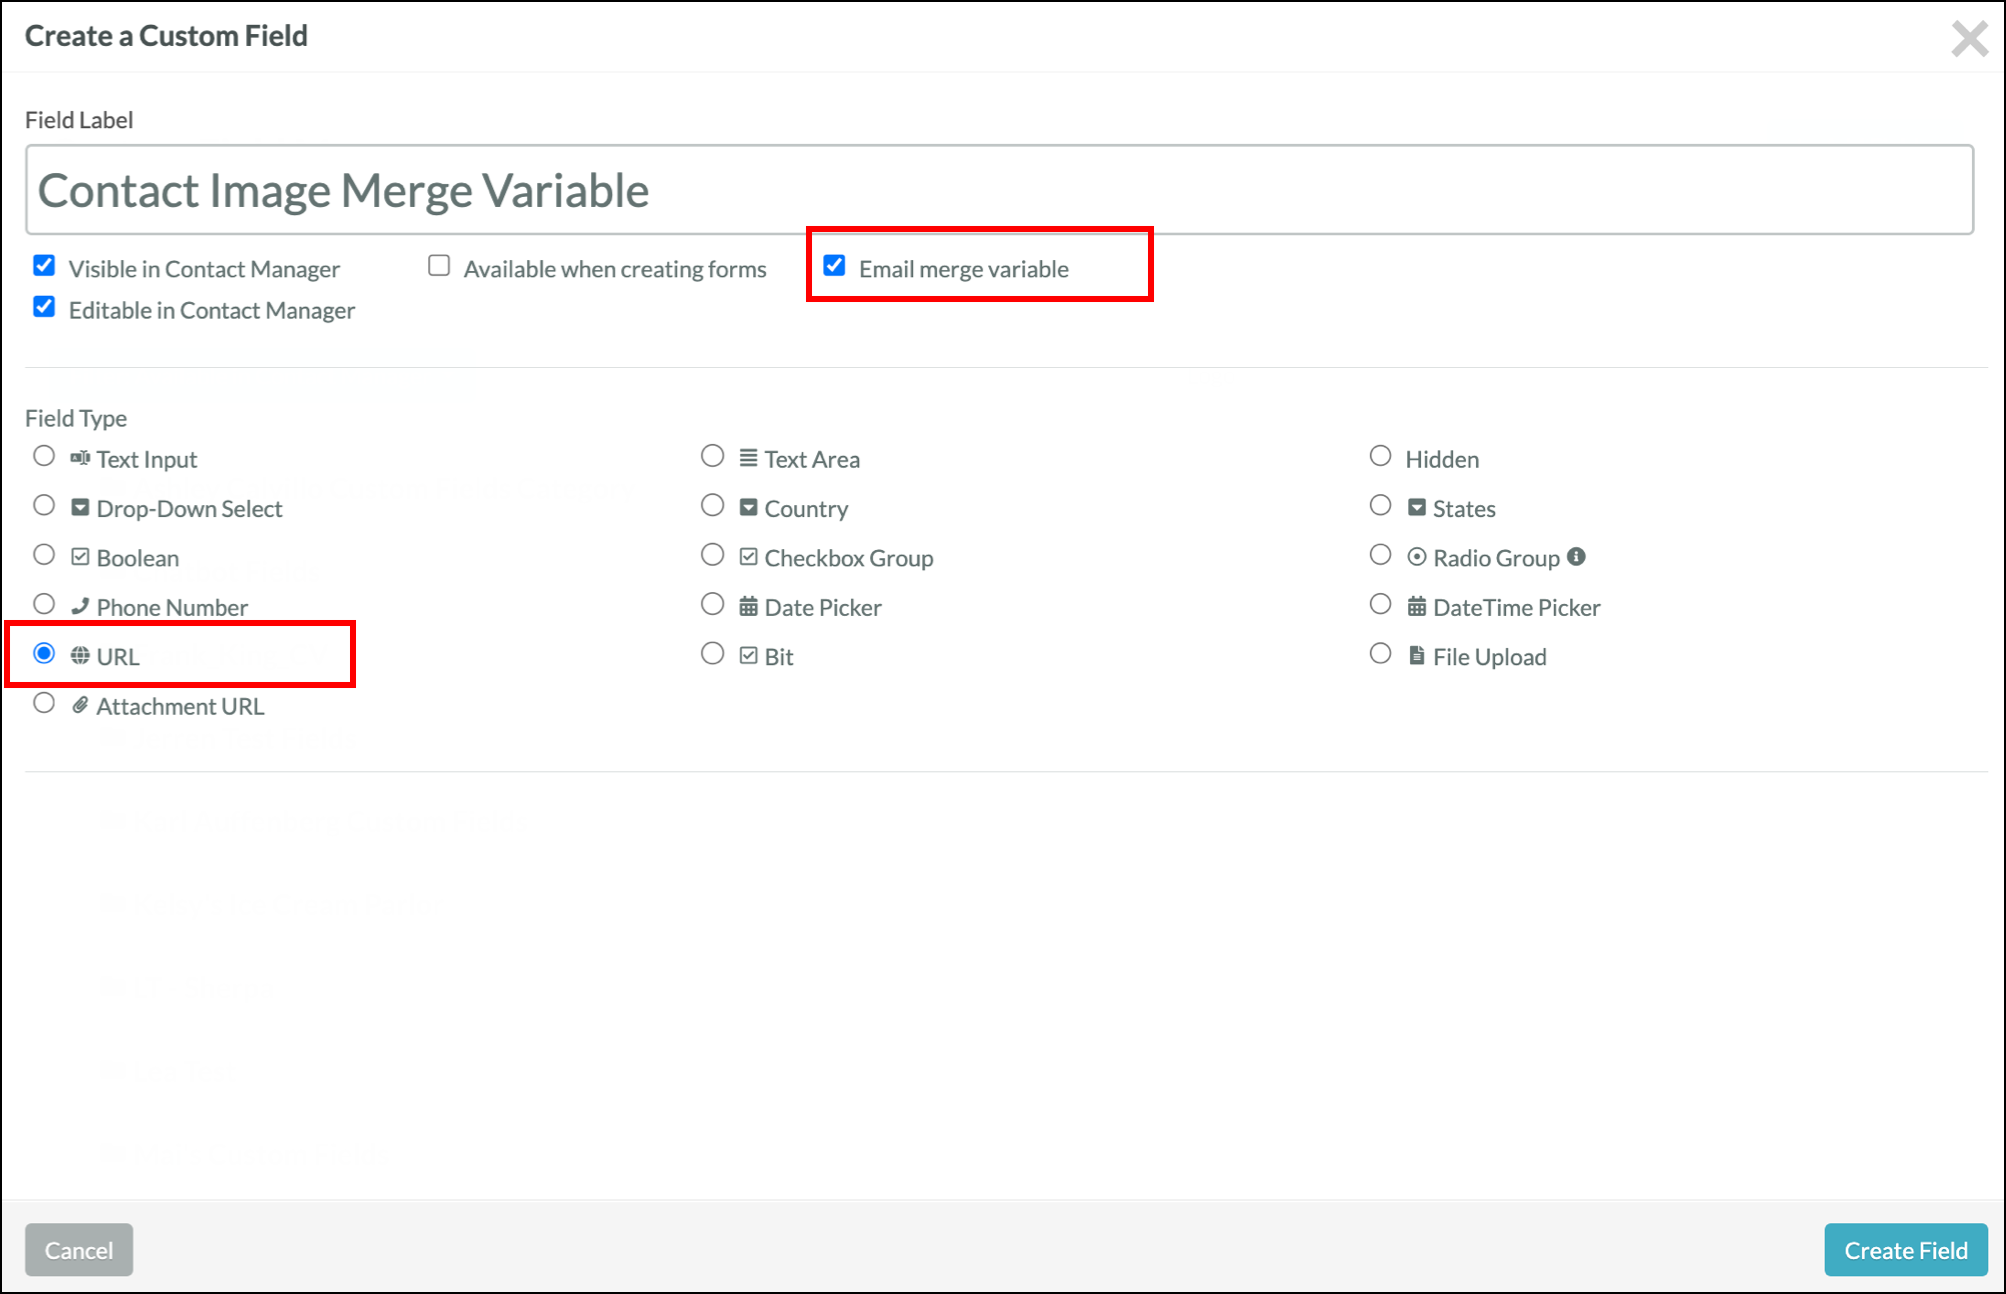
If you want each individual contact to receive a different image, you will want to create a URL Custom Field with the “Email Merge Variable” checkbox enabled. Once that custom field is created, you can upload a file with the image URLs to update that value on each of your leads.
NOTE: Both Global Merge Variables and Custom Fields have a limit of 255 characters. If your image URLs are longer than 255 characters, they will be cut off and will not properly populate in your emails.
If using a Global Merge Variable, please note you will need to copy/paste the merge variable that you created above and put brackets with a $ symbol — ex. {$companyLogo} — into the Dynamic URL box, as mentioned in Step 3.
If you are using a Custom Field Merge Variable, you will need to collect the ID by first inserting the merge variable into a text box. To do this, you will need to:
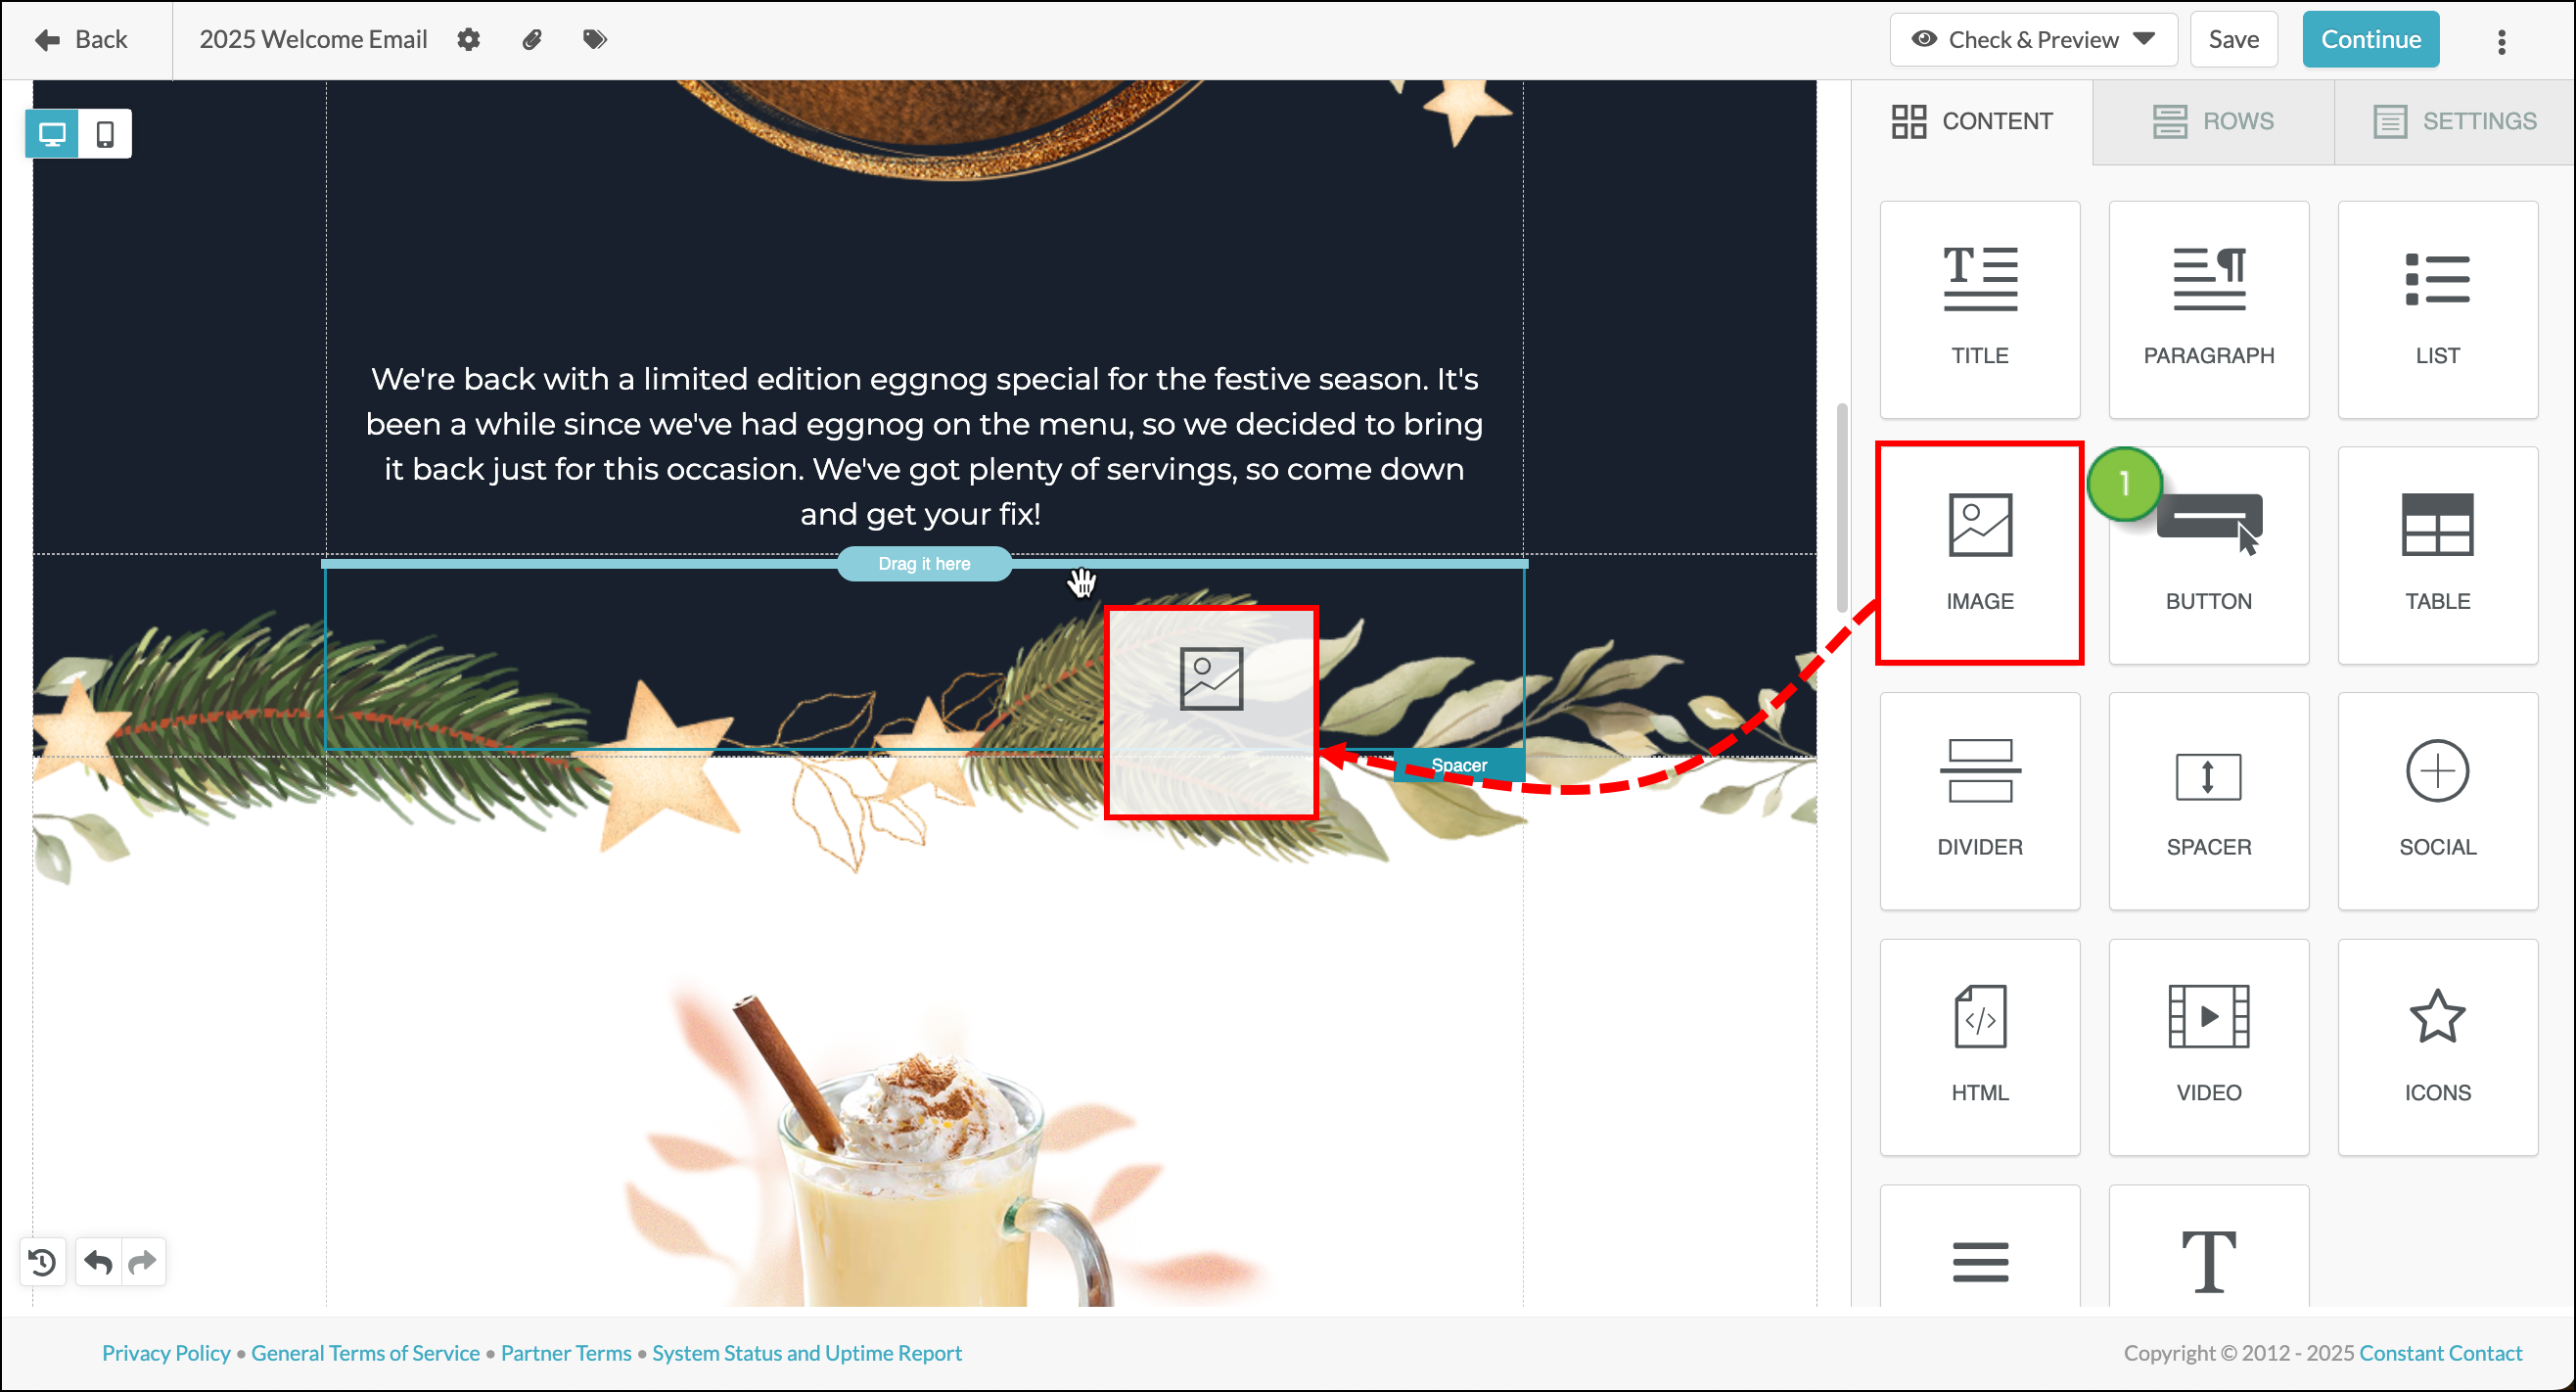
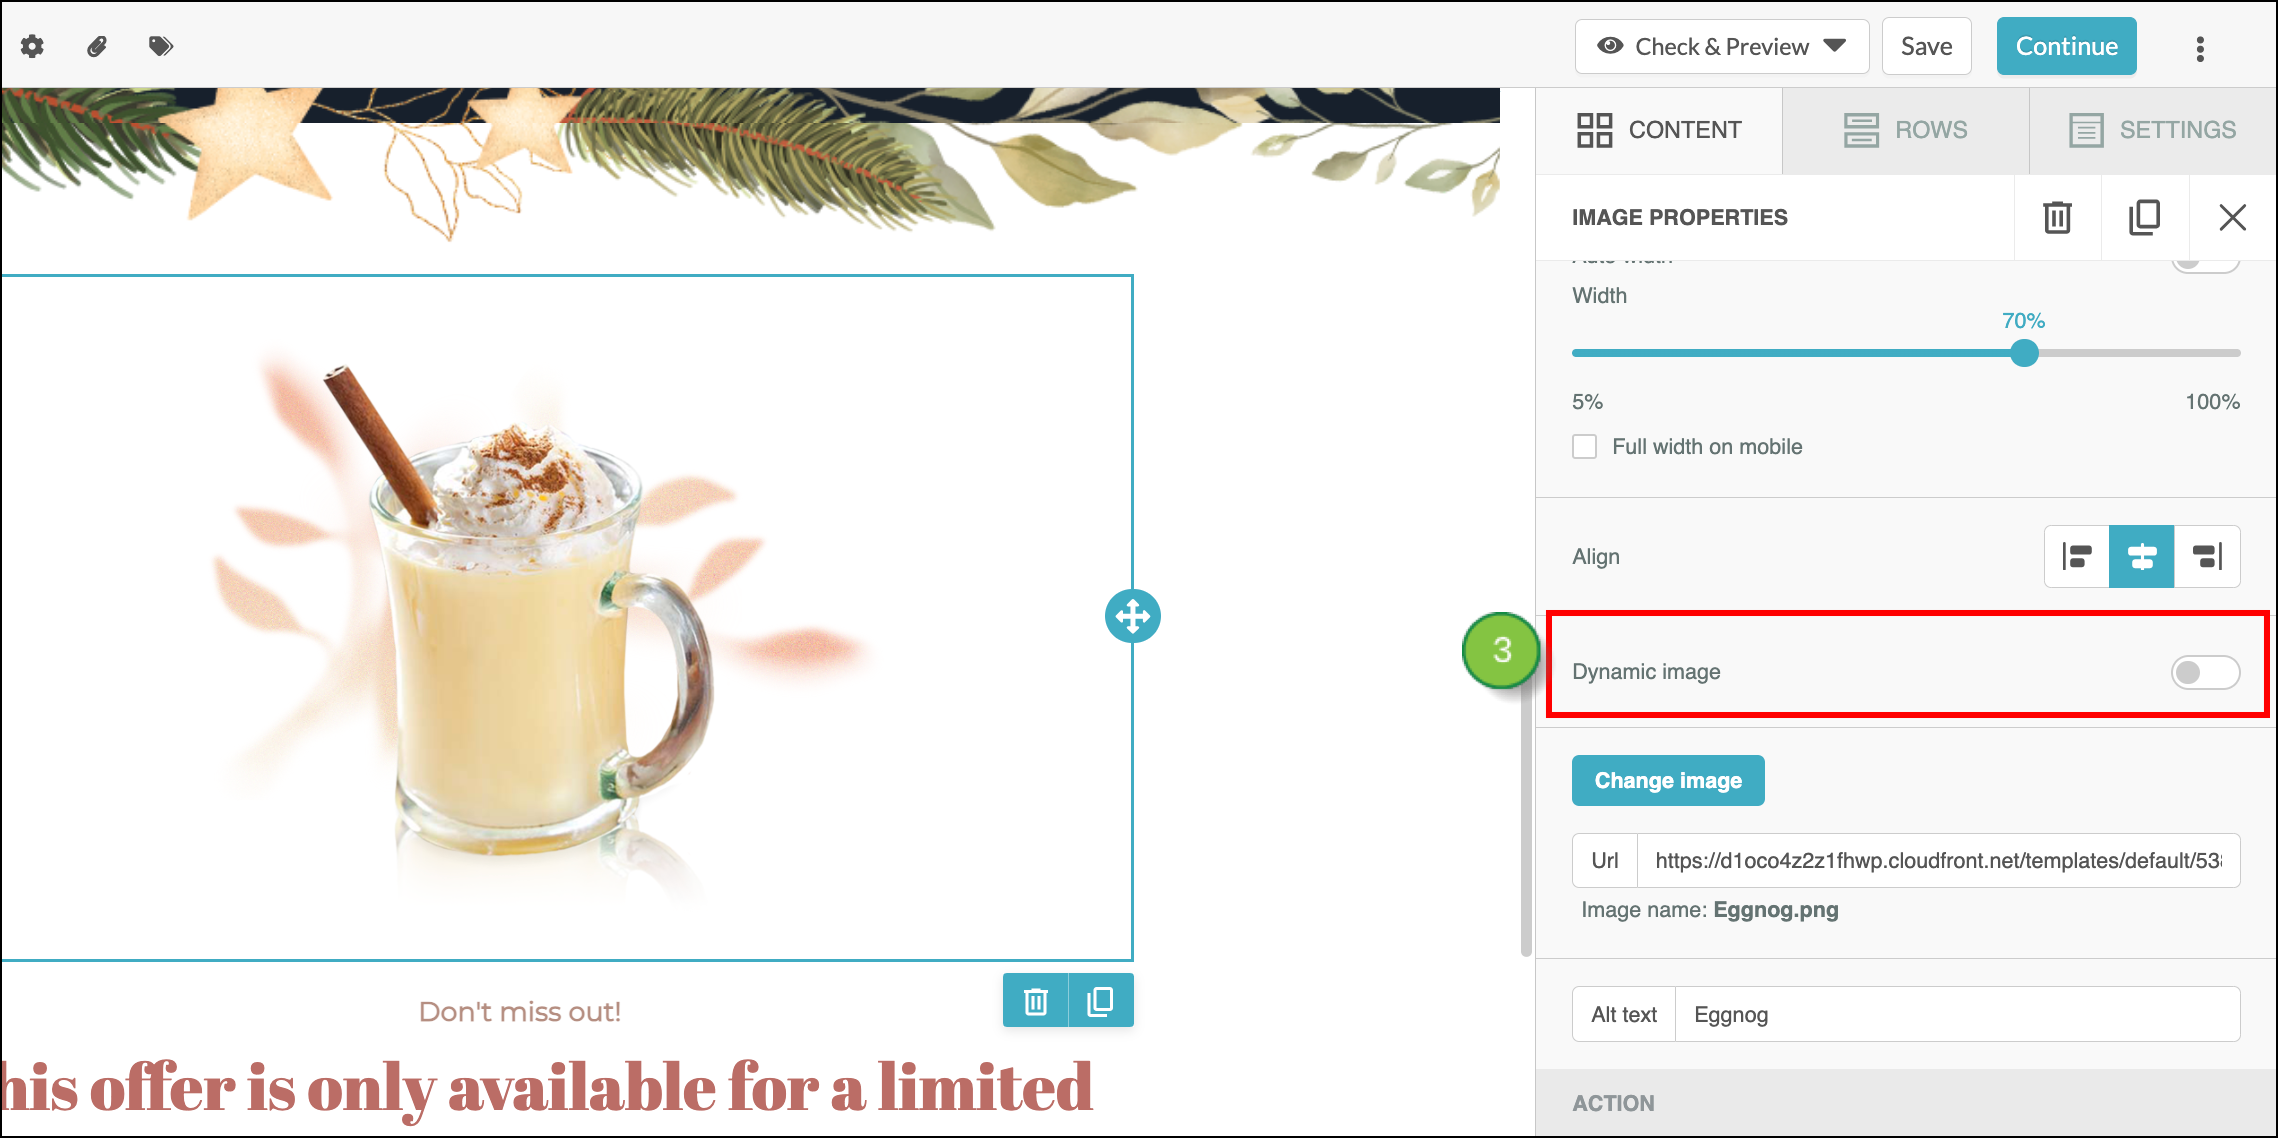
Now that you have copied the Merge Variable you will use, we can set up the Dynamic Image.
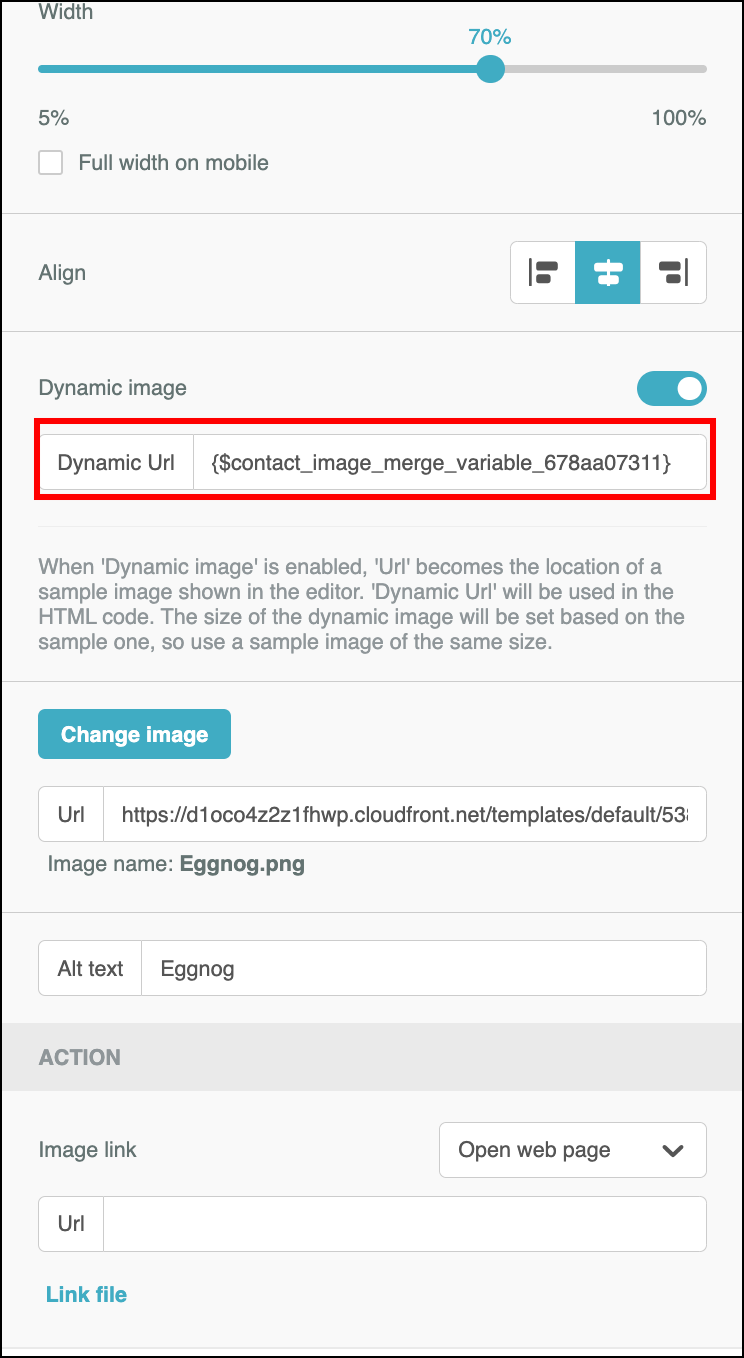 | 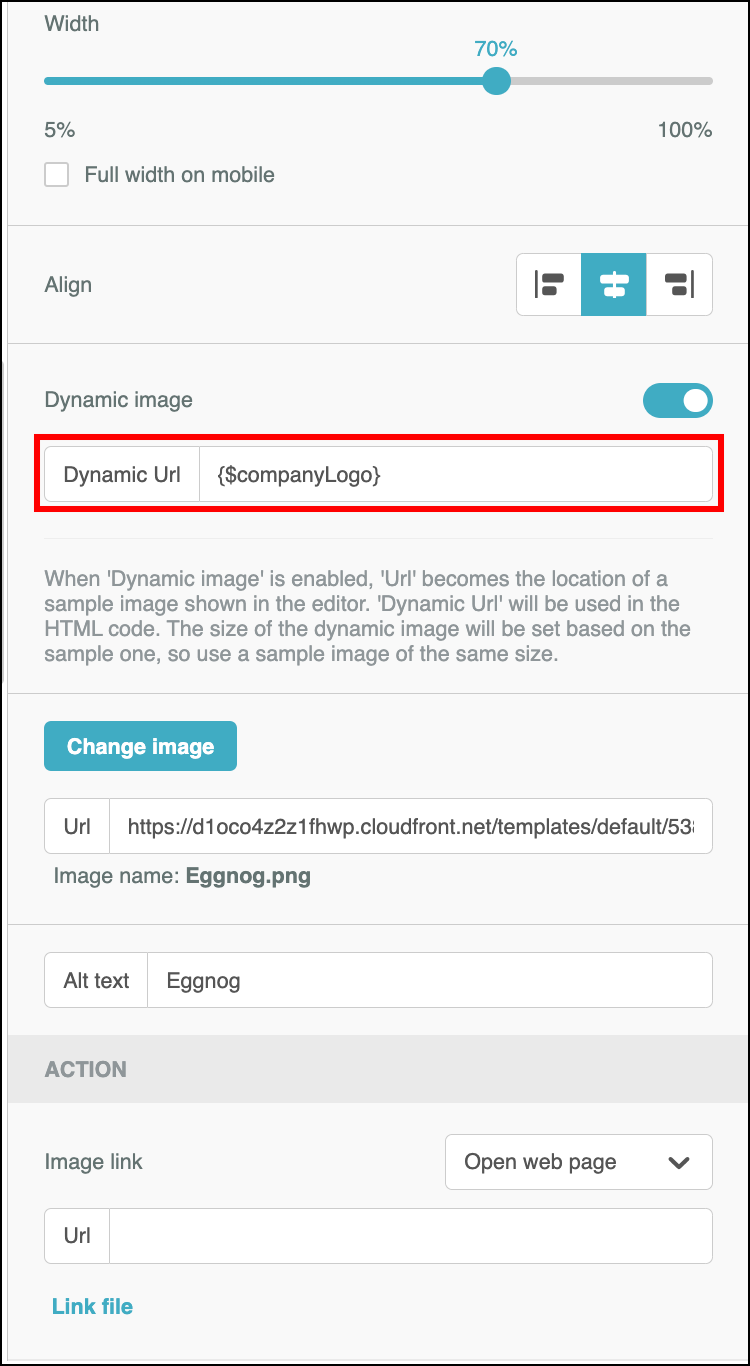 |
| Custom Field Merge Variable Example | Global Merge Variable Example |
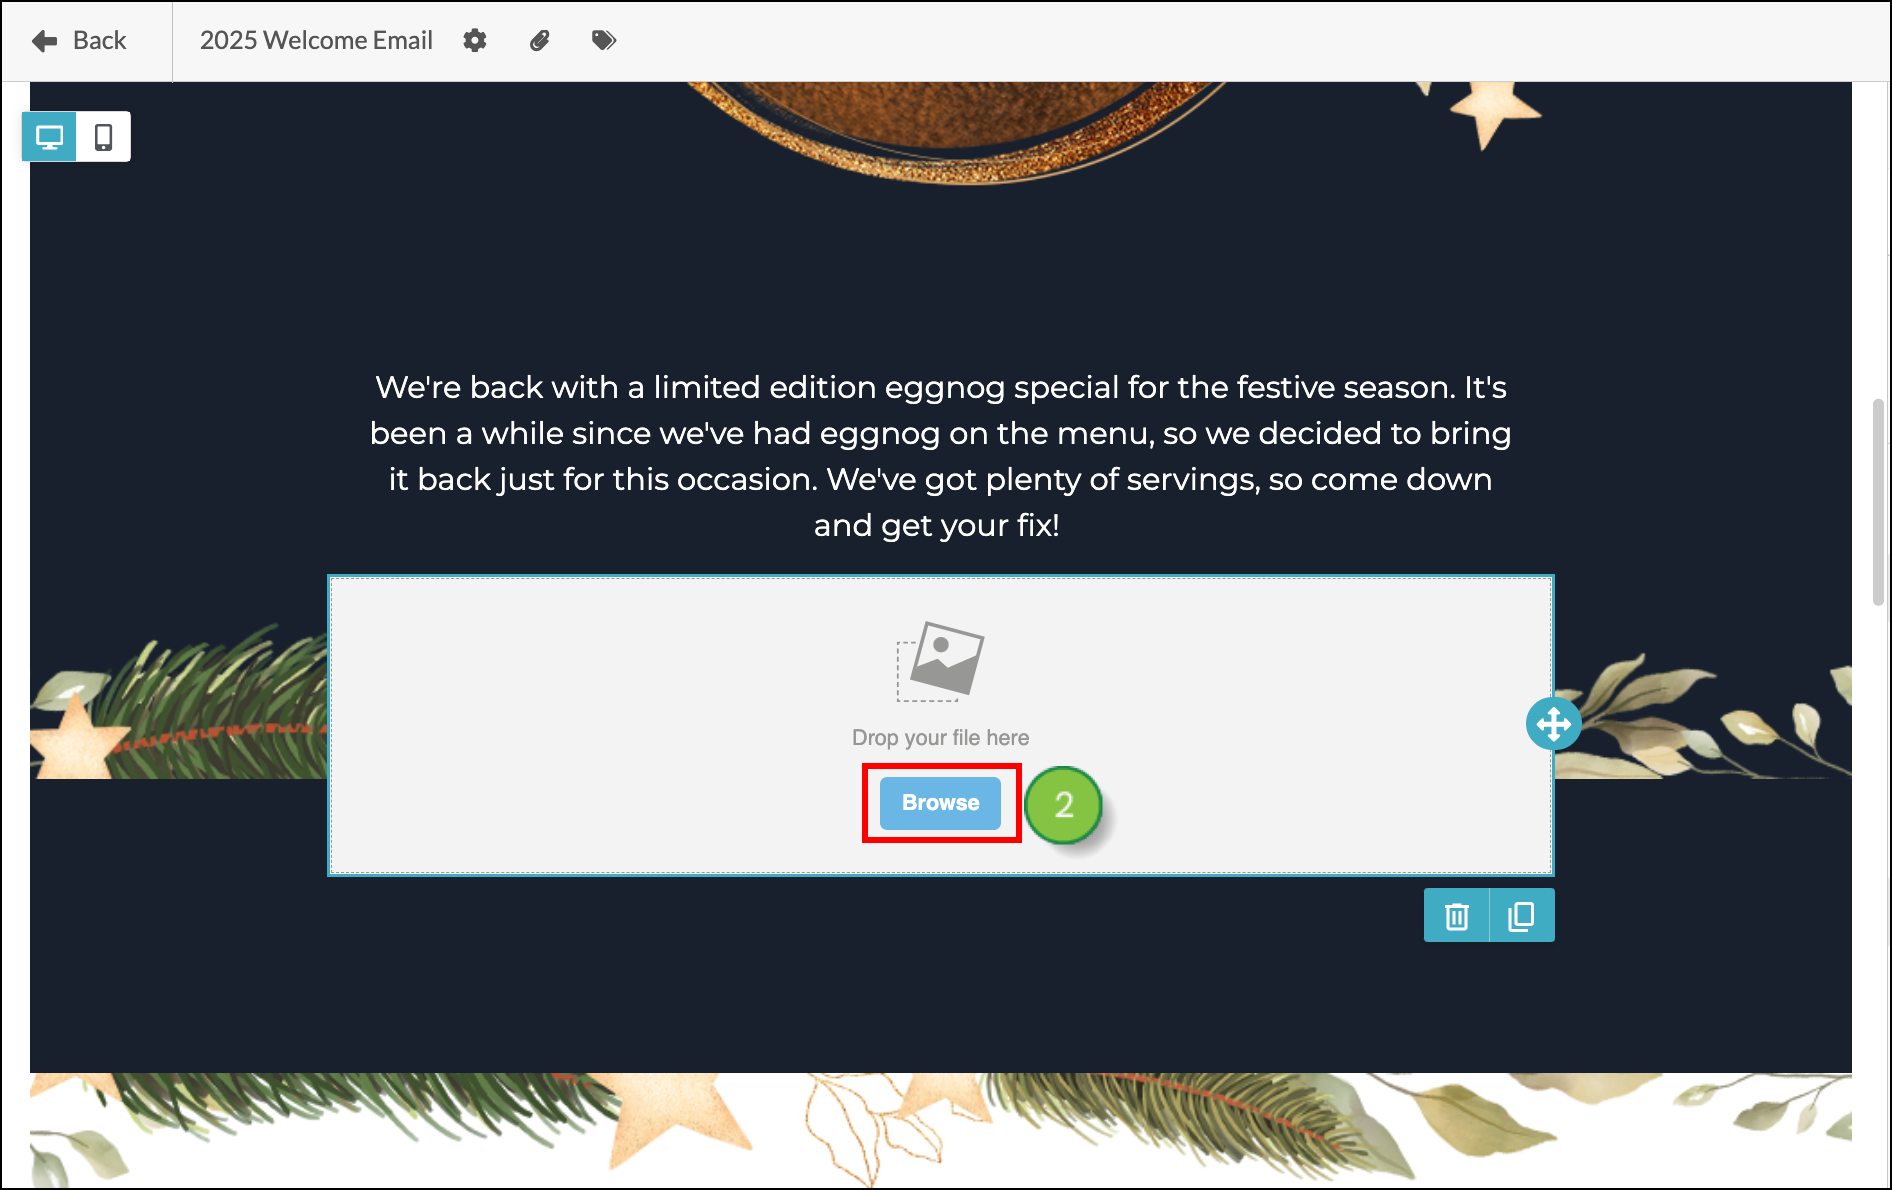
NOTE: The size of the dynamic image will be set based on the sample one, so use a sample image of the same size. If your dynamic image is not the same size as the placeholder image, your readers may receive images that are smaller or larger than intended or become otherwise distorted.
After setting up your Dynamic Image, it is important that you send a few Preview emails to test and ensure that the correct Dynamic Image is populating.
You can send a Preview Email by following the Sending Preview Emails. If using a Custom Field URL, When sending a Preview Email you will need to ensure you select an example Contact who has data in that field. If you select a Contact for whom that field is blank, the default image will appear in both the Preview and the Live email.
Copyright © 2026 · All Rights Reserved · Constant Contact · Privacy Center