Opportunities are created and added to a pipeline to monitor progress across deal stages in the sales process. Opportunities can be created in the Opportunity Drawer.
This article will explain how to create opportunities in the Opportunity Drawer.
| Administrators | ✓ | |
| Company Managers | ✓ | |
| Marketing Managers | ||
| Sales Managers | ✓ | |
| Salespersons | ✓ | |
| Jr. Salespersons |
|
The Opportunity Drawer holds all of the relevant information that is tied to an opportunity. This information includes the necessary field data that serves as the opportunity's foundation, the contacts that are associated with the opportunity, tasks that pertain to the opportunity, and all related communication that has been sent to the opportunity's contacts. You can create opportunities in the Opportunity Drawer. The Opportunity Drawer is found wherever opportunities are: |
|
|
You can create opportunities through the Opportunity Drawer. Created opportunities will be housed in the Opportunity Manager. Opportunities can be based on existing contacts, or you can create opportunities with new contacts. |
|
|
You can create opportunities with existing contacts. To create an opportunity in the Opportunity Drawer that has an existing contact, do the following:
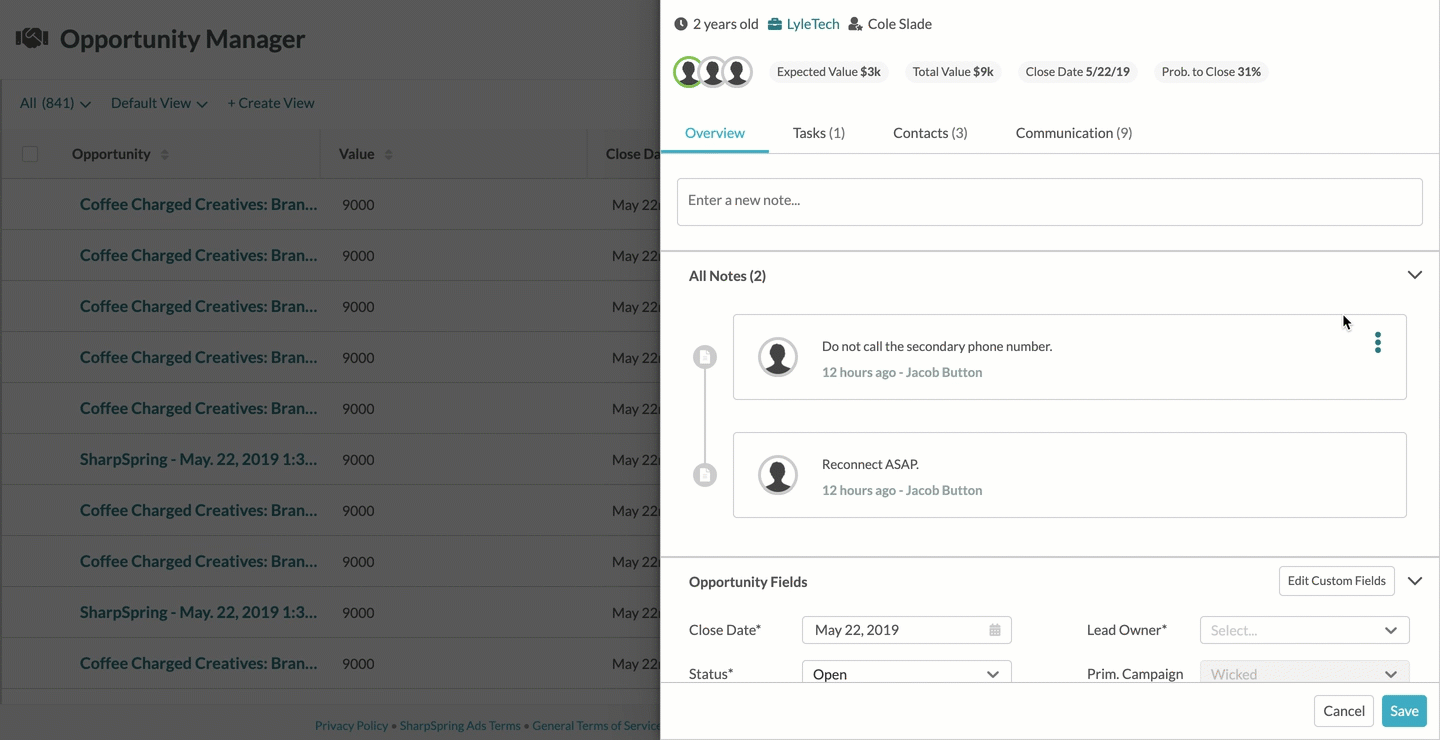
Once created, the Opportunity Drawer will display important information at the top of the opportunity, including the following:
|
| |||
|
| ||||
|
Important: Fields marked with an asterisk * are mandatory. Data must be entered into these fields.
| ||||
|
Note: Contacts can be attributed to multiple opportunities, but each opportunity will need to be created separately.
| ||||
|
| ||||
|
Note: You can have multiple contacts in one opportunity. However, you must have a primary contact associated with an opportunity.
| ||||
|
| ||||
|
Note: The expected value is calculated by the total value of the deal multiplied by the percentage to close. The probability to close will automatically populate based on the pipeline stage the opportunity is in, but can be manually changed.
| ||||
|
|
|
You can create opportunities with new contacts. To create an opportunity in the Opportunity Drawer with a new contact, do the following:
Once created, the Opportunity Drawer will display important information at the top of the opportunity, including the following:
|
| |||||
|
| ||||||
|
Important: Fields marked with an asterisk * are mandatory. Data must be entered into these fields.
| ||||||
|
Note: Contacts can be attributed to multiple opportunities, but each opportunity will need to be created separately.
| ||||||
|
| ||||||
|
Note: You can have multiple contacts in one opportunity. However, you must have a primary contact associated with an opportunity.
| ||||||
|
| ||||||
|
Note: The expected value is calculated by the total value of the deal multiplied by the percentage to close. The probability to close will automatically populate based on the pipeline stage the opportunity is in, but can be manually changed.
| ||||||
|
|
|
You can edit created opportunities as necessary. To edit opportunities, do the following:
|
|
|
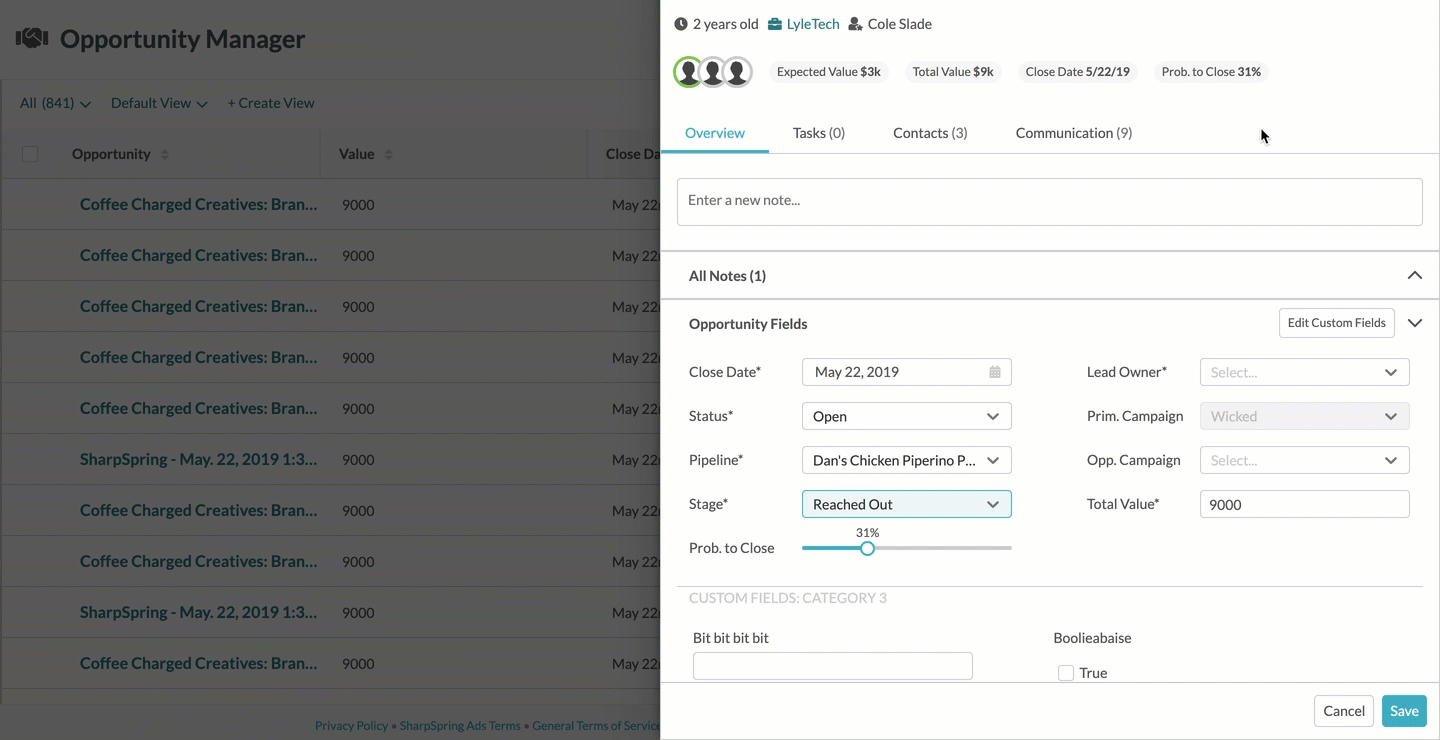
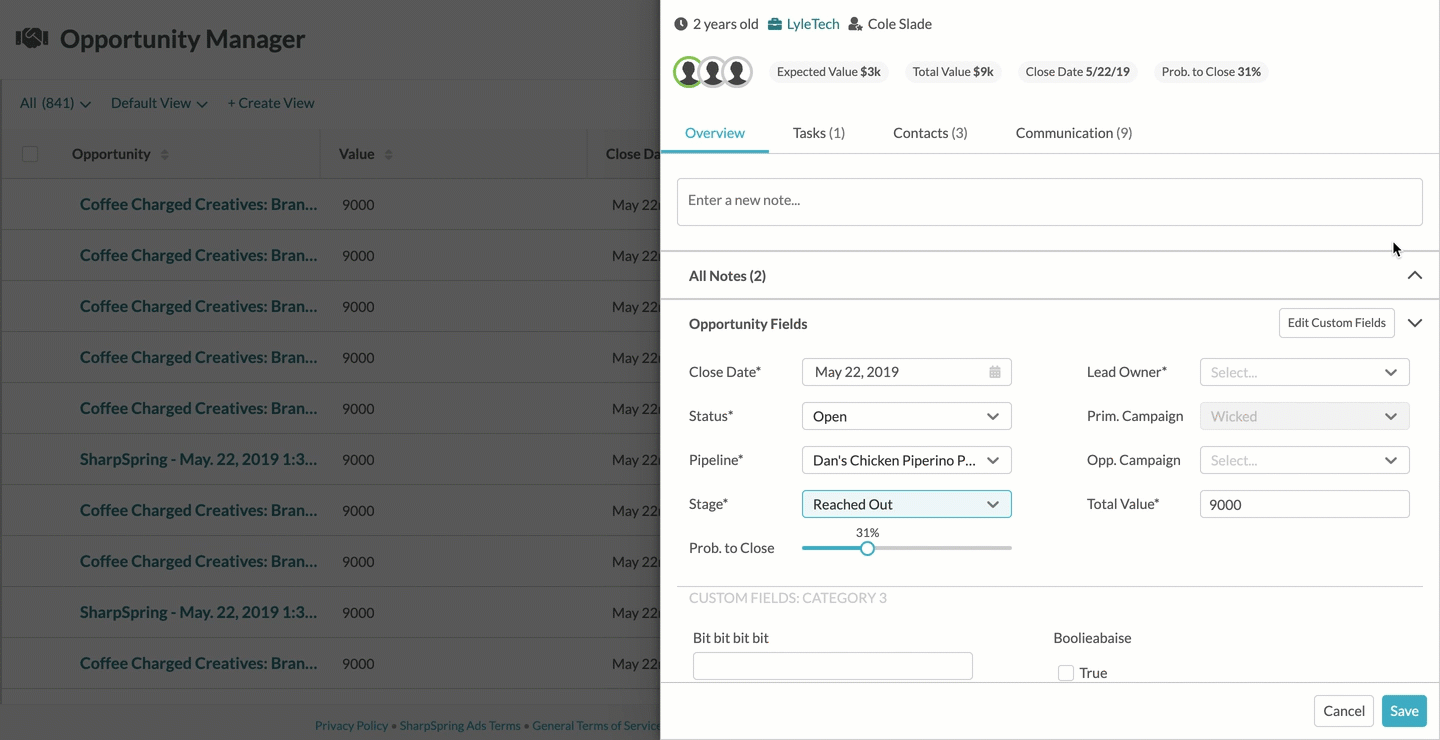
You can enter notes into opportunities. Notes normally contain associated information about the contact or opportunity. To enter notes in the Overview tab, do the following:
|
|
|
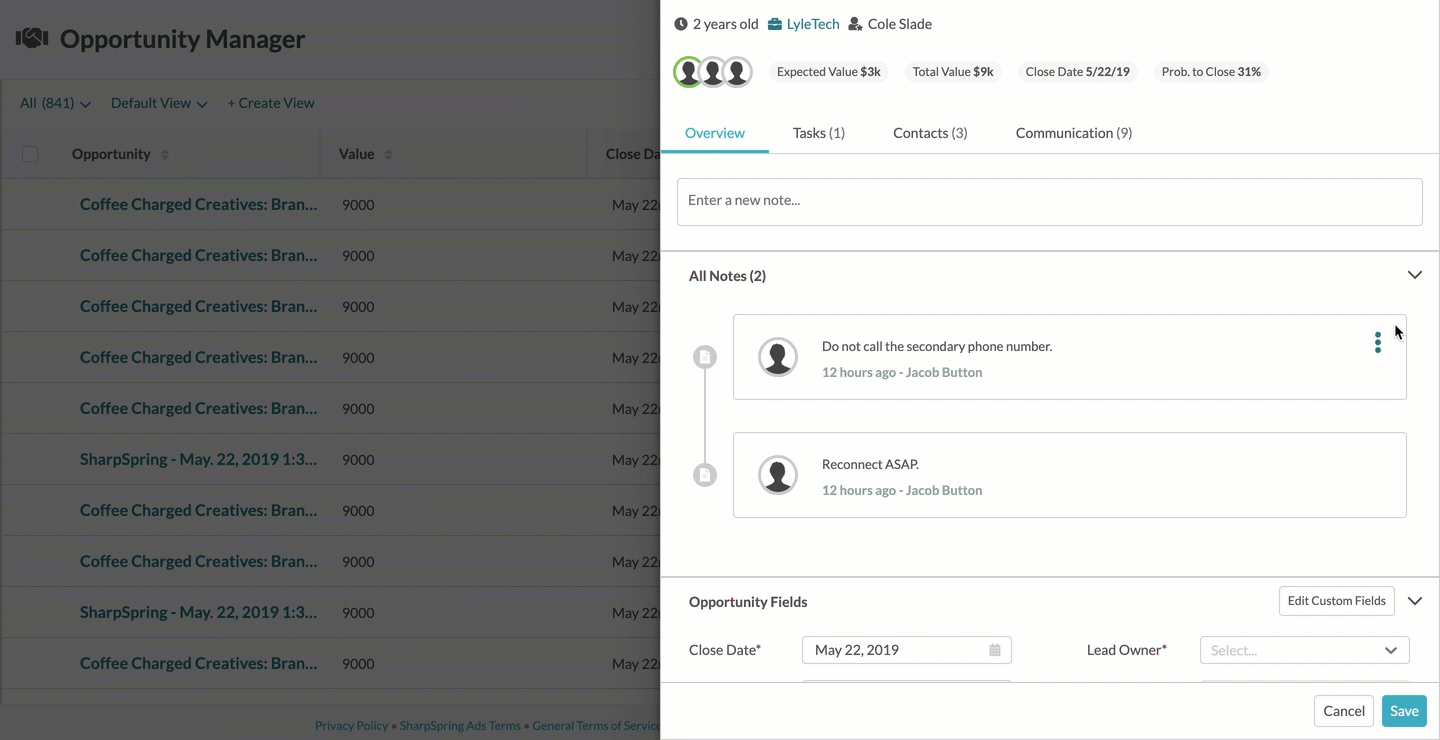
You can edit previously entered notes as necessary. To edit opportunity notes in the Overview tab, do the following:
|
|
|
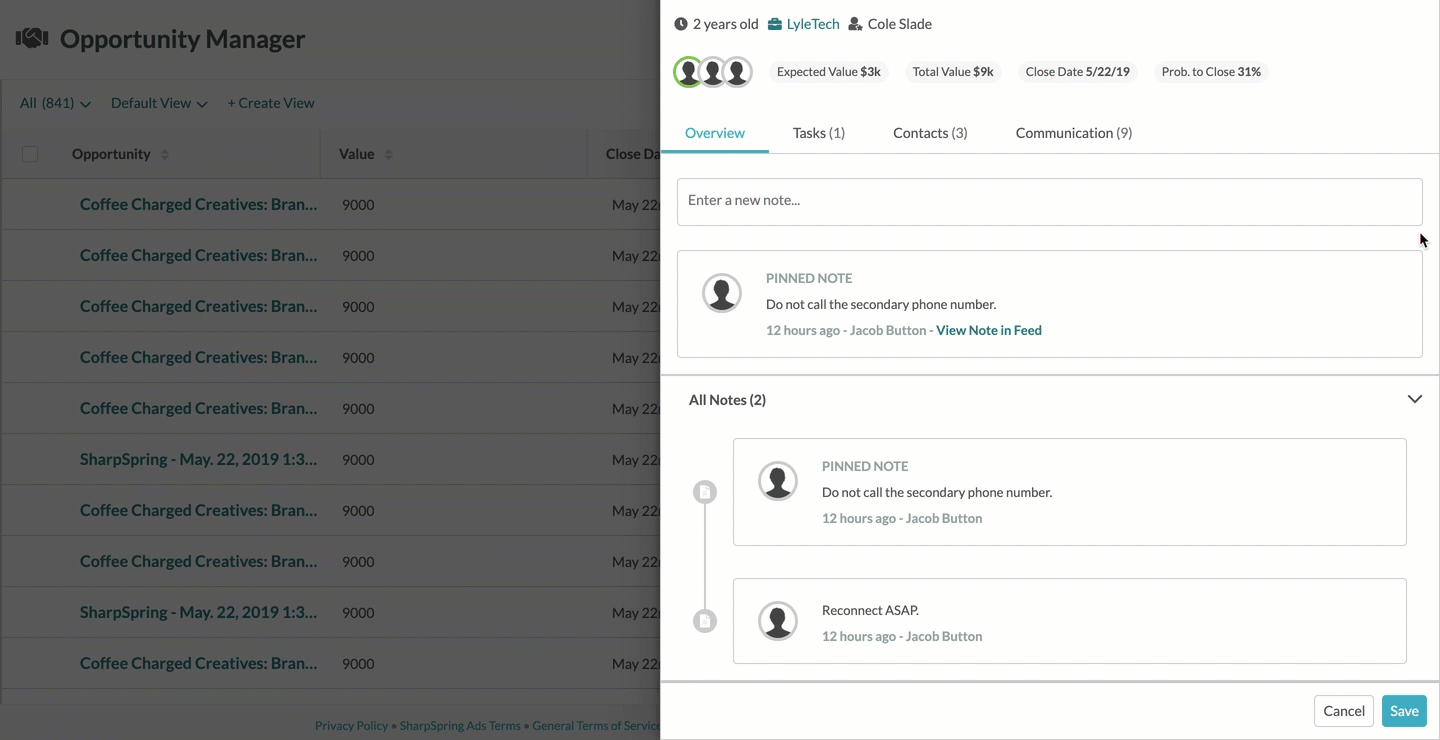
You can pin important opportunity notes. Pinned notes will appear above other notes in the opportunity. To pin opportunity notes in the Overview tab, do the following:
|
|
|
You can unpin previously pinned notes. Unpinned notes are not deleted. They are removed from the prominent position above other notes. To unpin opportunity notes in the Overview tab, do the following:
|
|
|
You can delete previously created notes. Deleted notes cannot be restored. To delete opportunity notes in the Overview tab, do the following:
|
|
|
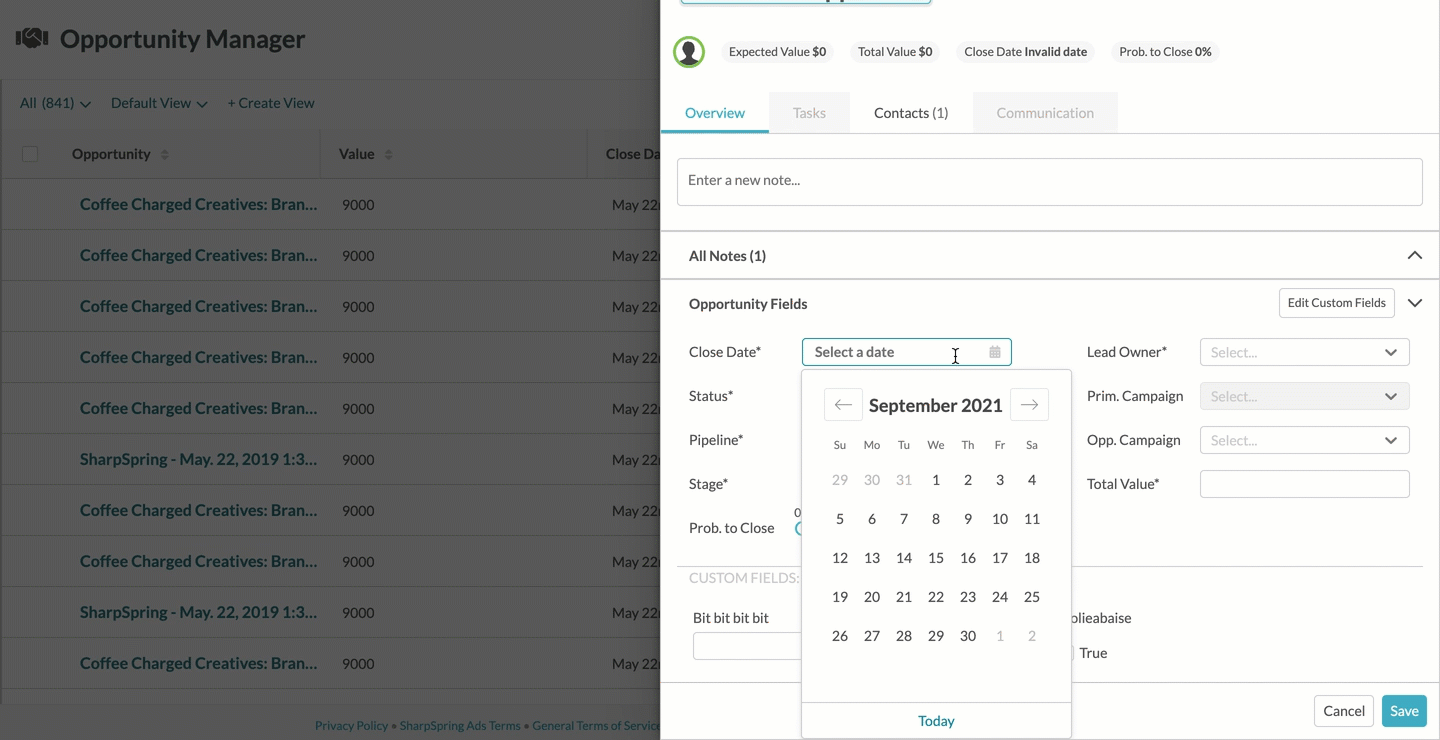
Opportunities require field information in order to function correctly. To enter and configure field data in opportunities via the Overview tab, do the following:
|
| |
|
| ||
|
Important: Fields marked with an asterisk * are mandatory. Data must be entered into these field.
| ||
|
Note: The expected value is calculated by the total value of the deal multiplied by the percentage to close. The probability to close will automatically populate based on the pipeline stage the opportunity is in, but can be manually changed.
| ||
|
Important: Primary campaigns cannot be modified once the opportunity has been created. Primary campaigns are attached to a lead, and they will need to be changed in the lead's record.
| ||
|
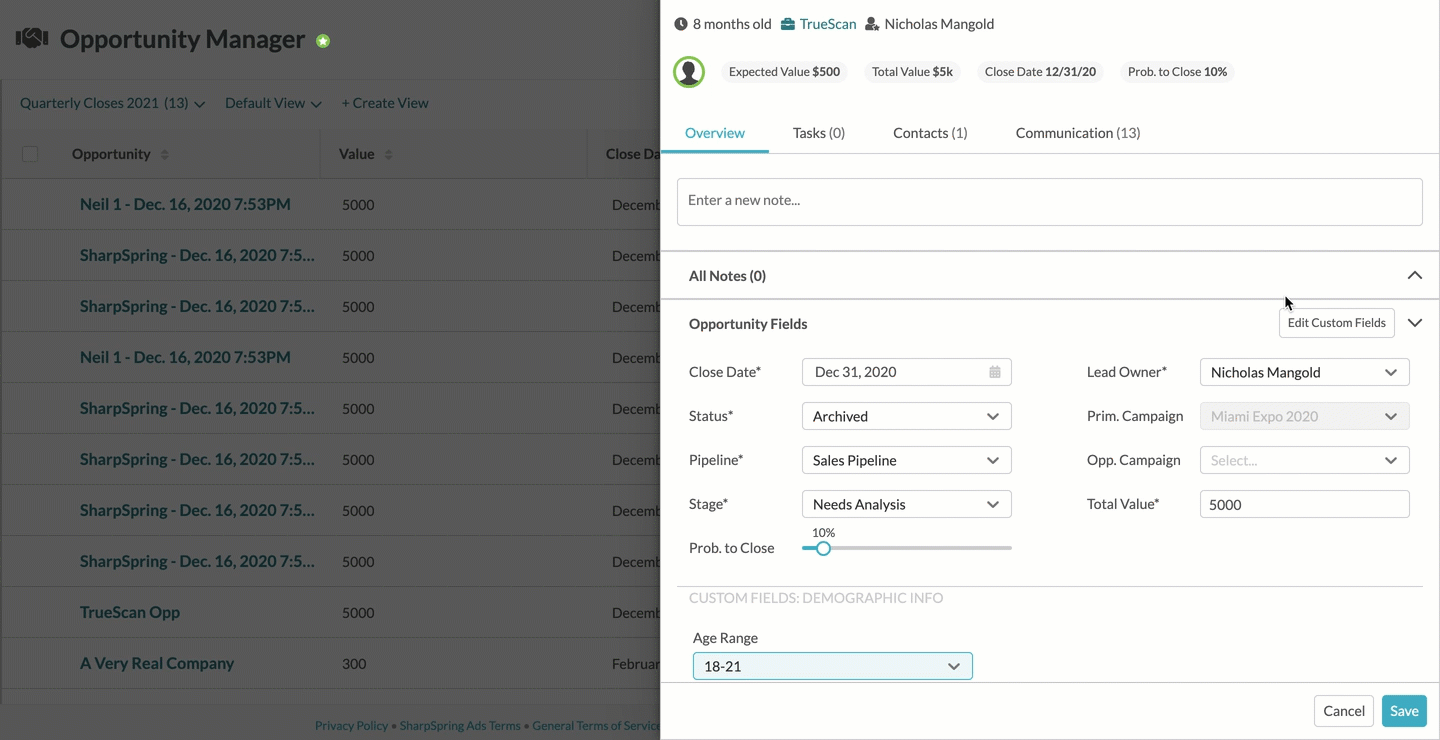
You can use custom fields in opportunities. Custom fields are used to track non-standard information. To use custom fields in opportunities via the Overview tab, do the following:
|
| |
|
| ||
|
Note: Custom field sections are partitioned by your opportunity custom field folders in the Custom Field Manager.
| ||
|
You can access the Custom Field Manager from the Opportunity Drawer. This allows you to quickly modify custom field information. To access the Custom Field Manager from the Overview tab, do the following:
|
|
|
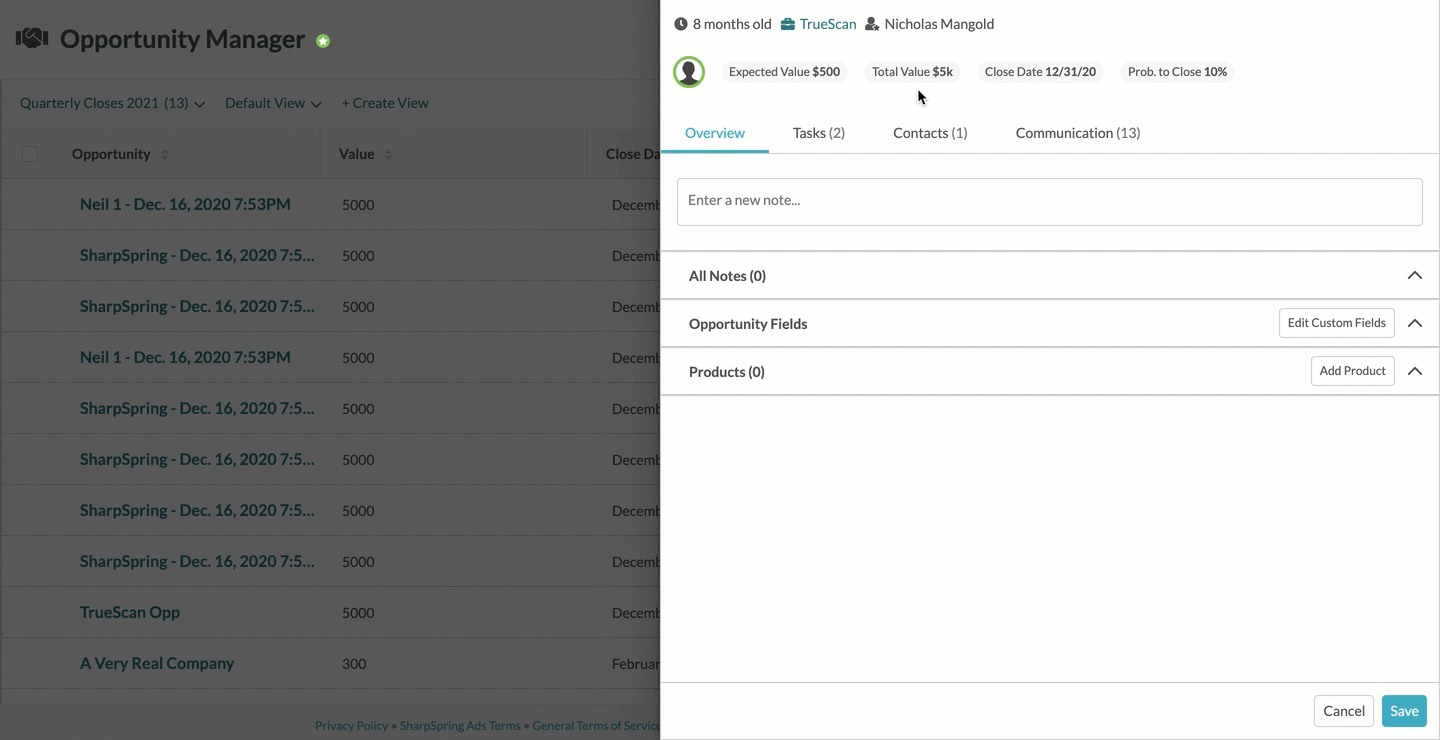
You can attach products or services to cater to your buyers' needs to your opportunities. To add products to opportunities via the Overview tab, do the following:
|
| |
|
| ||
|
Note: Click
| ||
|
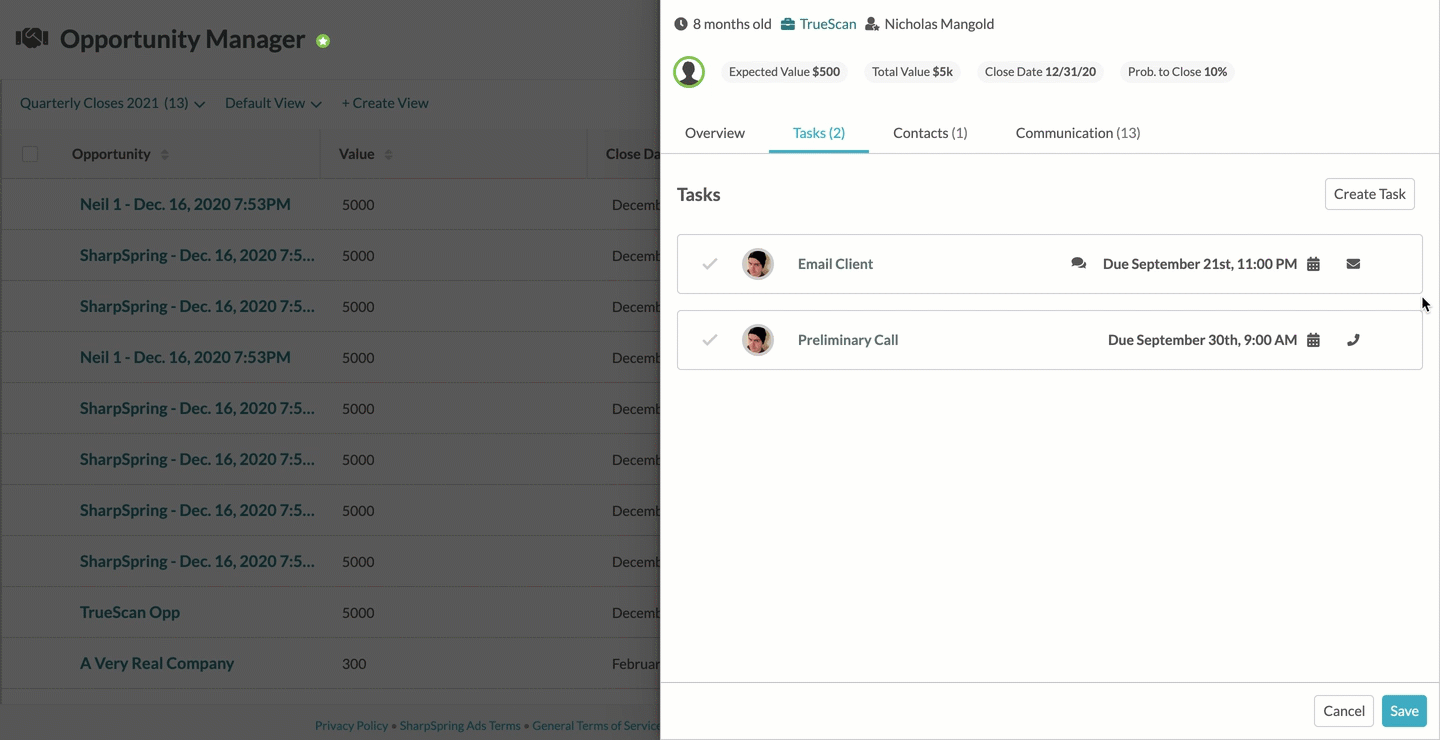
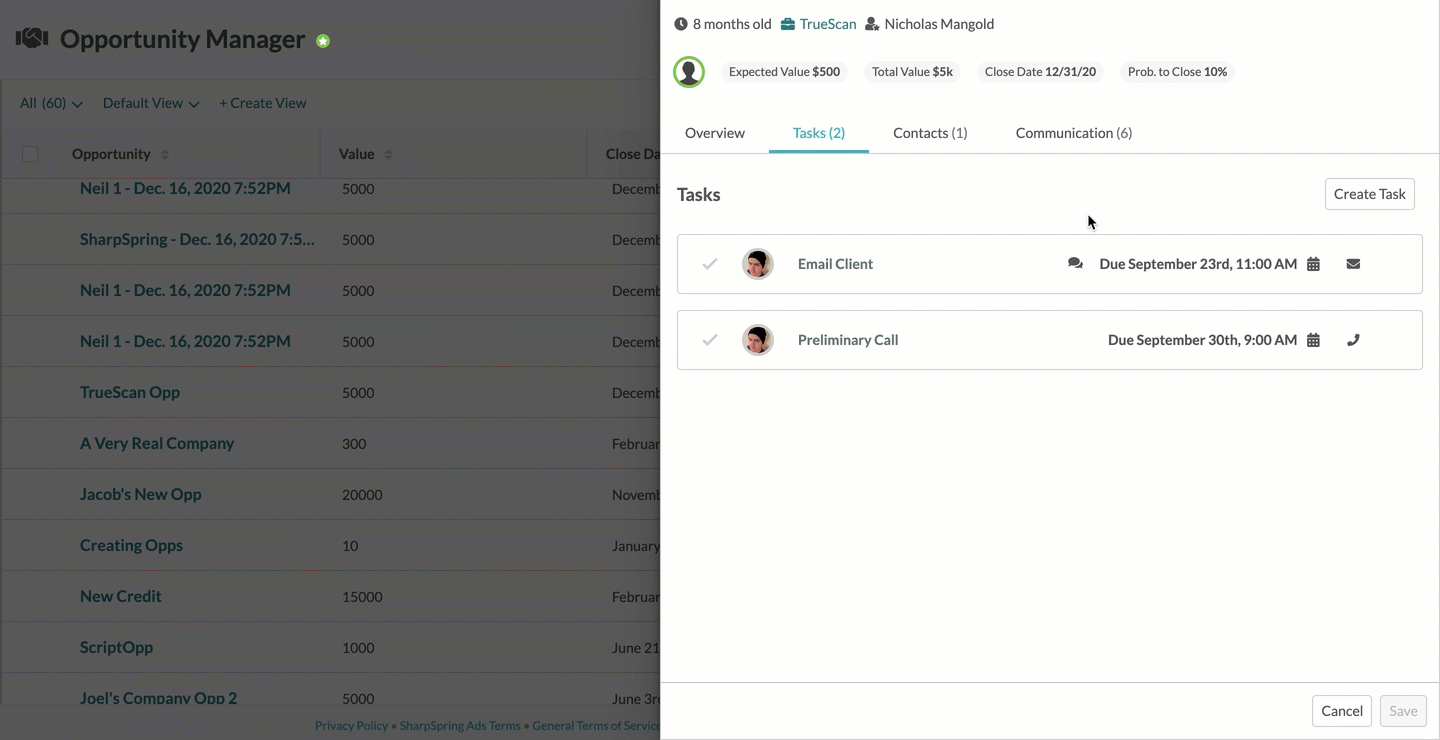
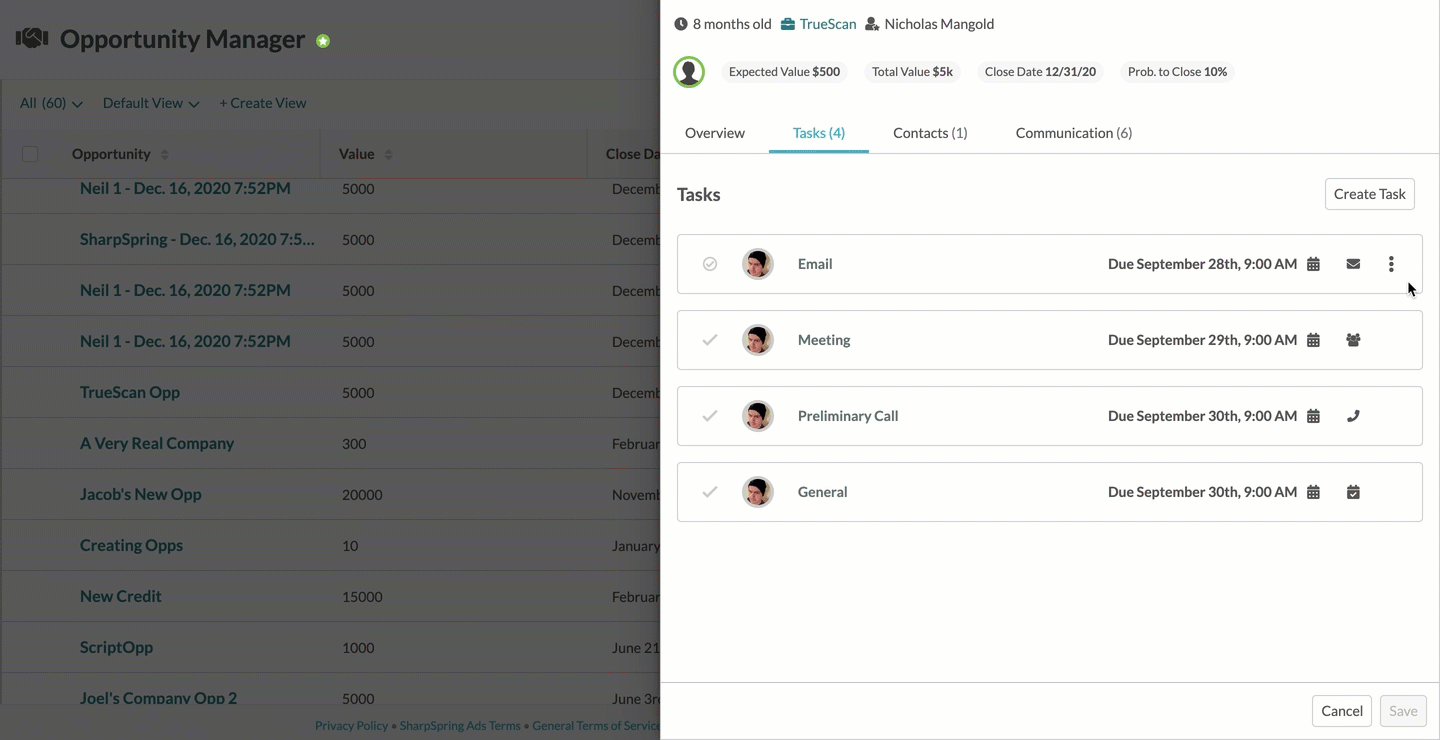
You can see which tasks are attributed to an opportunity. Tasks can be added to previously created and saved opportunities. |
|
|
You can create opportunity tasks as necessary. To create opportunity tasks in the Tasks tab, do the following:
Once a note has been entered into a task, the Task notes are listed in reverse chronological order. The most recent notes appear at the top of the list. |
|
|
You can edit created tasks as necessary. To edit tasks in the Tasks tab, do the following:
|
|
|
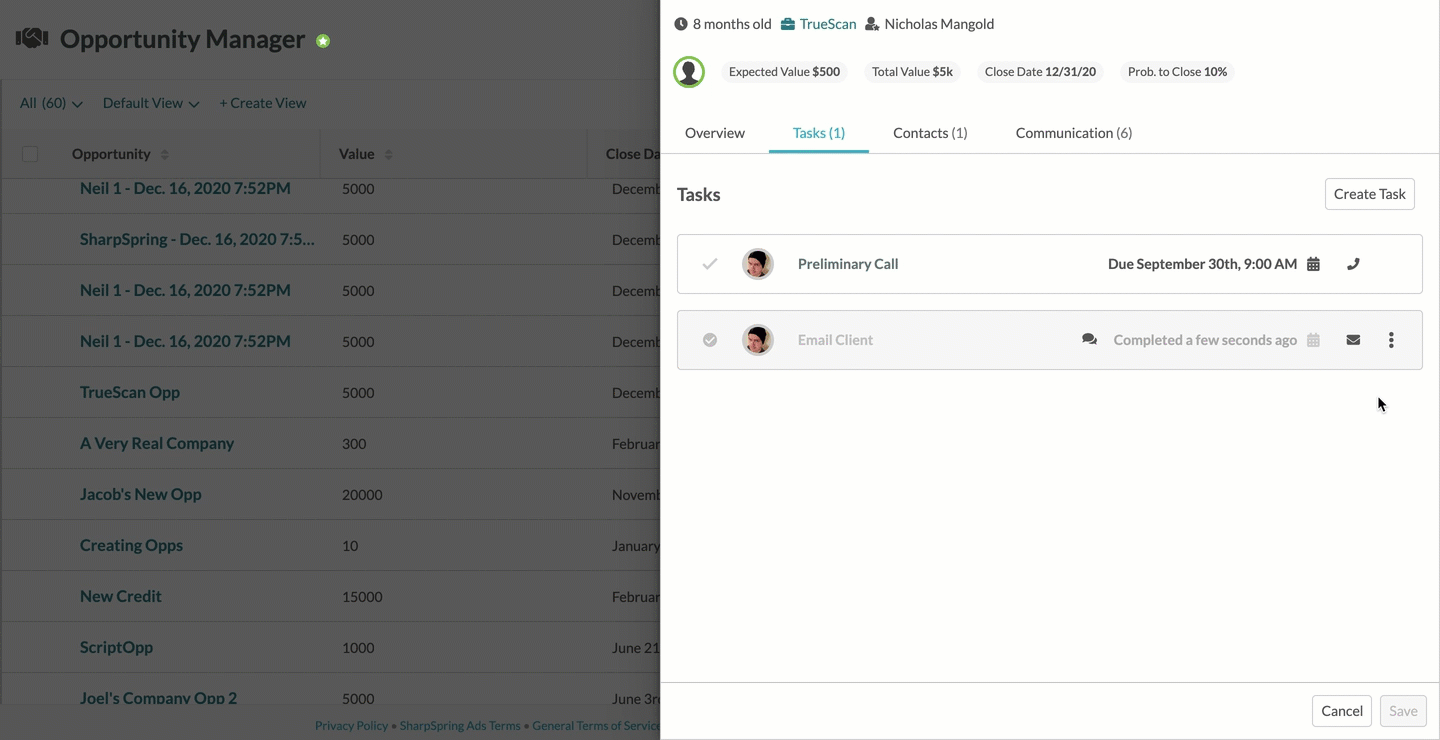
You can mark tasks as complete once you have fulfilled the requirements of those tasks. To mark tasks as complete in the Tasks tab, do the following:
|
|
|
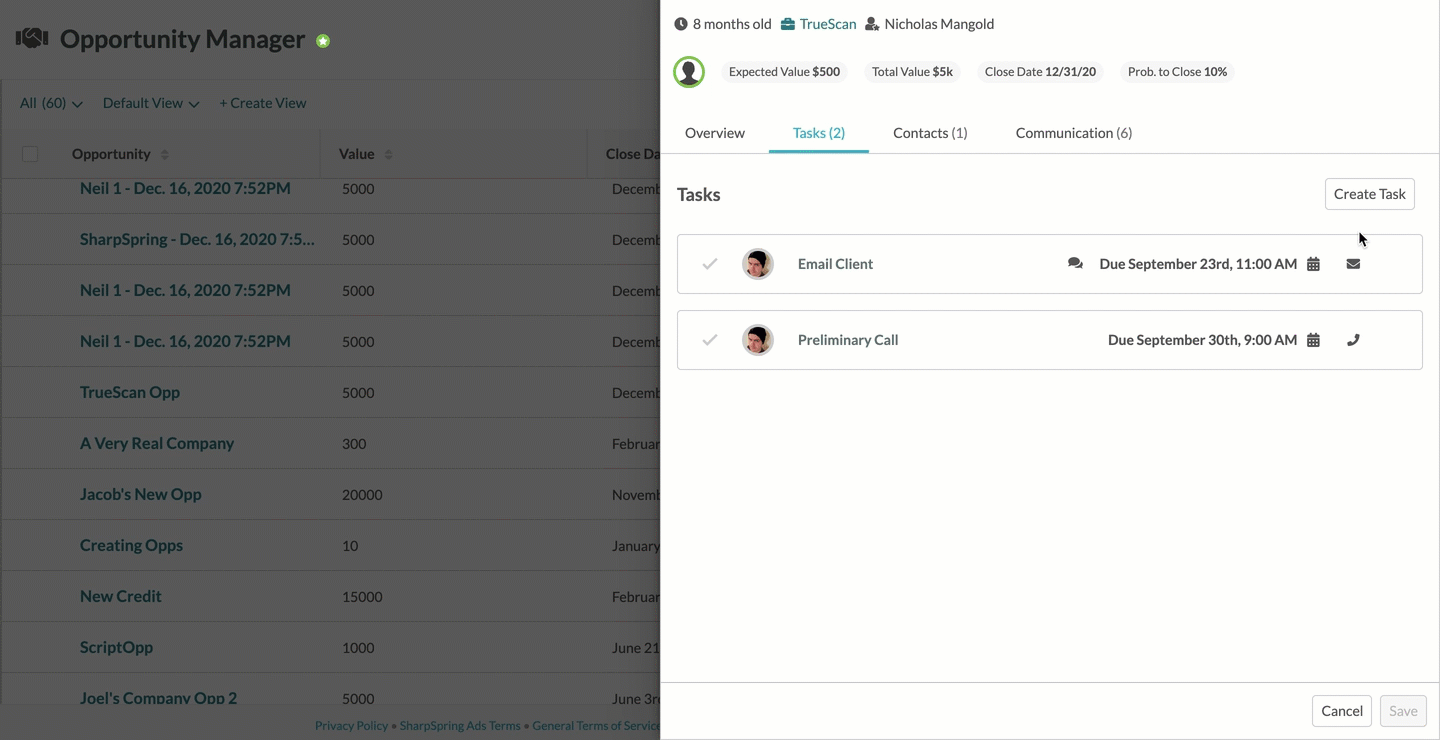
You can reopen completed tasks as necessary. To reopen completed tasks in the Tasks tab, do the following:
|
|
|
You can delete tasks that are no longer relevant to the opportunity. Deleted tasks cannot be restored. To delete tasks in the Tasks tab, do the following:
|
|
|
If the contact associated with the opportunity task has a phone number attached to their contact record, and your Sales Dialer feature is properly configured, you can call them at that phone number. To call opportunity task contacts via the Tasks tab, do the following:
|
Note: Sales Dialer is available on all plans, however, minutes are limited on Trial and Essential plans. Minutes are unlimited on Advanced and Ultimate plans.
|
|
If the contact associated with the opportunity task has an email address attached to their contact record, you can send an email to the contact. To email opportunity task contacts via the Tasks tab, do the following:
Be aware that the email window that appears will depend on the email service that is set to default in your browser and computer. |
|
|
If the contact associated with the opportunity task has an email address attached to their contact record, and your Mail Sync feature is properly configured, you can send them Smart Mail. To send Smart Mail to opportunity task contacts via the Tasks tab, do the following:
|
|
|
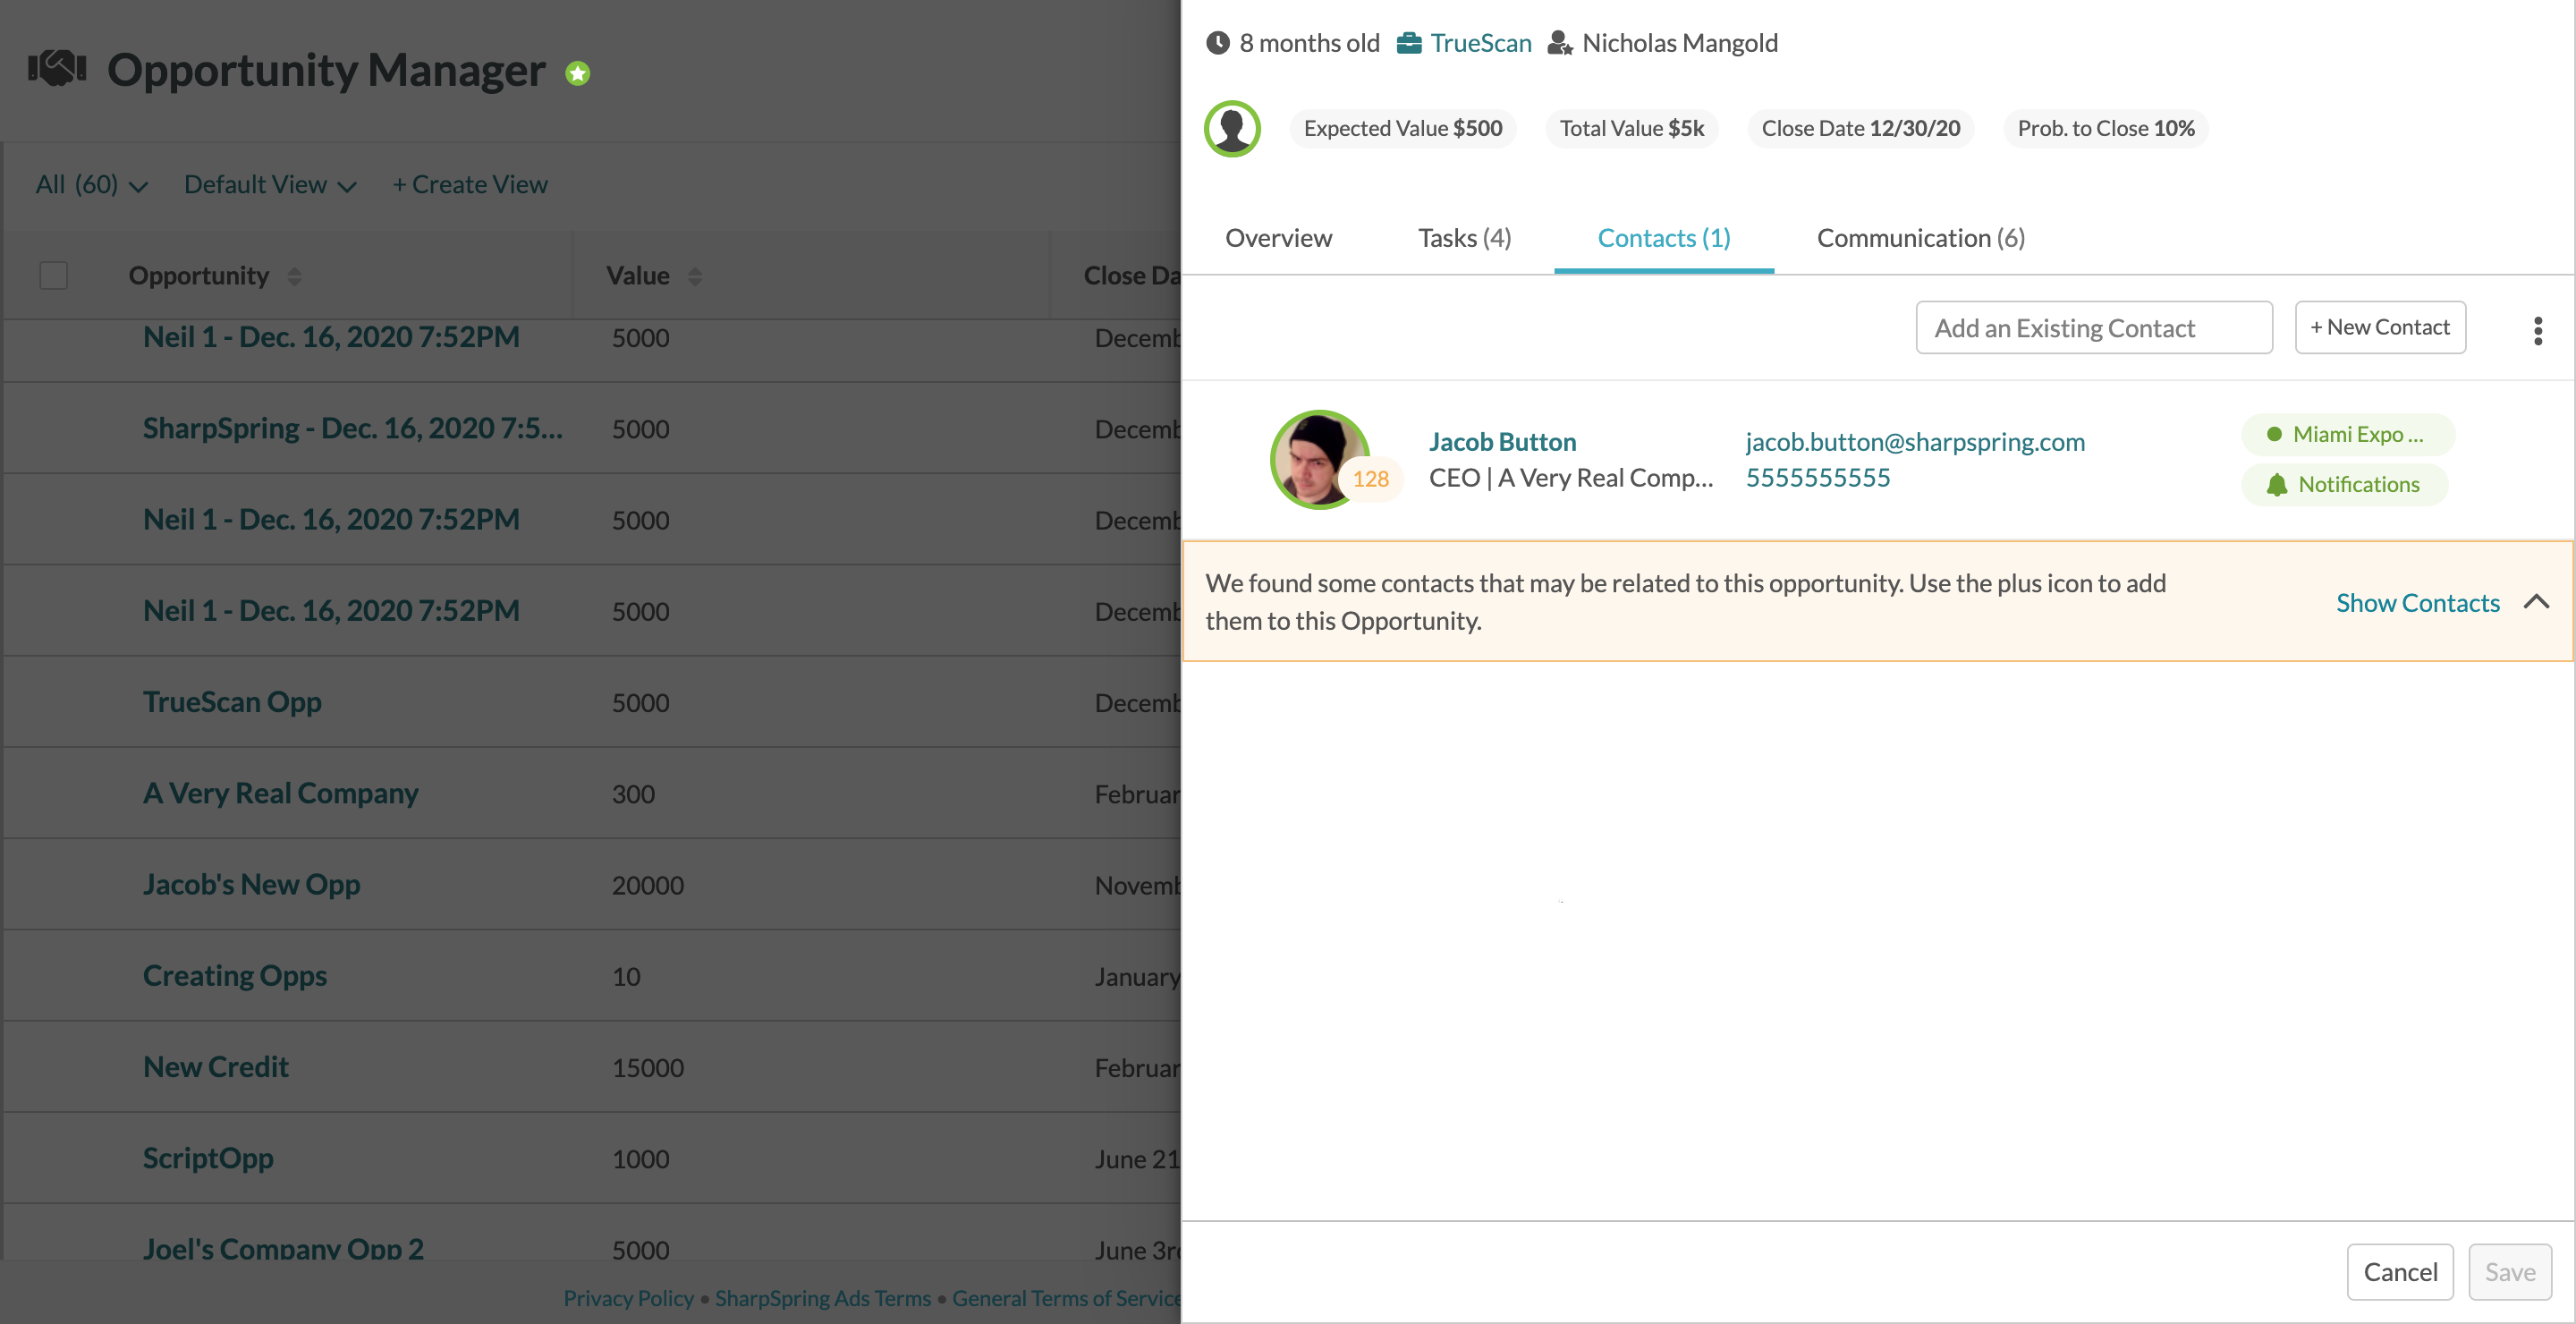
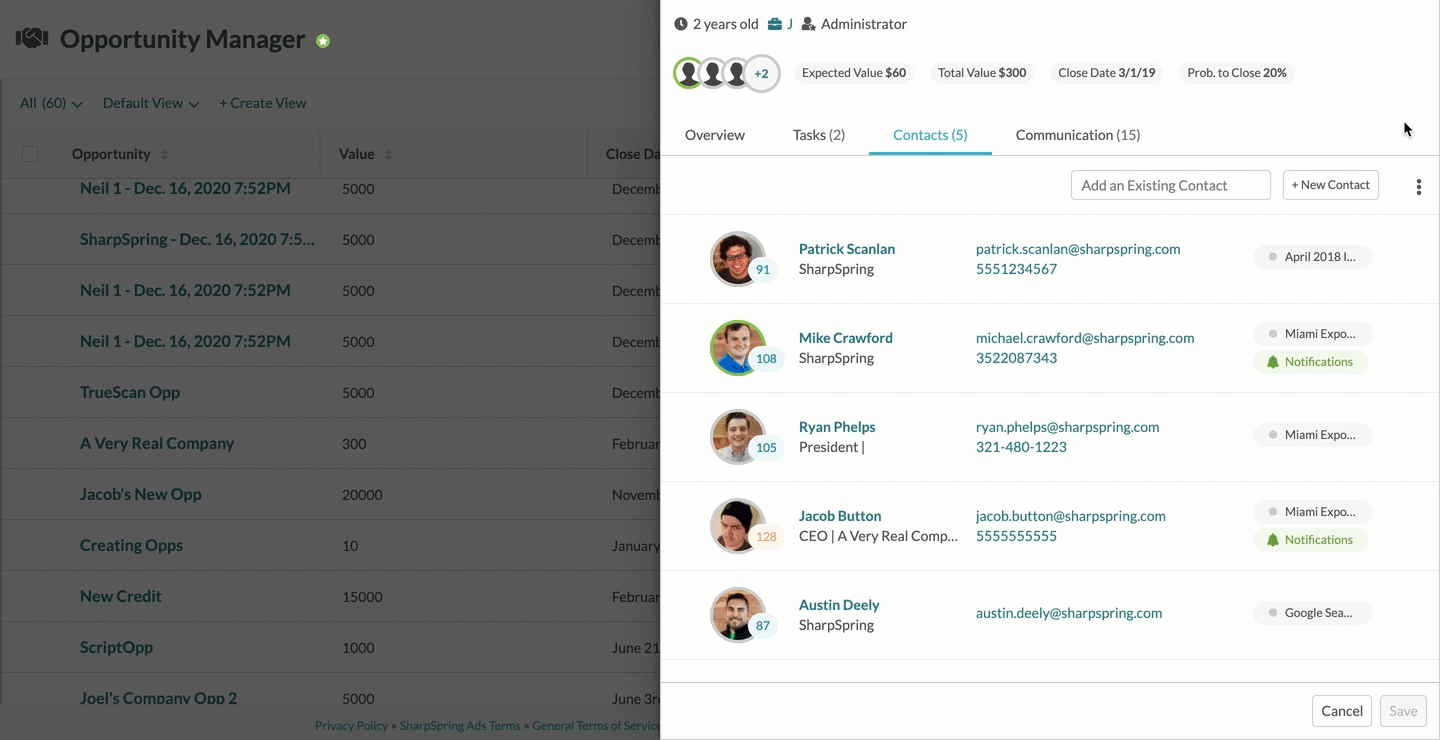
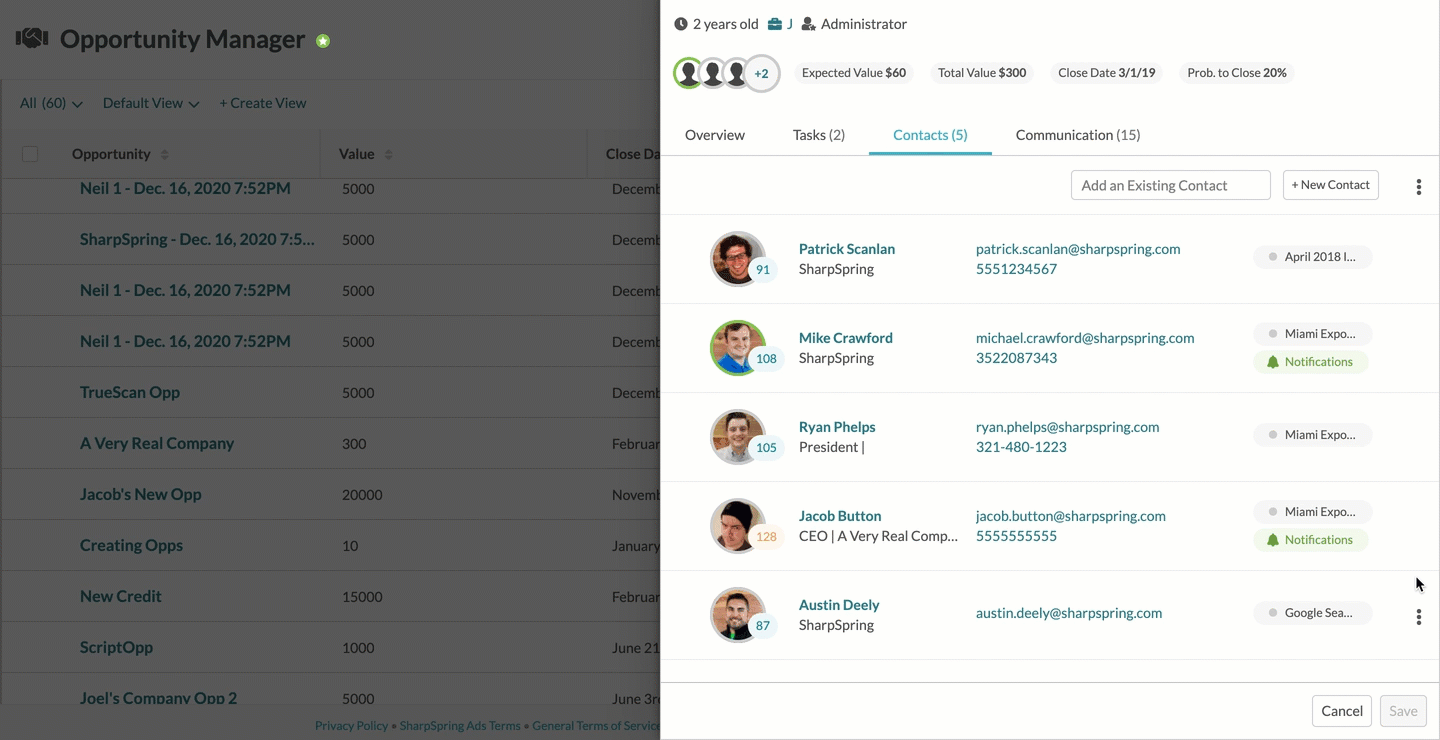
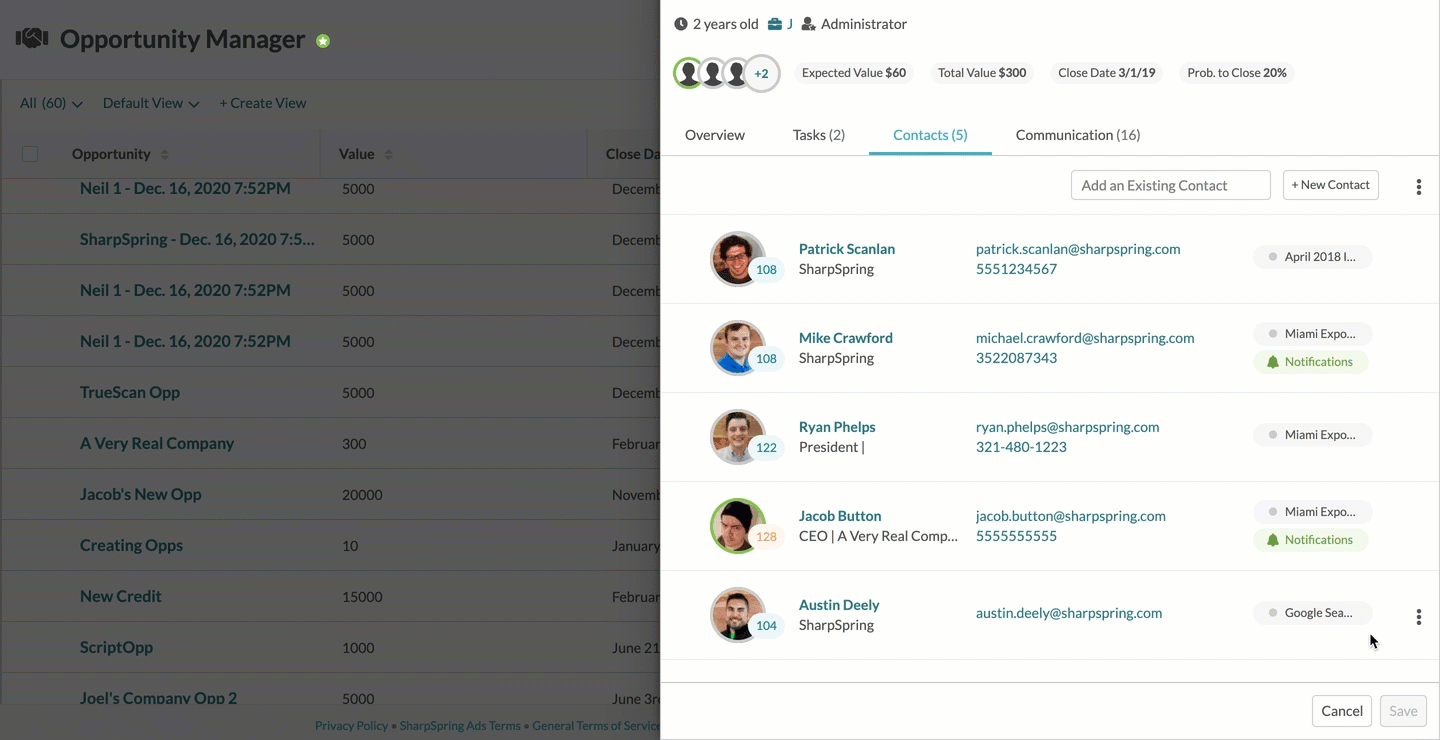
Opportunities require that at least one contact be attributed to them during the creation process. However, once created, opportunities can have many different contacts set to them. The Contacts tab displays information on contacts attributed to the opportunity, including:
|
|
|
You can add new contacts that are not yet in your system to an opportunity. To add new contacts to previously created opportunities via the Contacts tab, do the following:
|
|
|
You can add contacts already in your Contact Manager to an opportunity. To add existing contacts to previously created opportunities via the Contacts tab, do the following:
|
|
|
Once a contact has been added to an opportunity, Lead Gen & CRM will recommend adding other contacts that may be related. To add recommended contacts to opportunities via the Contacts tab, do the following:
|
|
|
You can configure field information for every contact attributed to an opportunity. This includes all system fields, as well as all available custom fields. |
|
|
You can edit field information for all of an opportunity's contacts at once. To edit field information for all of an opportunity's contacts via the Contacts tab, do the following:
|
|
|
You can assign a single lead owner to all of an opportunity's contacts at once. To assign lead owners to all of an opportunity's contacts via the Contacts tab, do the following:
|
|
|
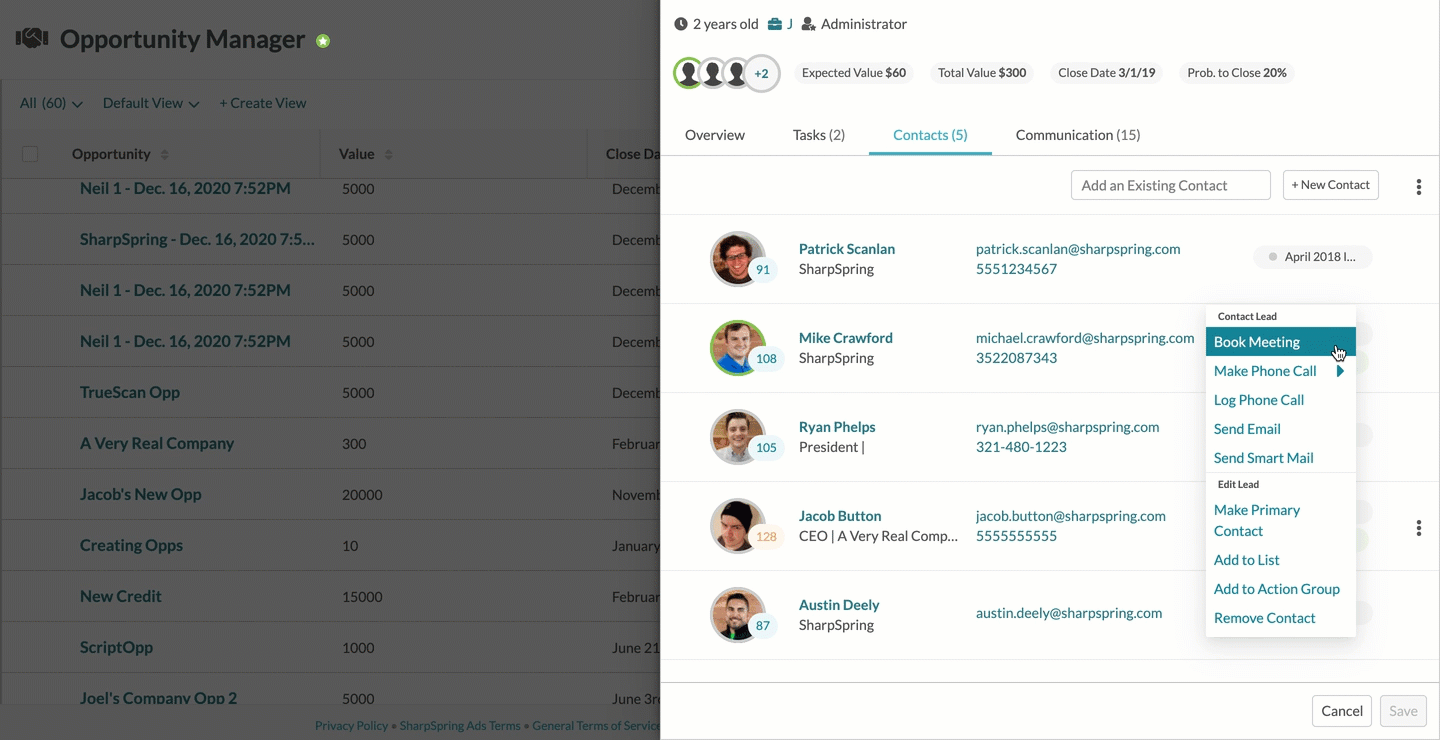
You can interact with contacts directly from the Contacts tab. You can utilize Lead Gen & CRM's many communications features to send personalized communications or otherwise immediately communicate with contacts. |
|
|
If your Meetings feature is correctly configured, you can book meetings with contacts. To book meetings with contacts via the Contacts tab, do the following:
|
Note: Meetings are available on all plans. Meetings with Zoom integration are available on Advanced and Ultimate plans.
|
|
You can directly call contacts through the Opportunity Drawer. To call opportunity task contacts via the Contacts tab, do the following:
|
|
|
You can log the results of your Sales Dialer calls with contacts. To log phone call results via the Contacts tab, do the following:
|
|
|
If the contact associated with the opportunity task has an email address attached to their contact record, you can send an email to the contact. To email opportunity task contacts via the Contacts tab, do the following:
|
|
|
If the contact associated with the opportunity task has an email address attached to their contact record, and your Mail Sync feature is properly configured, you can send them Smart Mail. To send Smart Mails to contacts via the Contacts tab, do the following:
|
|
|
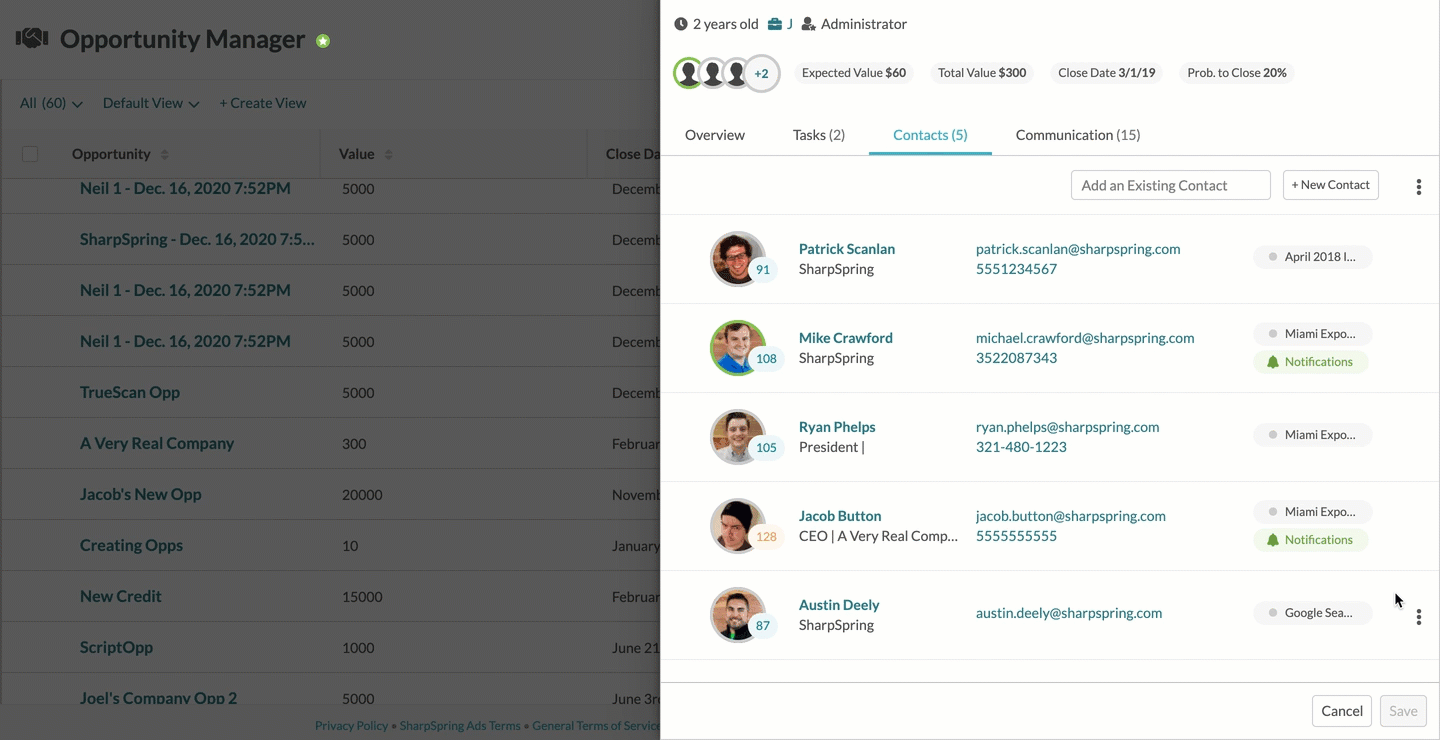
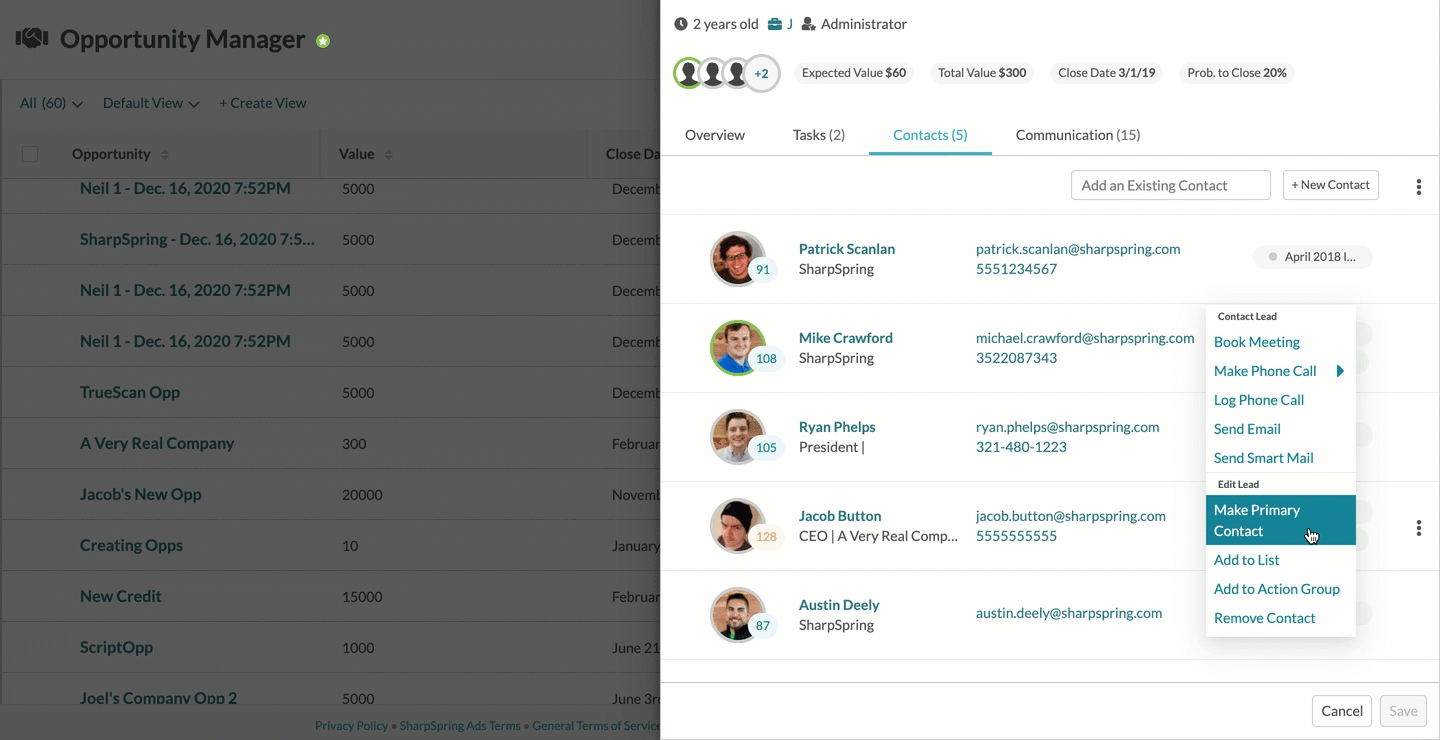
There are certain options and other actions available for contacts in the Opportunity Drawer. |
|
|
You can set the primary point of contact for the opportunity within the Opportunity Drawer. To set primary contacts via the Contacts tab, do the following:
|
|
|
You can add contacts to lists as necessary. To add contacts to lists via the Contacts tab, do the following:
|
|
|
You can add contacts to action groups as necessary. To add contacts to action groups via the Contacts tab, do the following:
|
|
|
You can remove contacts from opportunities through the Opportunity Drawer. To remove contacts from an opportunity via the Contacts tab, do the following:
Removed contacts can be added back to the opportunity as necessary. |
| |
|
| ||
|
Note: Primary contacts cannot be removed from opportunities.
| ||
|
|
|
|
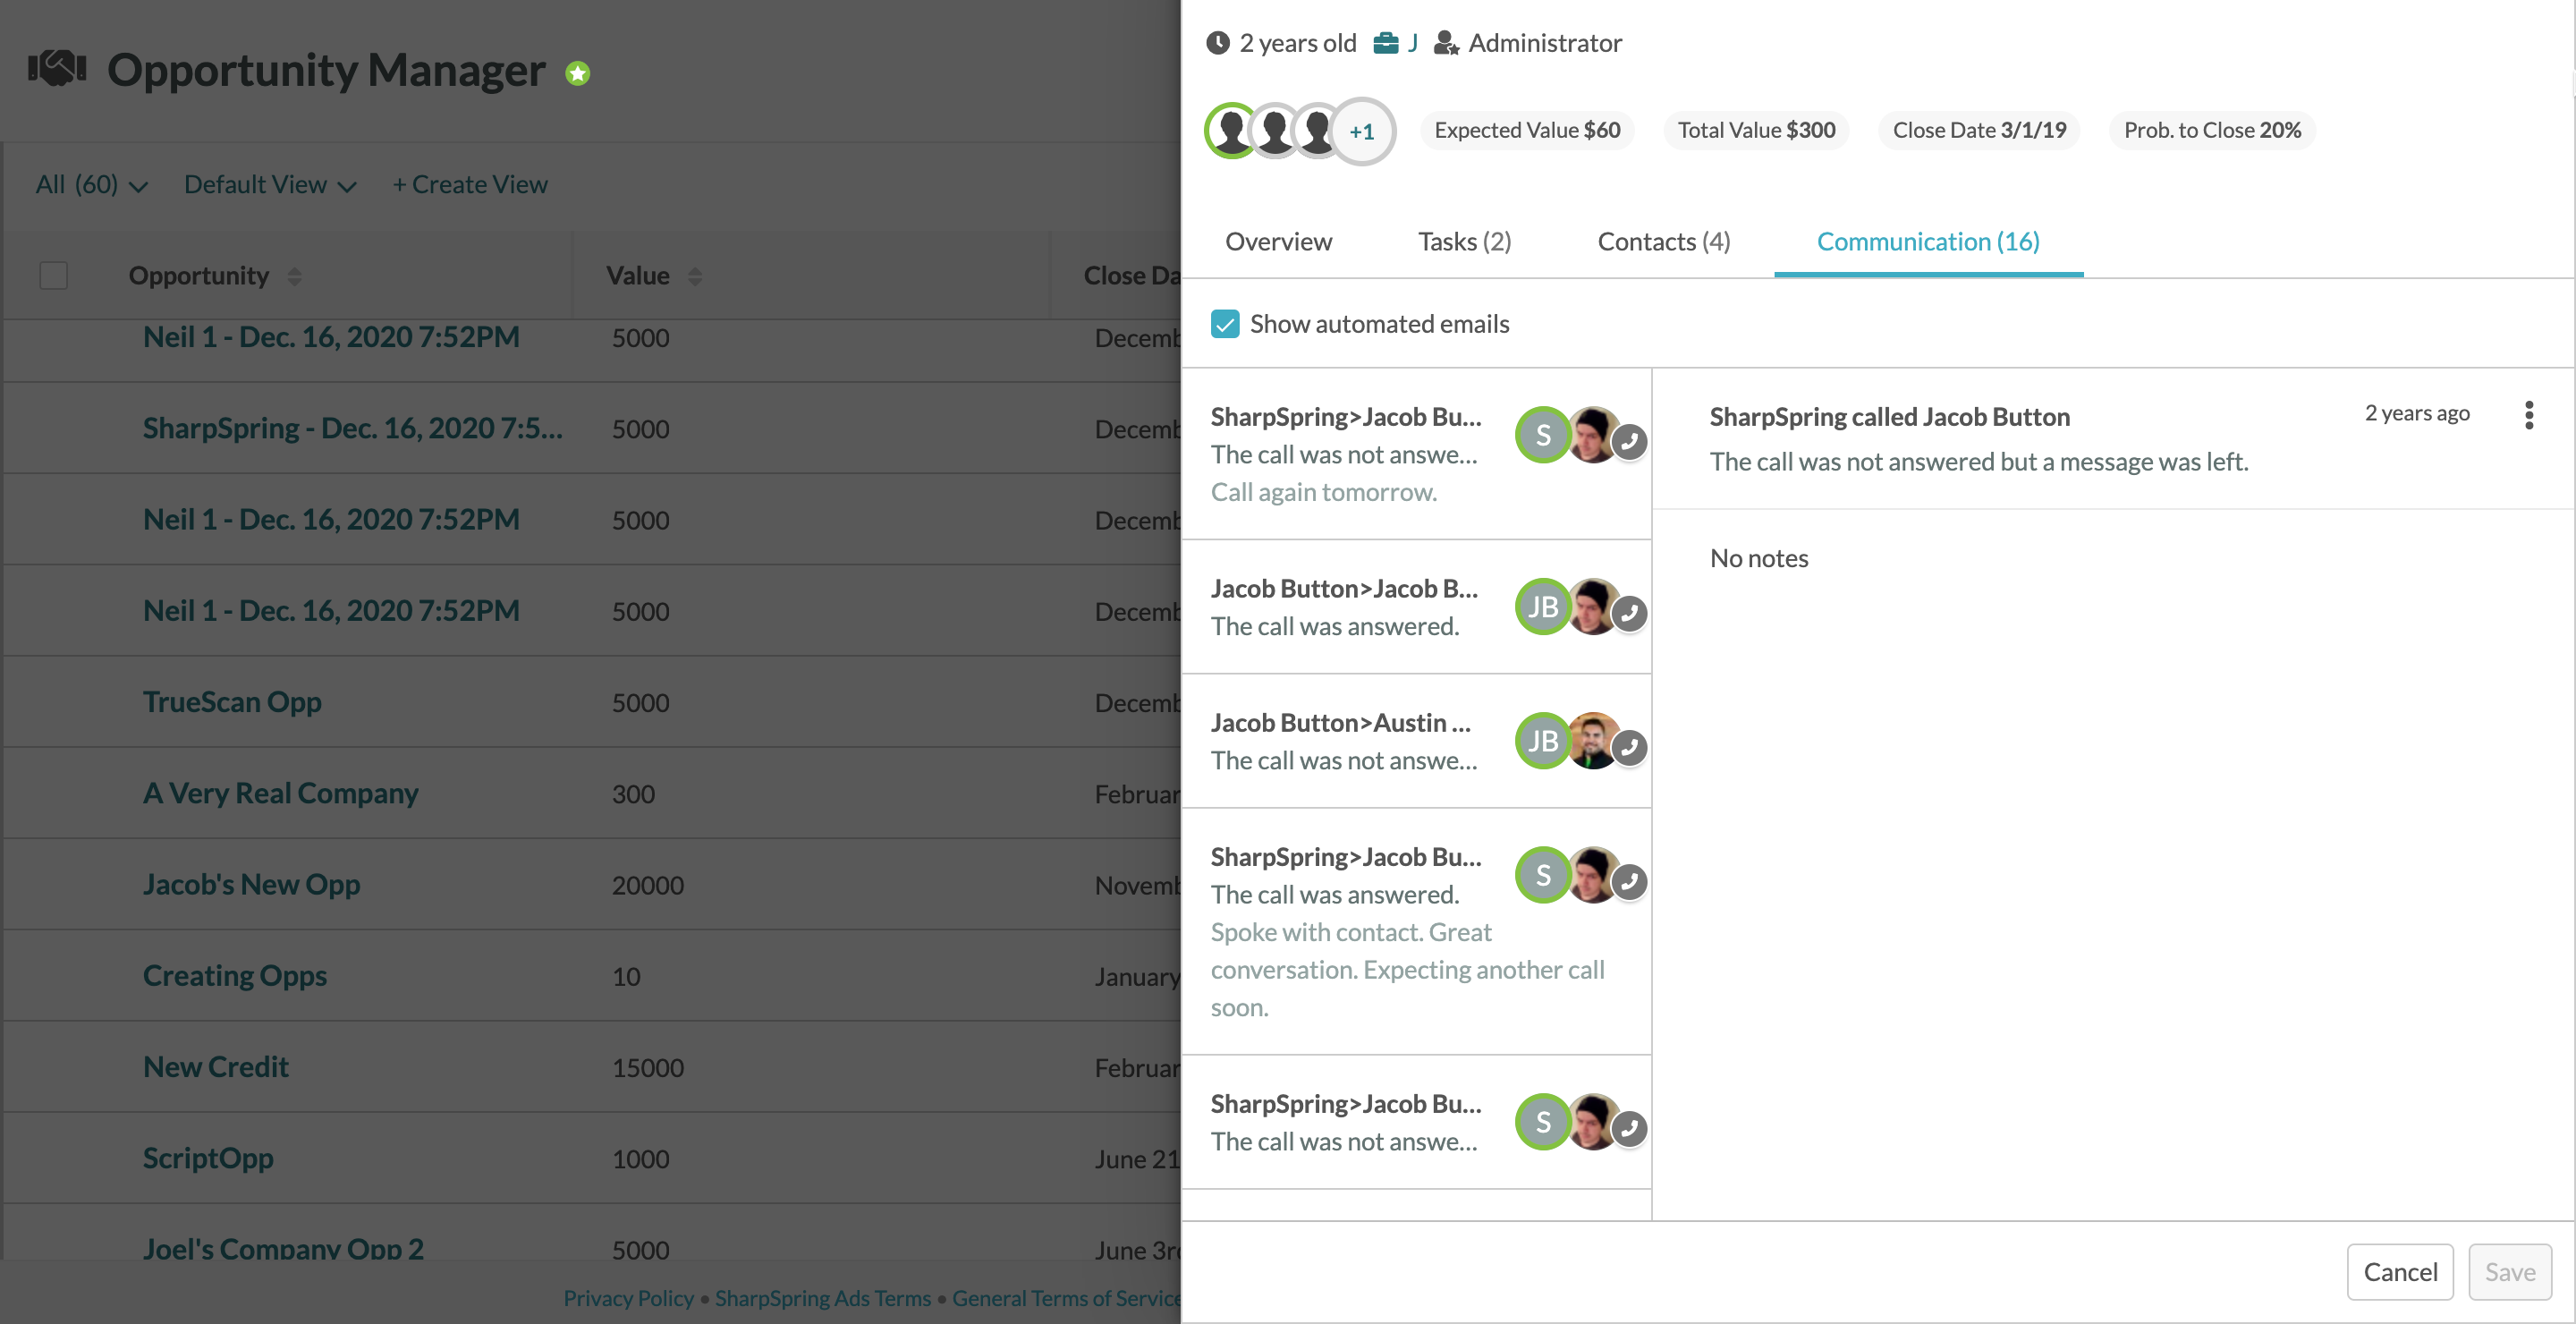
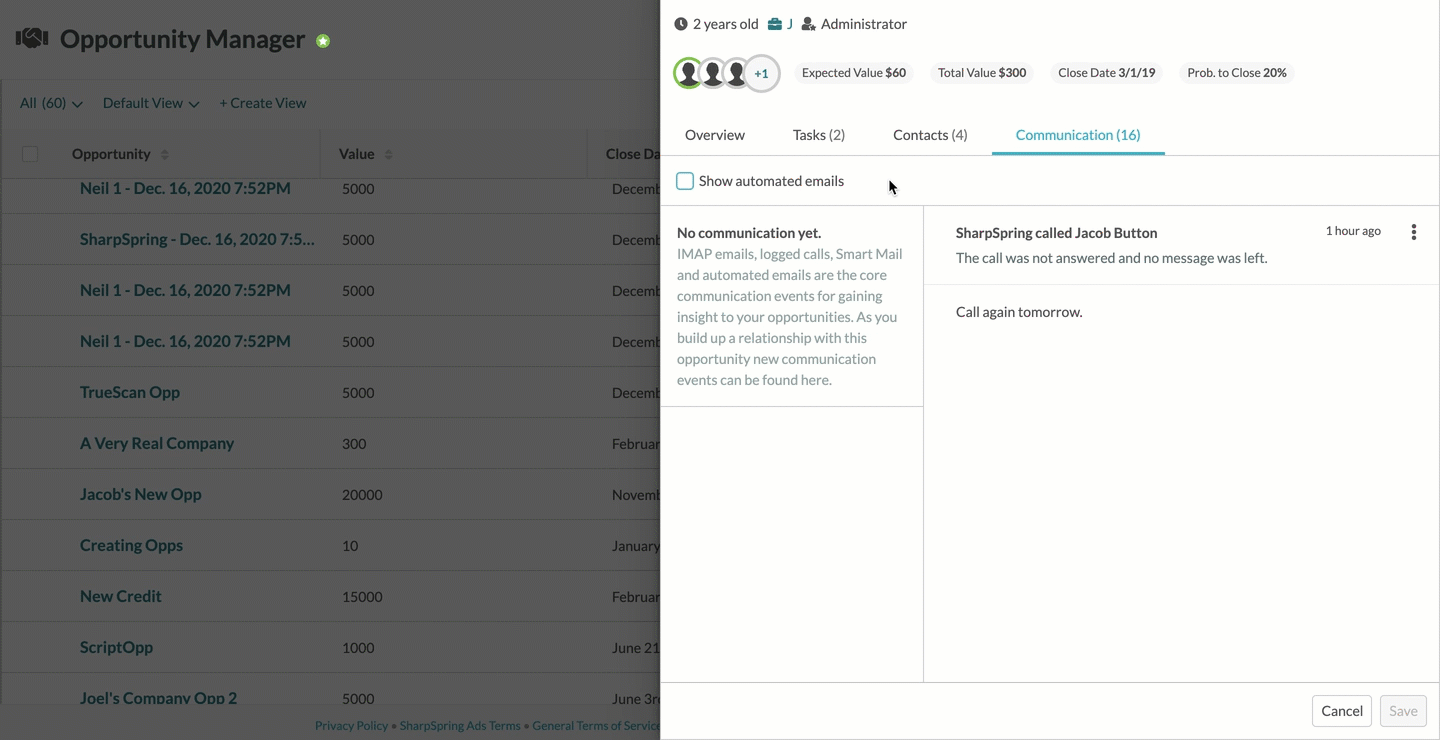
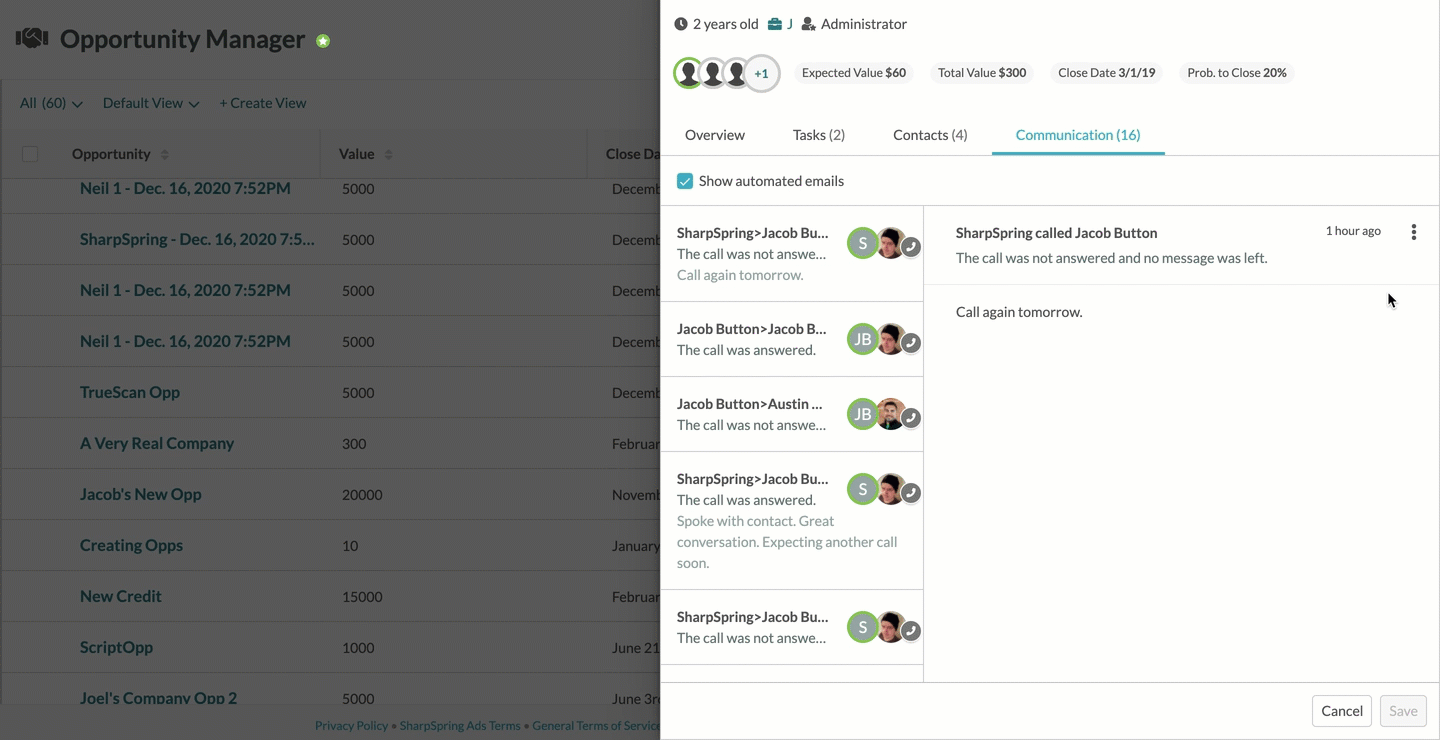
You can view the communications log that details all emails sent and phone calls made to every contact in the opportunity. The log displays all communications sent to contacts from the time they were created to the present. |
|
|
You can view the details of individual communications log entries. To view communications log entries in an opportunity via the Communications tab, do the following:
|
|
|
You can directly interact with an opportunity's contacts through the communications log. To interact with opportunity contacts through communications log entries via the Communications tab, do the following:
|
|
Copyright © 2026 · All Rights Reserved · Constant Contact · Privacy Center