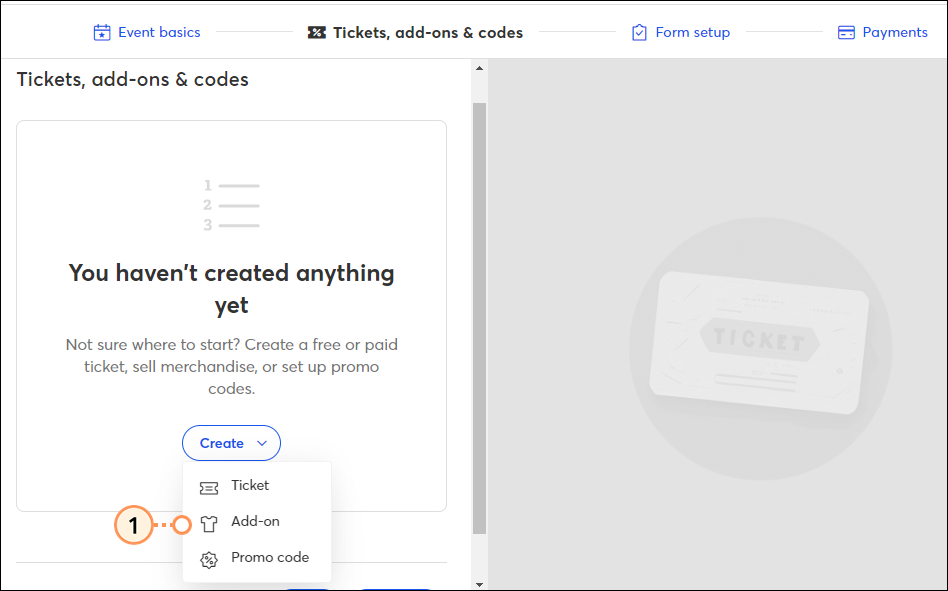
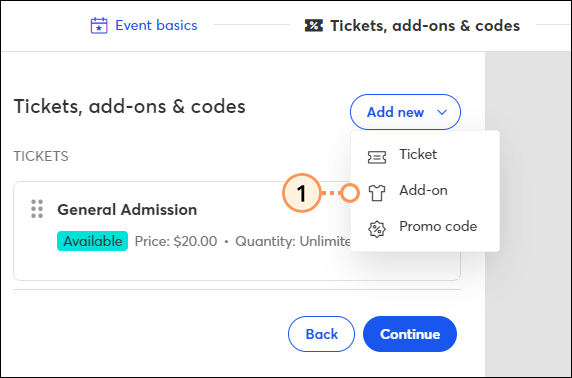
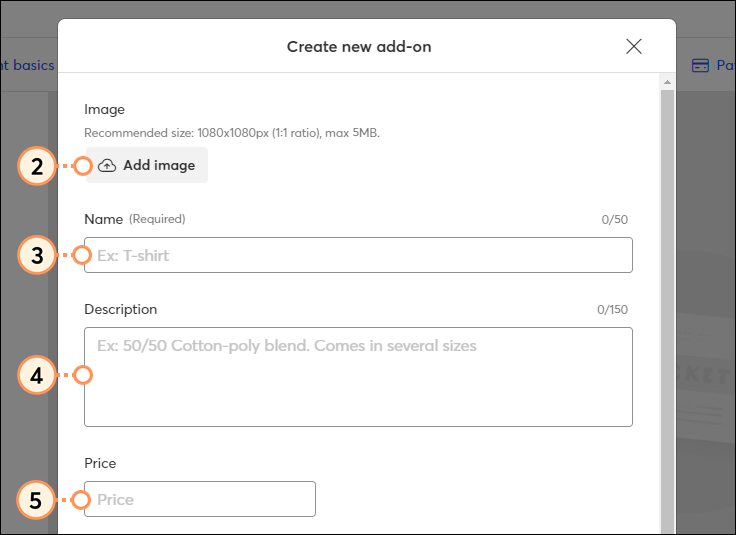
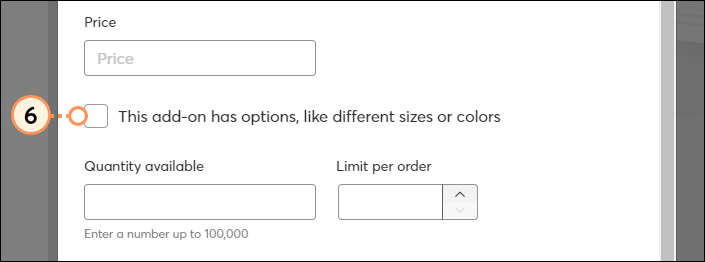
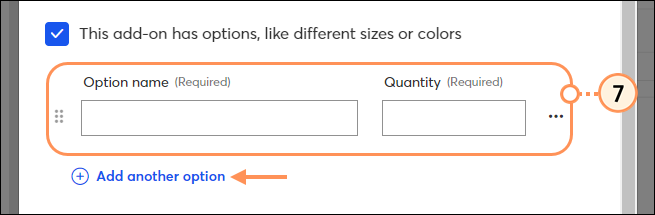
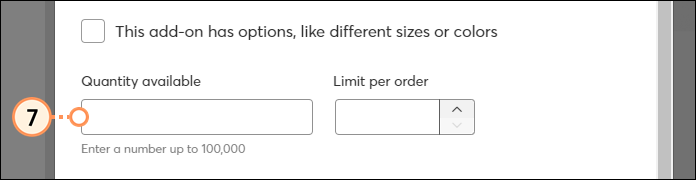
If you have merchandise you want to sell, or any free or paid add-ons that you want to make available to registrants, you can include them within the registration flow. When creating add-ons, you can include an image, set a total quantity, and if applicable, add options to let your registrants choose from different variations of the same item.
Purchased/selected items will be included on the confirmation page displayed at the end of registration and in the event confirmation email. Check out your event reporting to see a list of purchased items.
Once you've built all your add-ons, you can arrange them in the order you'd like them to appear on the registration page using the drag-and-drop:
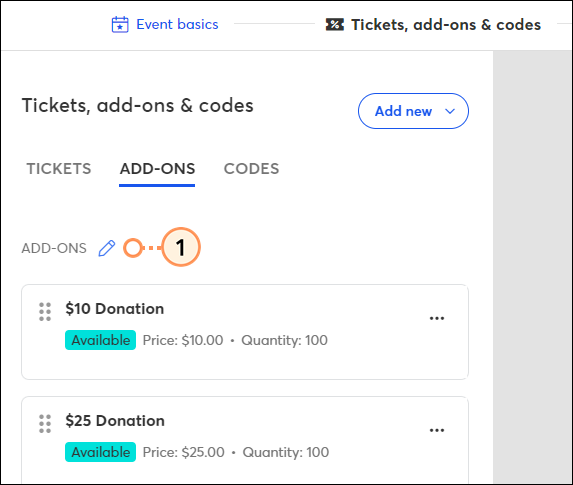
By default, an "Add-ons" label will appear on the registration form above the available add-ons:
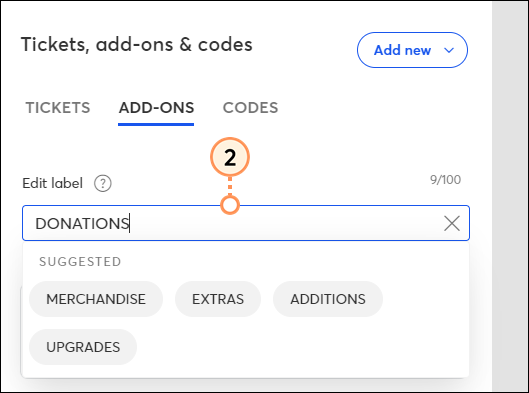
You can rename this label to better fit your event:
Add-ons can be edited, copied, or removed at any time.
If your event is in a draft status:
Access the "Tickets, add-ons, and codes" page within the event editor. Click the three dots, and select Edit, Copy, or Delete from the dropdown.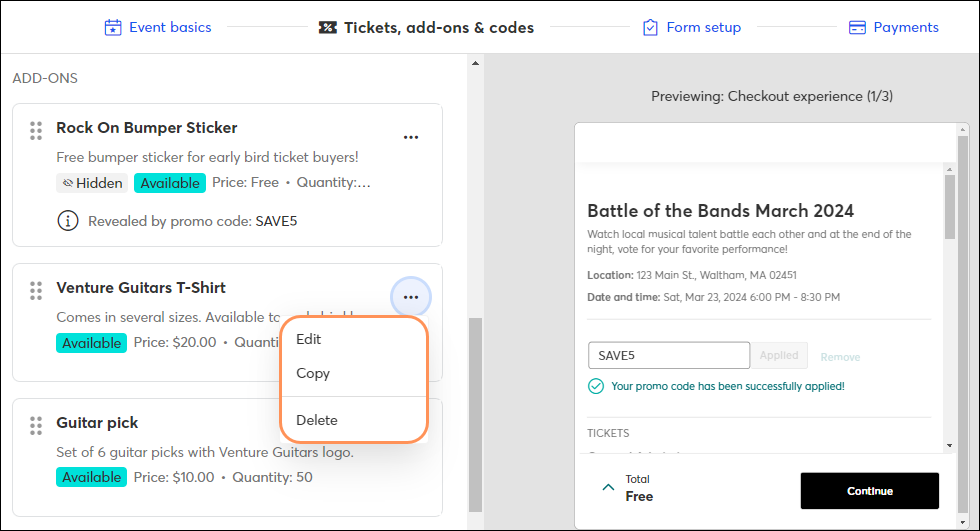
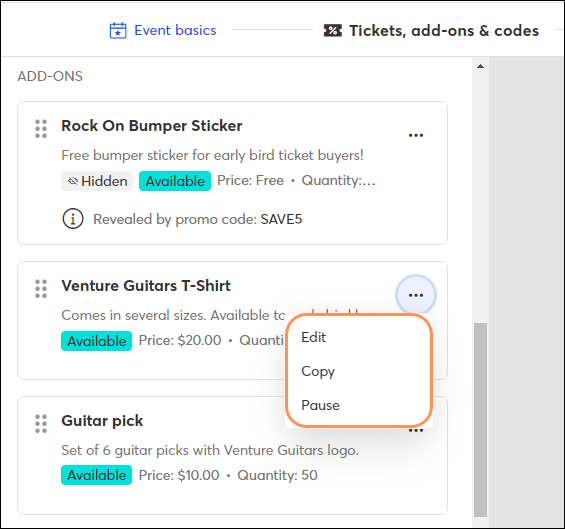
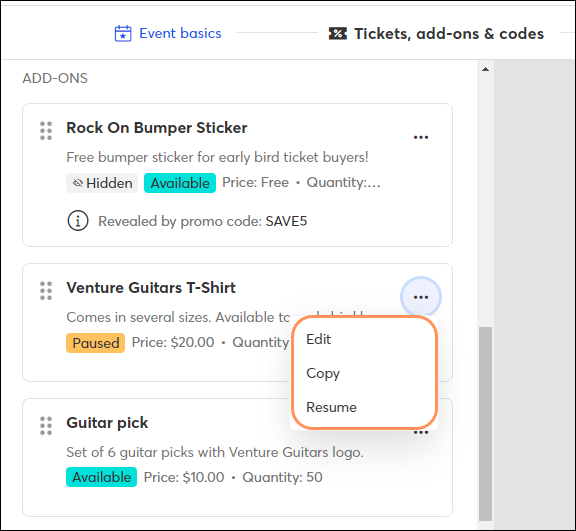
If your event is in an active status:
Access the "Tickets, add-ons, and codes" page within the event editor. Click the three dots, and select Edit, Copy, or Pause from the dropdown. Pausing an add-ons prevents it from being visible with the registration flow. Make the add-on available again by clicking Resume.
| Edit, copy, and pause options | Edit, copy, and resume options | |
 |  |
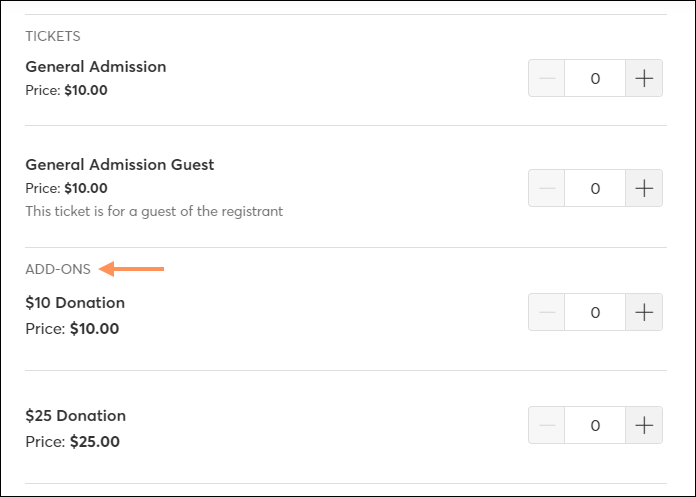
When registrants access the event's registration flow, all available add-ons will be shown below the ticket options: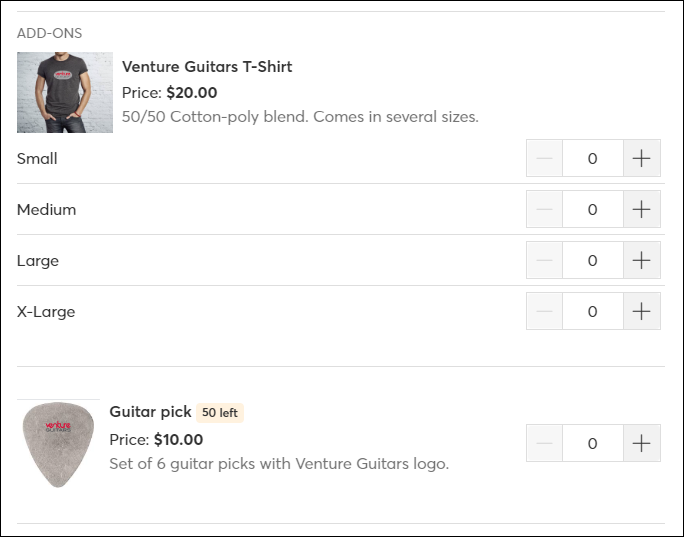
Any add-ons that are unavailable for any reason (hidden, no quantity left, outside date range) will not display. When a valid promo code is entered that's associated with a hidden add-on, that add-on will appear.
Registrants can enter the add-on quantity they'd like and then proceed through the rest of the checkout process.
Copyright © 2026 · All Rights Reserved · Constant Contact · Privacy Center