We're making it easier to get around Constant Contact with a brand new left navigation. Not all accounts have that change yet, so if your navigation looks different from our articles, that's why–but everything from the top can now be found on the left!

Email and Digital Marketing
How can we help you?
Search our help articles, video tutorials, and quickstart guides

You've got this. You've got us. Search our Knowledge Base to quickly find answers to your questions.

Add, edit, or remove emails using the Automation Path Builder

Article: 000046731
Updated: January 10, 2025

Add an email or a series of emails to a path, move an email to a different part of your path, update an email's content, or remove an email from a path

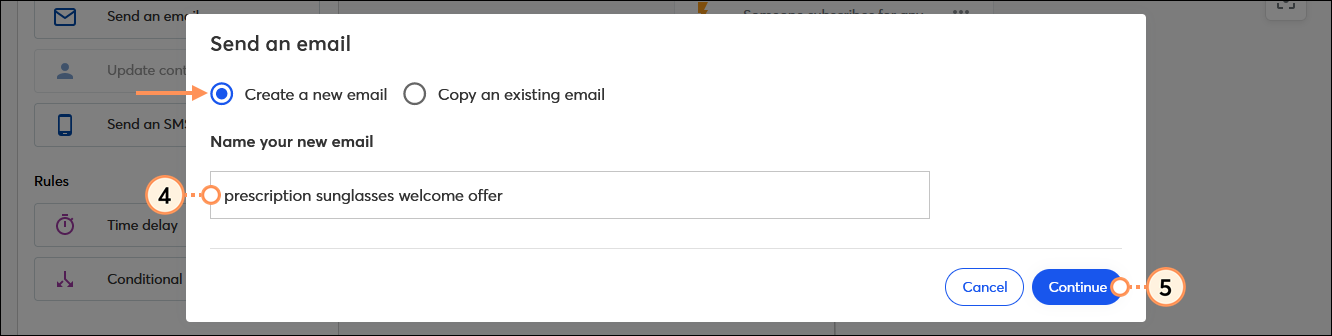
Sending emails through the Automation Path Builder gives you endless possibilities to reach the right contacts, at the right time, with the right content. You can create new emails from a template and emails with custom HTML code, or copy existing emails to use in your path.


Exclamation Point IconImportant: If your path is already activated, you can edit it at any time, but please note that if a contact has already received an email from your path, they won't see edits you make to it. Likewise, if a contact has already completed an email step and you add a new email step that follows it, they won't receive the new email. Contacts who haven't yet reached the new or edited email step will see your edits as intended.


Add an email action to a path

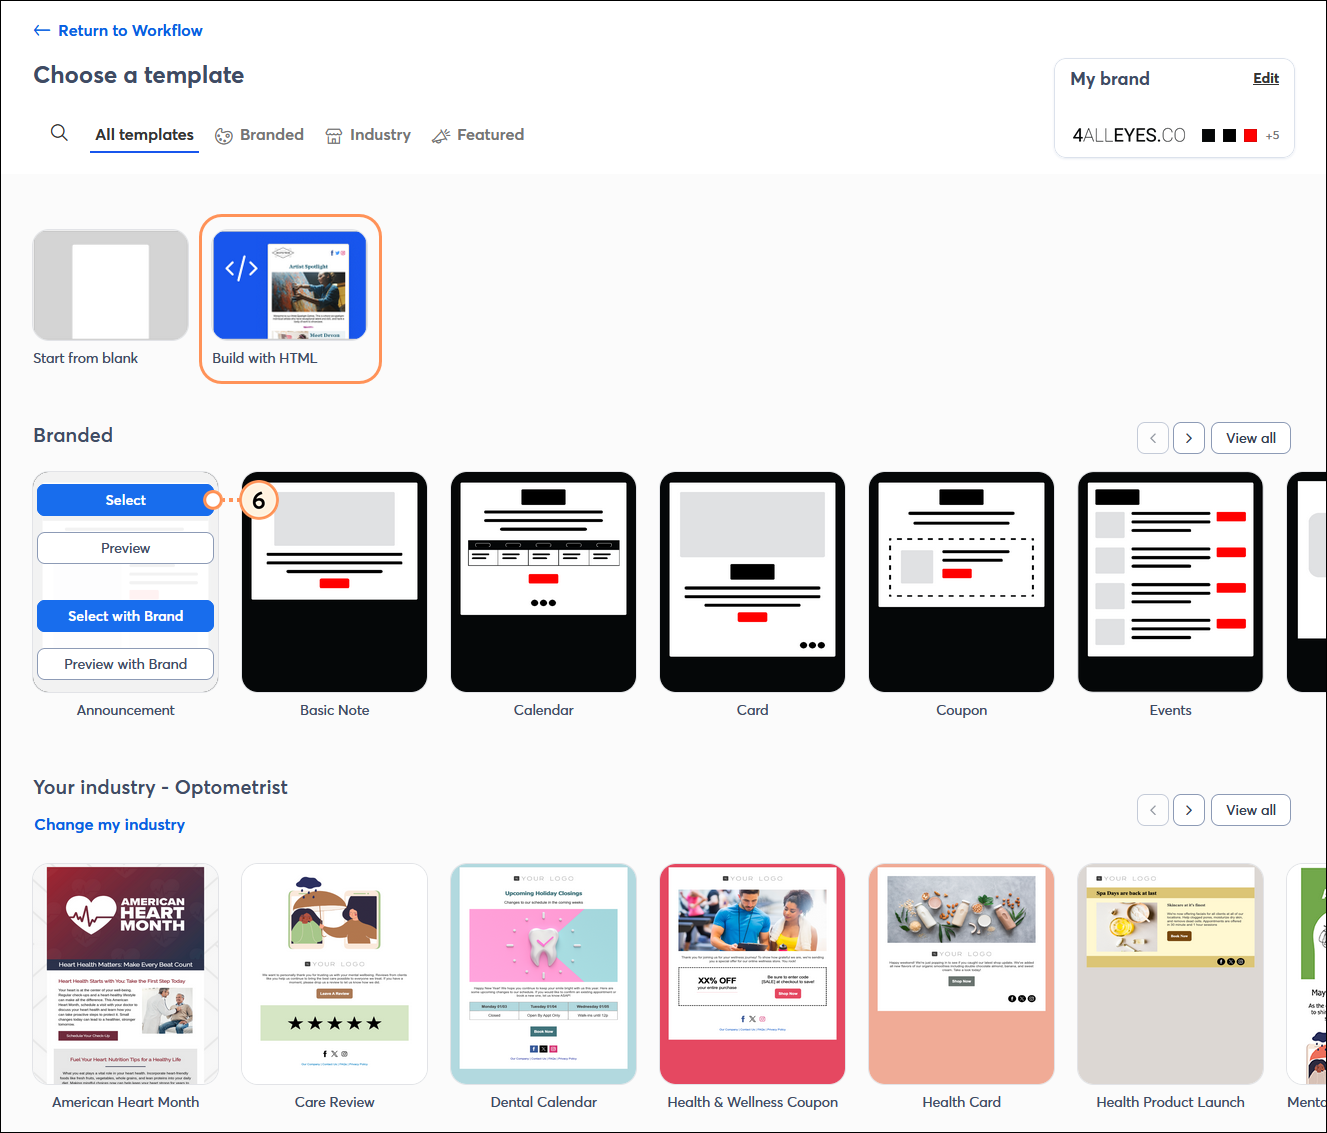
Your email message content is fully customizable! We’ve got lots of templates to get you started, or you can design your own with a template or using custom HTML code. Already have email content you want to use? You can copy existing emails and then further edit their content too.
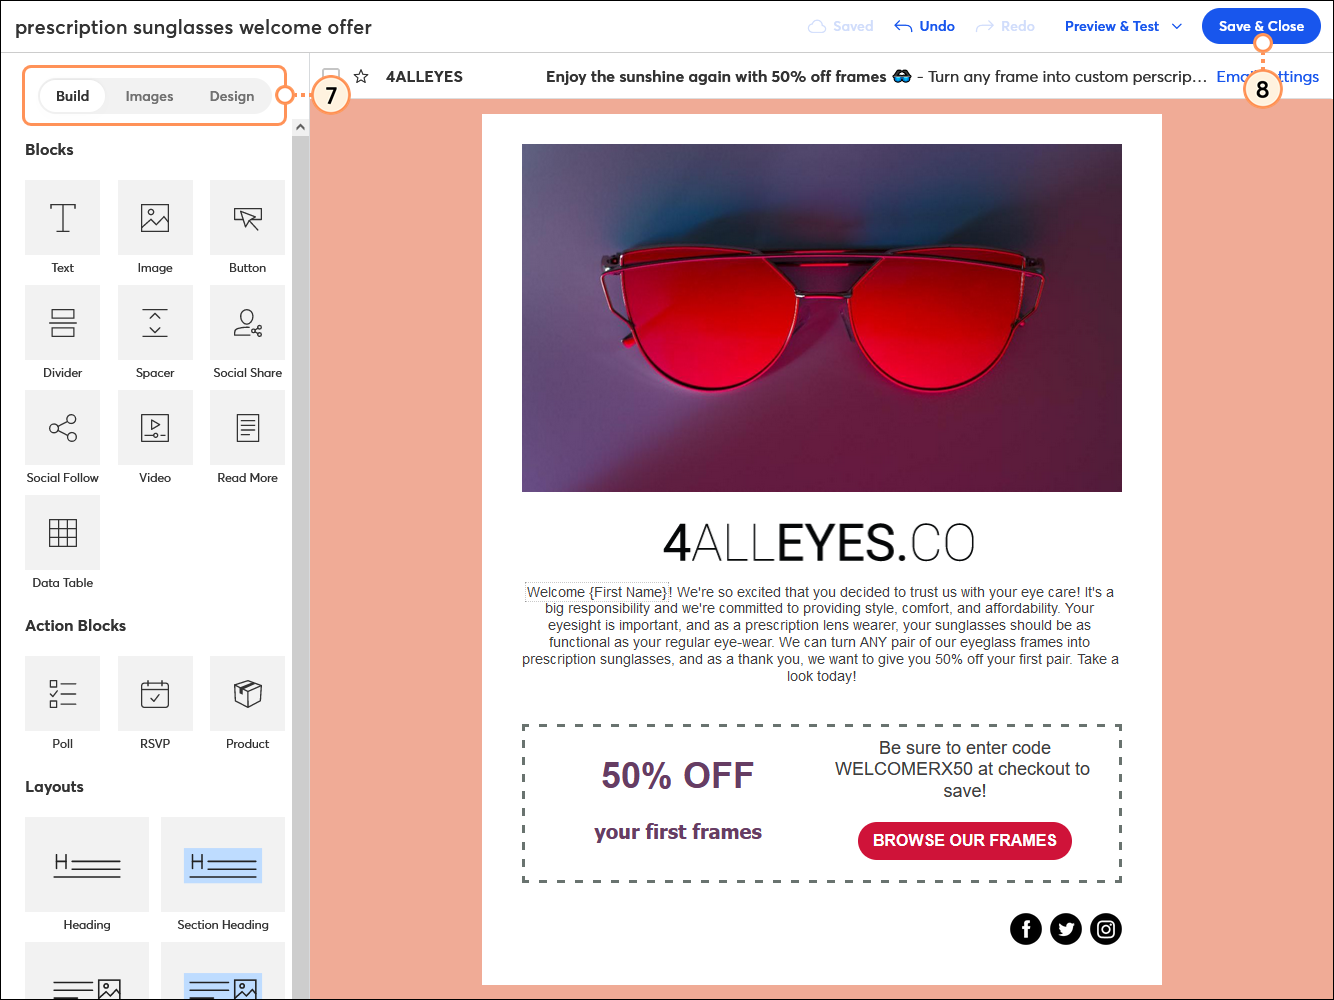
  1. From the Actions section of the path builder, drag a Send an email step into your path. An email action must fall below the path trigger, but it can come before or follow any other action or rule.
    Note: An automation path can have up to 50 steps.
  2. Drop the email anywhere there is a plus sign. An email can also be dragged from anywhere within the path to a plus sign if you want to change its current location in the path.

    Automation Path Builder, Actions section with Send an email option, and drag-and-drop Send an email step into path
     
  3. Click the three dots on the Send an email step in your path, and select "Edit."

    Automation Path Builder, Send an email step with menu expanded and Edit option selected
     
  4. Select how you want to create the email and give the new email a unique name:
  • Create an email - When you choose this option you are given the option to select a template or use the custom code editor to create a new email. Emails created within an automation path can't be used outside of the path as a standalone email, but they can be used in other automation paths.
  • Copy an existing email - Choose an email from the drop-down menu—email drafts and sent emails that were created with a template or the custom code editor, or that were created in any automation path are available in the list by their name. When you choose this option you're able to further edit your email's content before you activate your path. Copied emails can’t be used outside of the path as a standalone email, but they can be used in other automation paths.
  1. Click Continue.

    Send an email overlay with Create a new email option selected, name your new email field, and Continue button
     
  2. Choose a template by placing your cursor over the thumbnail image and clicking Select, or, if you have HTML code, click the Build with HTML option to open the custom code email editor.

    Choose an Email Template page with All templates tab selected and All filter selected, template thumbnails, and Select button
     
  3. Use the email editor or custom code editor to customize your content. If you're using an email template and need help getting started, you can use the AI Content Generator while you're editing your text!
  4. Click the Save & Close or Save & Continue button in the upper right-hand corner of the editor to return to the path builder.

    Email editor with Build tab selected, welcome email content, and Save & Close buttonCustom code editor with code field, email preview enabled, and Save & Continue button
    Template editorCustom Code editor


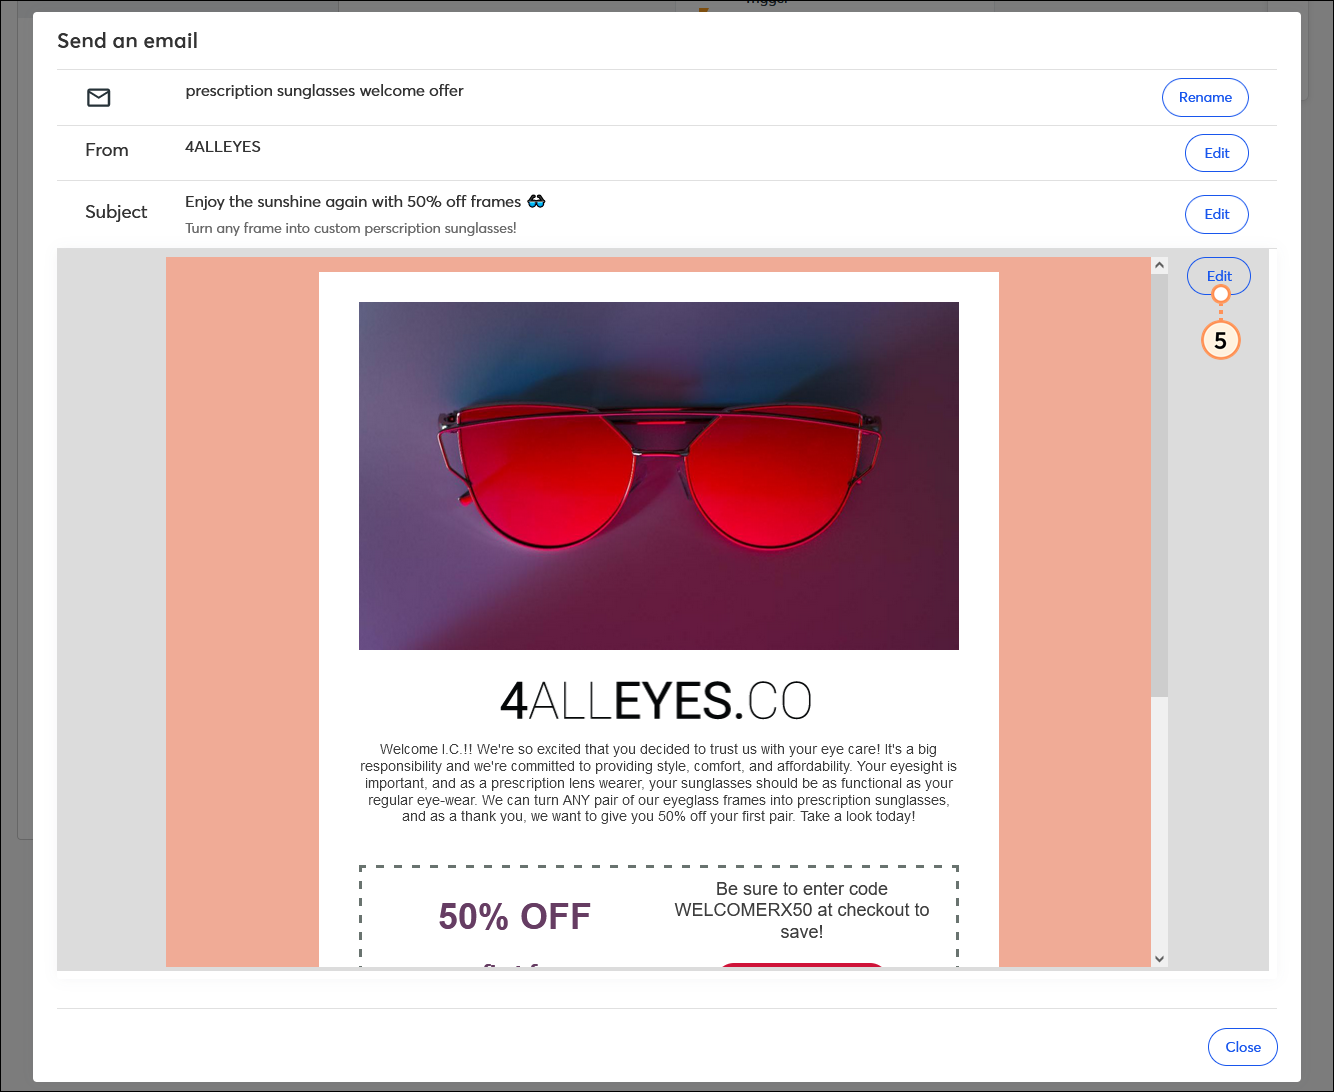
Repeat the steps for each email you want to add to your path.


Edit an email's content

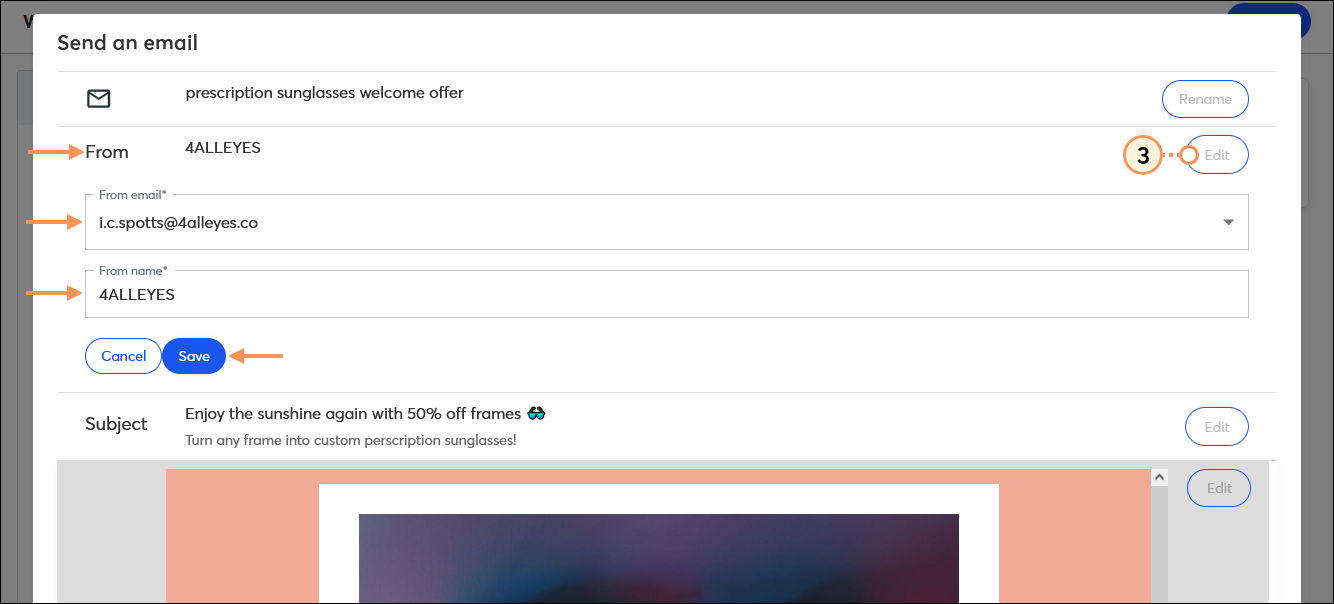
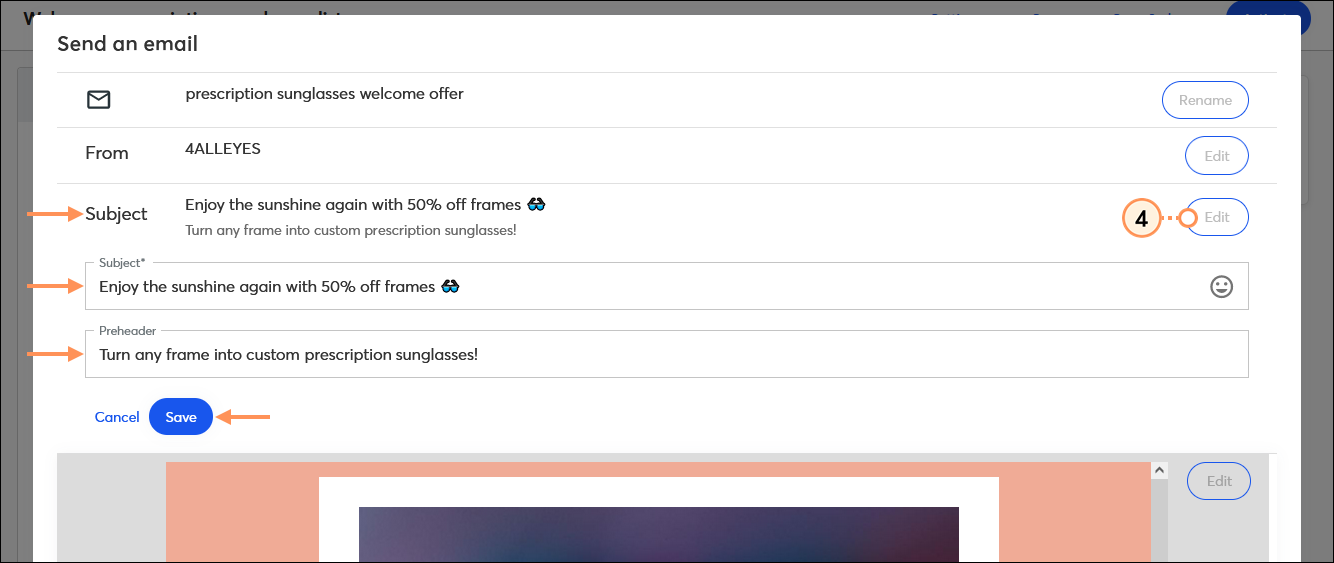
If you need to make changes, it's easy to edit your email.

  1. Click the three dots on the Send an email step in your path, and select "Edit."

    Automation Path Builder, Send an email step with menu expanded and Edit option selected
     
  2. Rename your email by clicking the Rename button on the right-hand side of Email line. Your email name must be unique. Click Save.

    Send an email overlay with Email section expanded and Rename button, Email name field, and Save button
     
  3. Choose a From email address or From name by clicking the Edit button on the right-hand side of the From line. Select a verified email address from the drop-down menu or enter a from name and click Save.
    Note: If you need to verify a new email address, it can be done through My Account.

    Send an email overlay with From section Edit button and section expanded, From email drop-down menu, From name field, and Save button
     
  4. Change your subject line or preheader by clicking the Edit button on the right-hand side of the Subject line. When you're finished making your edits, click Save.
    Note: You can add emoji to the subject line, but if you want to add subject line personalization, you have to edit the email body content and then click on the header.

    Send an email overlay with Subject section Edit button and section expanded, Subject field with Emoji option, Preheader field, and Save button
     
  5. Make changes to the body of your email by clicking the Edit button on the right-hand side of the email preview. You can also use the AI Content Generator while you edit your text, if you need help making changes. When you're finished making your edits, click Save & Close in the upper right-hand corner of the editor.

    Send an email overlay with email preview and edit button


Remove an email action from a path

When you delete an email action, it can't be undone, but it's easy to add another in if you need it.

  1. Click the three dots on the Send an email step in your path, and select "Delete."

    Automation Path Builder with Send an email step in the path, and Send an email menu expanded with Remove option selected
     
  2. Click Delete to confirm the action.

    Delete the task overlay and Delete button


Light Bulb Icon
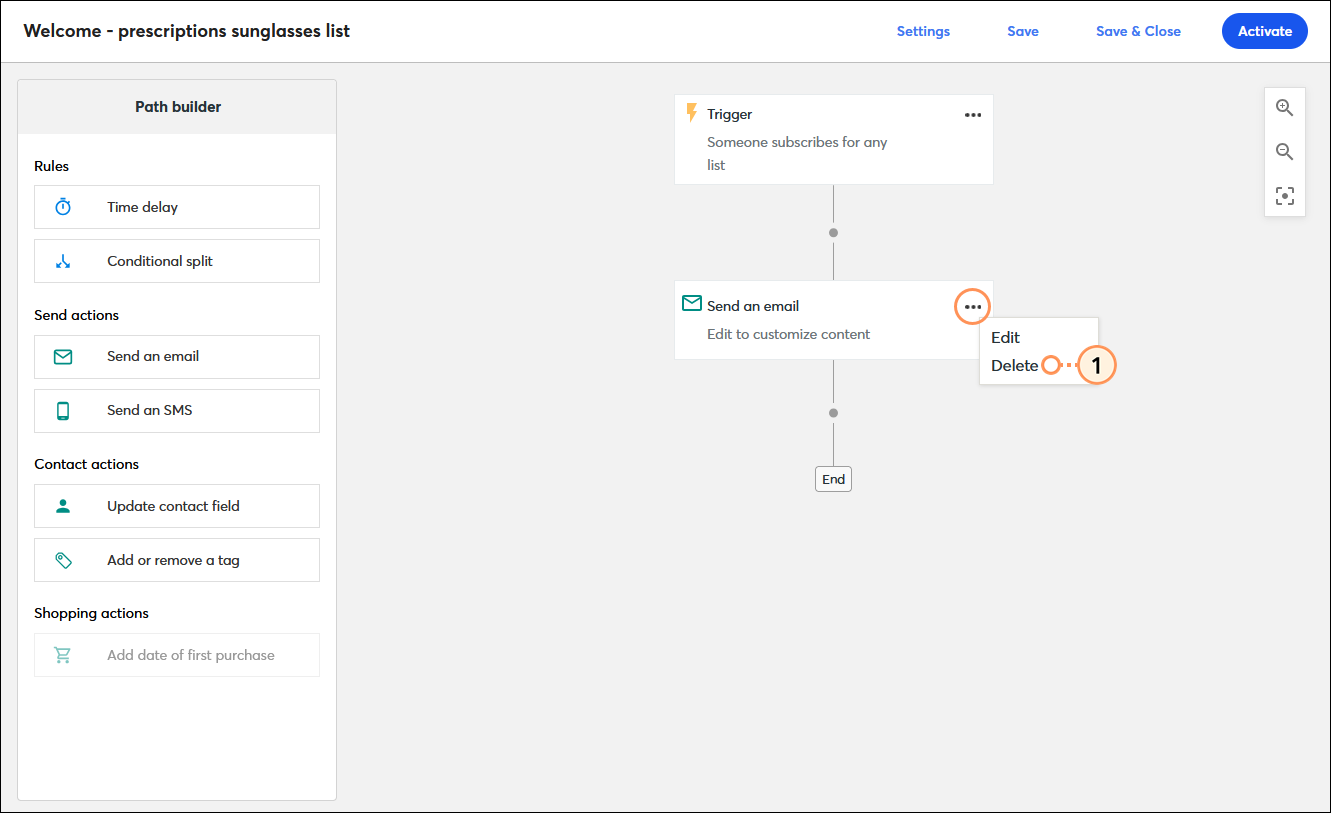
Did you know? Deleting an email step doesn't delete the email. You can use the email again at any time by adding a new email action to the path and searching for its name.


Questions?

Ask the Community

Did this article answer your question?


Constant Contact Logo

Copyright © 2025 · All Rights Reserved · Constant Contact · Privacy Center