| Important: We're in the process of rolling out updates of the Update Profile Form to our customers. If your account settings don't look the same, please follow the steps in this article instead. |
Keeping your contact list up to date isn't easy. Eventually, the information you have on file for some contacts will become outdated. The Update Profile Form gives your contacts the chance to update their information and list preferences themselves through your email footer.
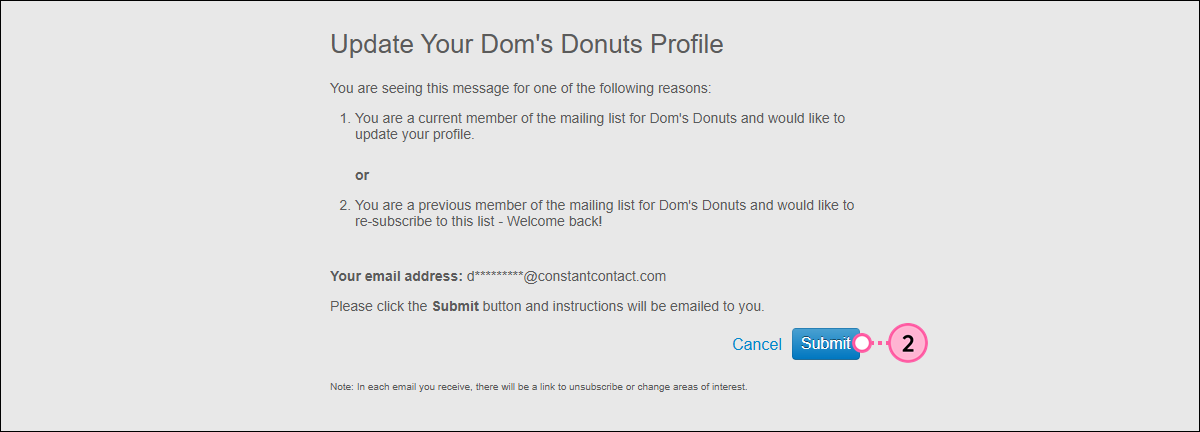
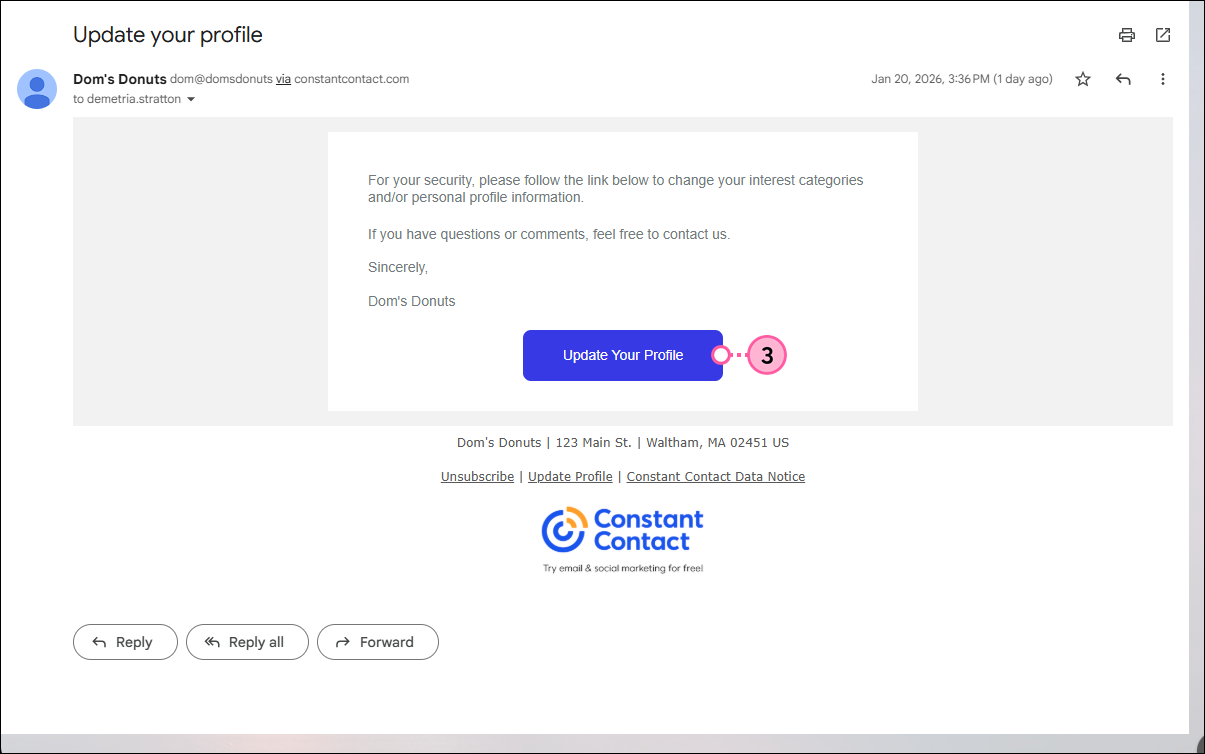
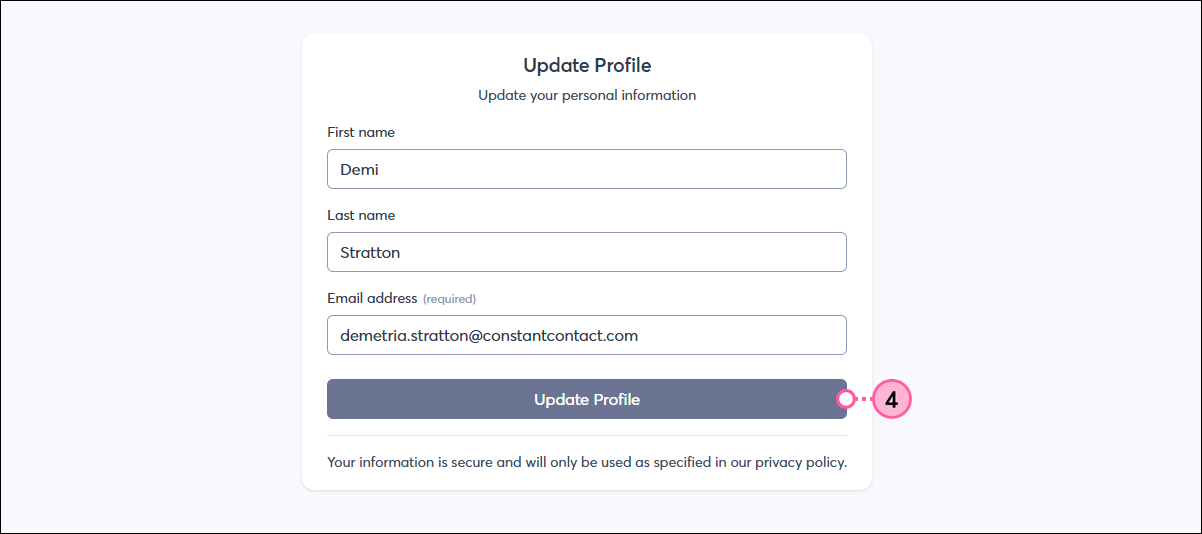
By default, an "Update Profile" link is enabled in the footer of all your emails. When a contact clicks the link, they're first asked to confirm they want to update their information, then sent an Update Profile Email with a unique link to a personalized Update Profile Form. This form lets them:
Once a contact submits the Update Profile Form, their contact record within your account is updated to reflect their responses.
| Did you know? The Update Profile link is something your contacts discover on their own, but you can also make them more aware of it. Consider sending them a dedicated email with instructions to click the link in your footer. For example: "Help us keep your information up to date! Click the "Update Profile" link in the footer of this email to update your contact details and to let us know what content you're interested in receiving." Alternatively, you can make the Update Profile Link the main call-to-action in your email by inserting a text link, button, or clickable image, and then pasting the [[updateLink]] variable tag into the Link URL field. |
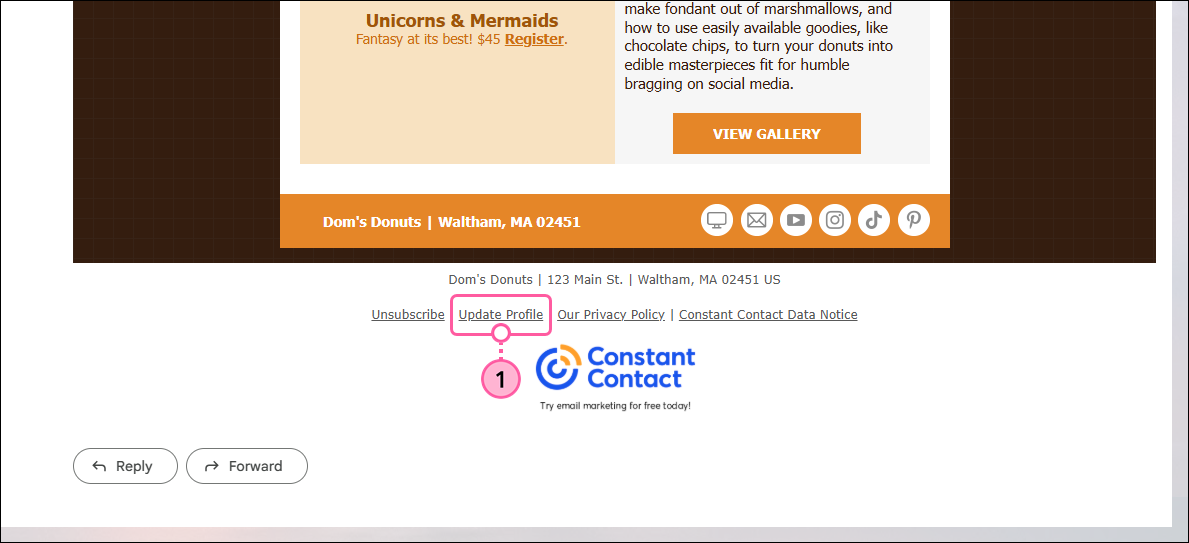
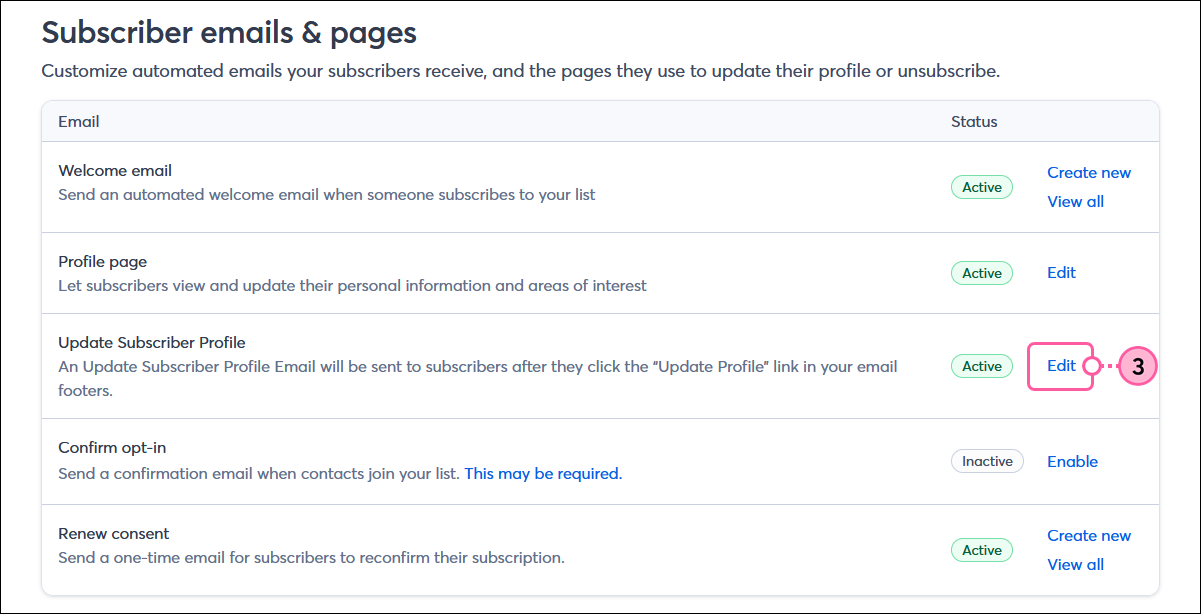
The "Update Profile" link in the email footer is automatically enabled for your account, so you don't need to take any further action. However, you can disable it at any time through the footer settings found in your account settings.
The content of the Update Profile Email is standard, but you can make additional edits to add your logo and brand colors, and to adjust the email copy, subject line, and preheader.


The Update Profile Form can be customized from within your account settings. You can add your logo, choose a theme, select the contact information you want to collect, and select the lists that you want your contacts to self-select into or out of. The logo, theme, and list affiliations you choose for your Update Profile Form are also applied to your Unsubscribe Form. This lets contacts who click the "Unsubscribe" link choose to unsubscribe from all your lists or from a particular list instead.
Follow these steps to customize the Subscriber Form:
| Important: The Update Profile Form isn't automatically updated when you make changes to list or contact fields in your sign-up form. If you do make changes to your sign-up form, be sure to make the same changes to your Update Profile Form to keep them consistent. |
Copyright © 2026 · All Rights Reserved · Constant Contact · Privacy Center