Depending on the status your event is in, the dashboard has different options and features available to you. Understanding how to navigate it can help you get your event up and running quickly and keep it running smoothly.
When your event is in "Draft" status, you're able to add all the important information about your event, create tickets, add-ons, and promo codes, customize your registration form, and set up payment methods.
To edit or add this information, click Edit in the upper-right. When you're ready to begin accepting registrations for your event, click Activate. 
Once you activate your event, the dashboard will update to include important information to help you promote your event and keep track of ticket purchases.
At the top of the dashboard, you'll be able to view your event details, edit your event details, and manually register a guest. Additionally, you'll see your Landing Page URL for the default Landing Page that was generated when you activated your event. Below it, you'll find the Registration URL, which can be copied and shared in an email, in a landing page, and on social media to promote your event.
You'll also see a toggle, which, when switched off, will allow you to stop accepting new registrants. This toggle can be switched back on at any time to resume accepting registrations, if you wish. Note that you can set registration close automatically within the Event Basics tab of the event editor.
Additionally, you have the option to add the event to your Event Calendar and your HTML Widget. This toggle can be switched on or off at any time.

On the overview tab, you'll see a snapshot of the following information:
Note: If you're hosting a free event, you will not see the "Total revenue" card on the dashboard, since it does not apply. Additionally, you will see "Registrations" instead of "Orders" and "Codes" instead of "Promo codes"

You'll also see tools that will help ensure your event is a success:

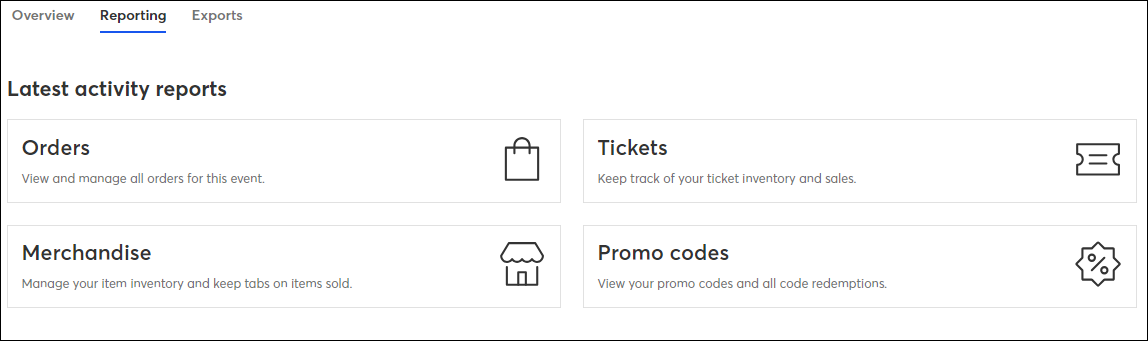
On the Reporting tab, you'll see four activity reports:
Note: If you are hosting a free event, you will see "Registrations" instead of "Orders" and "Codes" instead of "Promo codes"
Additionally, see a list of your registrants, along with their payment status, ticket total, and payment total. Switch the toggle to see either those who have registered or those who have declined.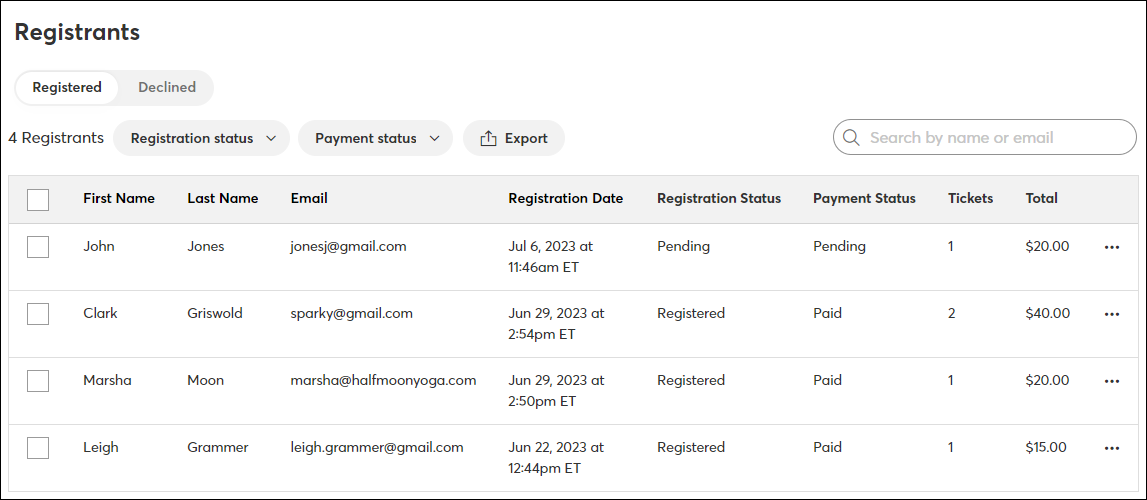
On the Exports tab, you can the ability to export a full or custom registrant report by clicking Export and then selecting either Full report or Custom Reports.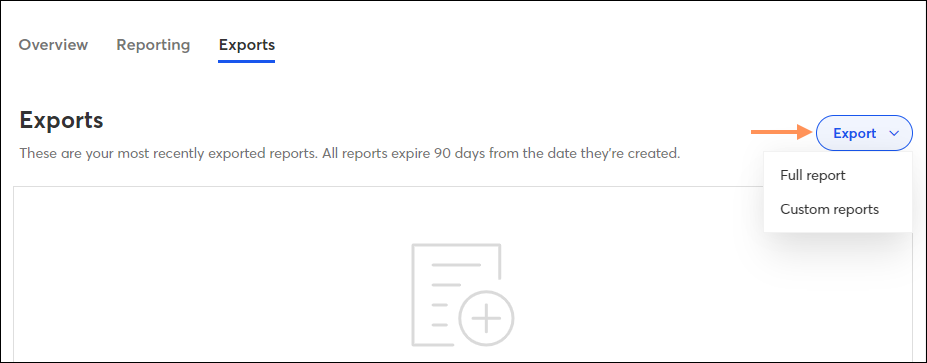
All your exported reports will appear in a table, where you can download them at any time by clicking the download arrow icon.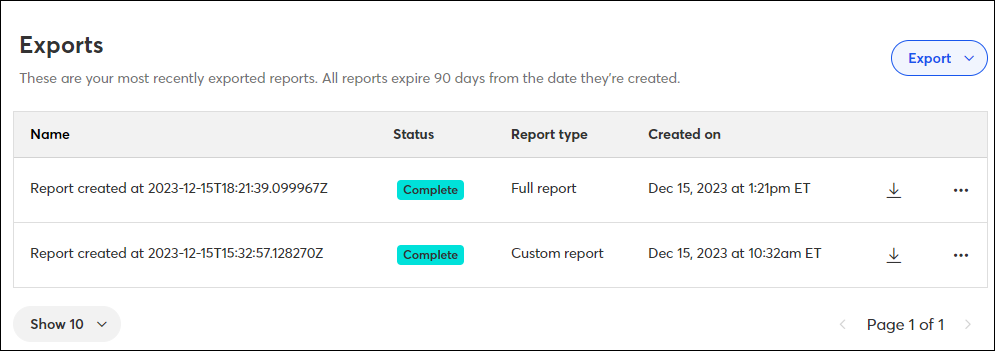
When an event is complete, its status will updated to Ended. Review your reporting and send registrants a "thank you for attending" email. In the "Event Tools" section of the dashboard, click the Emails card, choose the Follow-up message option, and select the "Event Thank You Basic" template.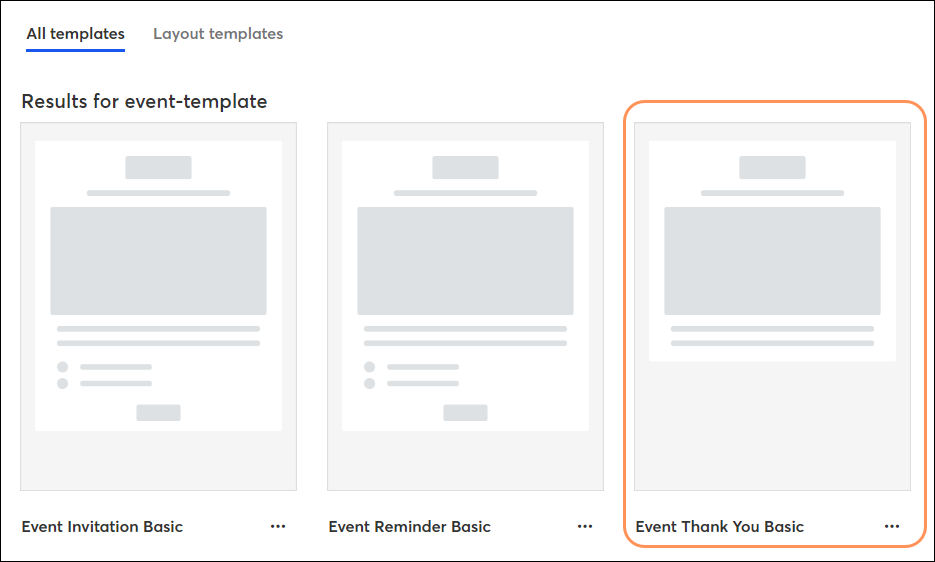
Copyright © 2026 · All Rights Reserved · Constant Contact · Privacy Center