We're making it easier to get around Constant Contact with a brand new left navigation. Not all accounts have that change yet, so if your navigation looks different from our articles, that's why–but everything from the top can now be found on the left!

Email and Digital Marketing
How can we help you?
Search our help articles, video tutorials, and quickstart guides

You've got this. You've got us. Search our Knowledge Base to quickly find answers to your questions.

Modify the columns in the Contacts table

Article: 000037402
Updated: March 13, 2025

Choose the contact information you want to display, and the order it displays in, when viewing the contacts on a specific list or all the contacts in your account

Light Bulb IconDid you know? We're in the process of making improvements to the All contacts table and rolling it out to our customers. If your All contacts table looks different, view this article for modifying the table headings instead.


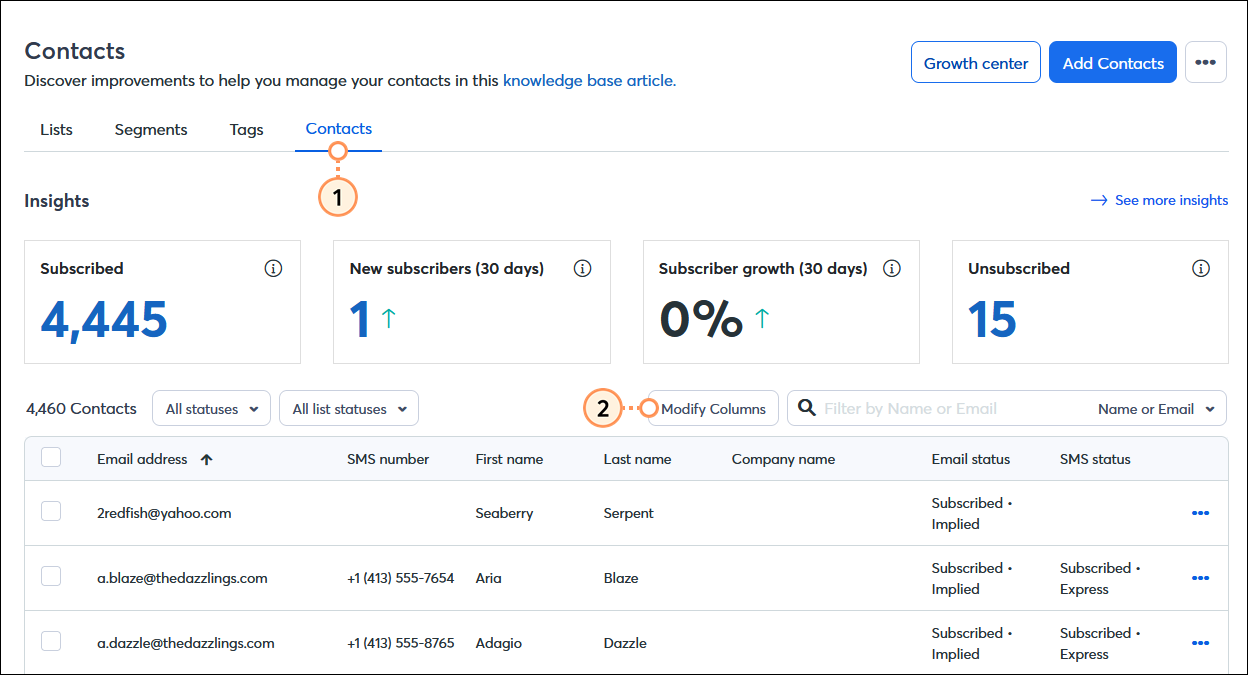
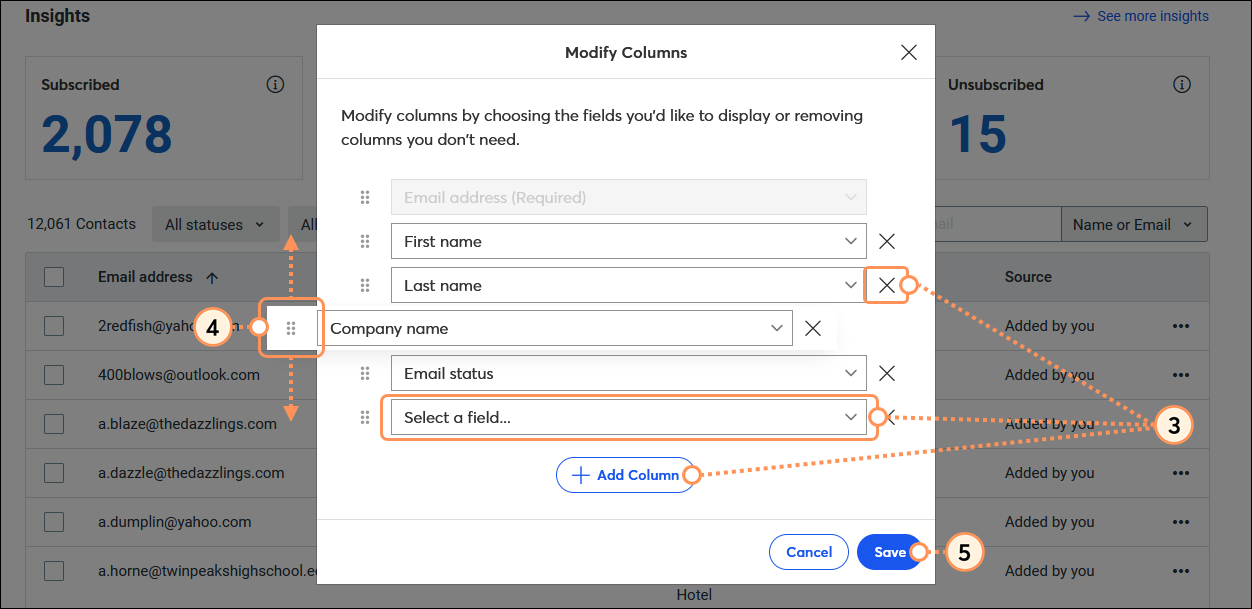
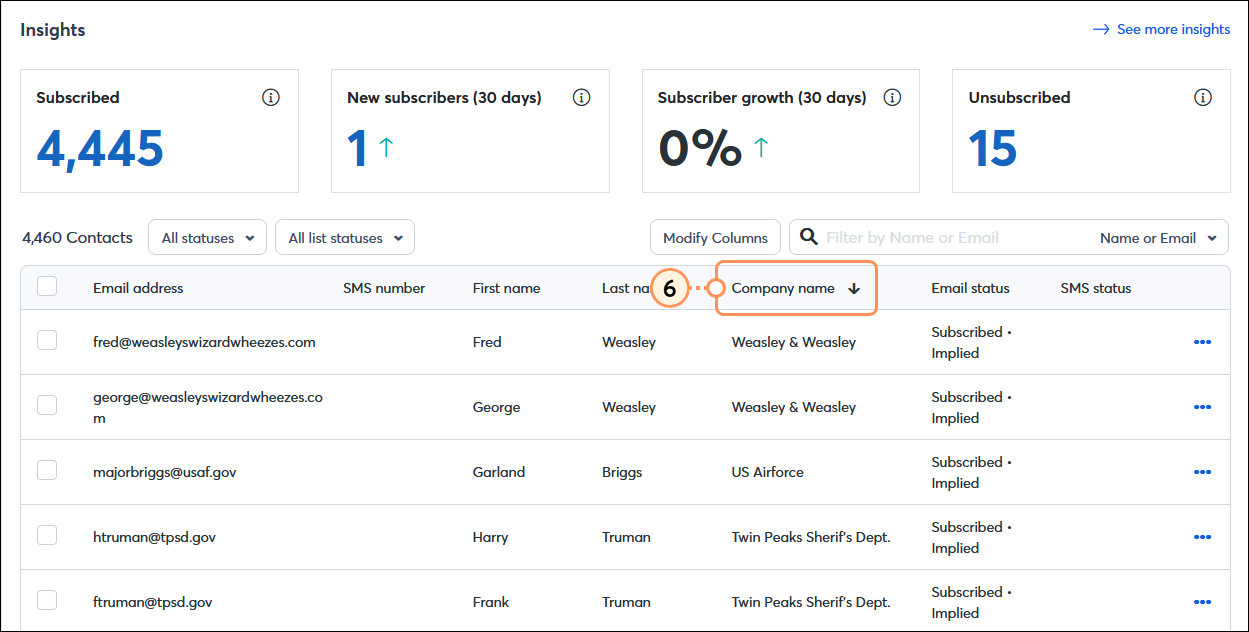
When you want to see all the contacts associated with a specific list, or all the contacts in your account, they're displayed for you in a handy table. The table has a maximum of seven columns, and you can choose what information displays in each column. You can also change the order of the columns so that the data is the most meaningful for your organization.

  1. From the contacts dashboard, click the Contacts tab.
  2. Click the Modify Columns button.

    Contacts dashboard with Contacts tab selected, and Modify Columns button 
     
  3. From the Modify Columns overlay, you can:
  • Update a column - Click on an existing contact detail drop-down menu to select a new one. You can choose from name, address, and company details, custom fieldscontact status, contact source, date added, and SMS number or status.
  • Delete a column - Click the X next to the contact detail you want to remove.
  • Add a column - Click + Add Column and select the contact information you want to display. You can have a maximum of 7 columns visible at once.
  1. (Optional) Use the drag handle to reorder the columns. Columns ordered from top to bottom display left to right.
  2. Click the Save button.

    Modify Columns overlay with column fields, Select a field option, Delete (X) option, and Add Column button, and Save button 

  3. (Optional) Click on a column header to sort your contacts alphabetically by the contact detail. Click again to sort in reverse alphabetical order.
    Note: Columns for custom fields, and well as certain fields like Email Status, SMS Status, SMS Phone number, and Zip/Postal code, aren't sortable.

    Contacts dashboard with Contacts tab selected, Contacts table with Company Name column sorted alphabetically Z-A 


Light Bulb IconDid you know? Our segmentation tools make it easy to filter your contacts in even more ways. No matter what size list you have, segmentation helps you get the right email content in front of the right contacts at the right time.


Questions?

Ask the Community

Did this article answer your question?


Constant Contact Logo

Copyright © 2025 · All Rights Reserved · Constant Contact · Privacy Center