A lead ad lets you target a specific audience on Facebook and Instagram to help you expand your marketing reach and capture new contacts. The ads are fully customizable for your intended audience, and you can target new leads based on what your existing contact list looks like, or based on their demographics and interests. Keep in mind, you can set your own budget!
When Facebook or Instagram users click on your ad, they're presented with a sign-up form that's pre-filled with contact information that they've publicly shared on Facebook and Instagram. New sign-ups are added to your "Facebook Lead Ads" list, and you can further engage them with targeted content.
Create your lead ad
 | Save time: If you have multiple Facebook accounts, make sure you connect them before you create your ad. Then all you have to do is choose the account you want to advertise on. |
Make sure you have everything you need to get started, including a Facebook Page for your organization, an Ad Manager account with your payment method connected, and a privacy policy for your organization.
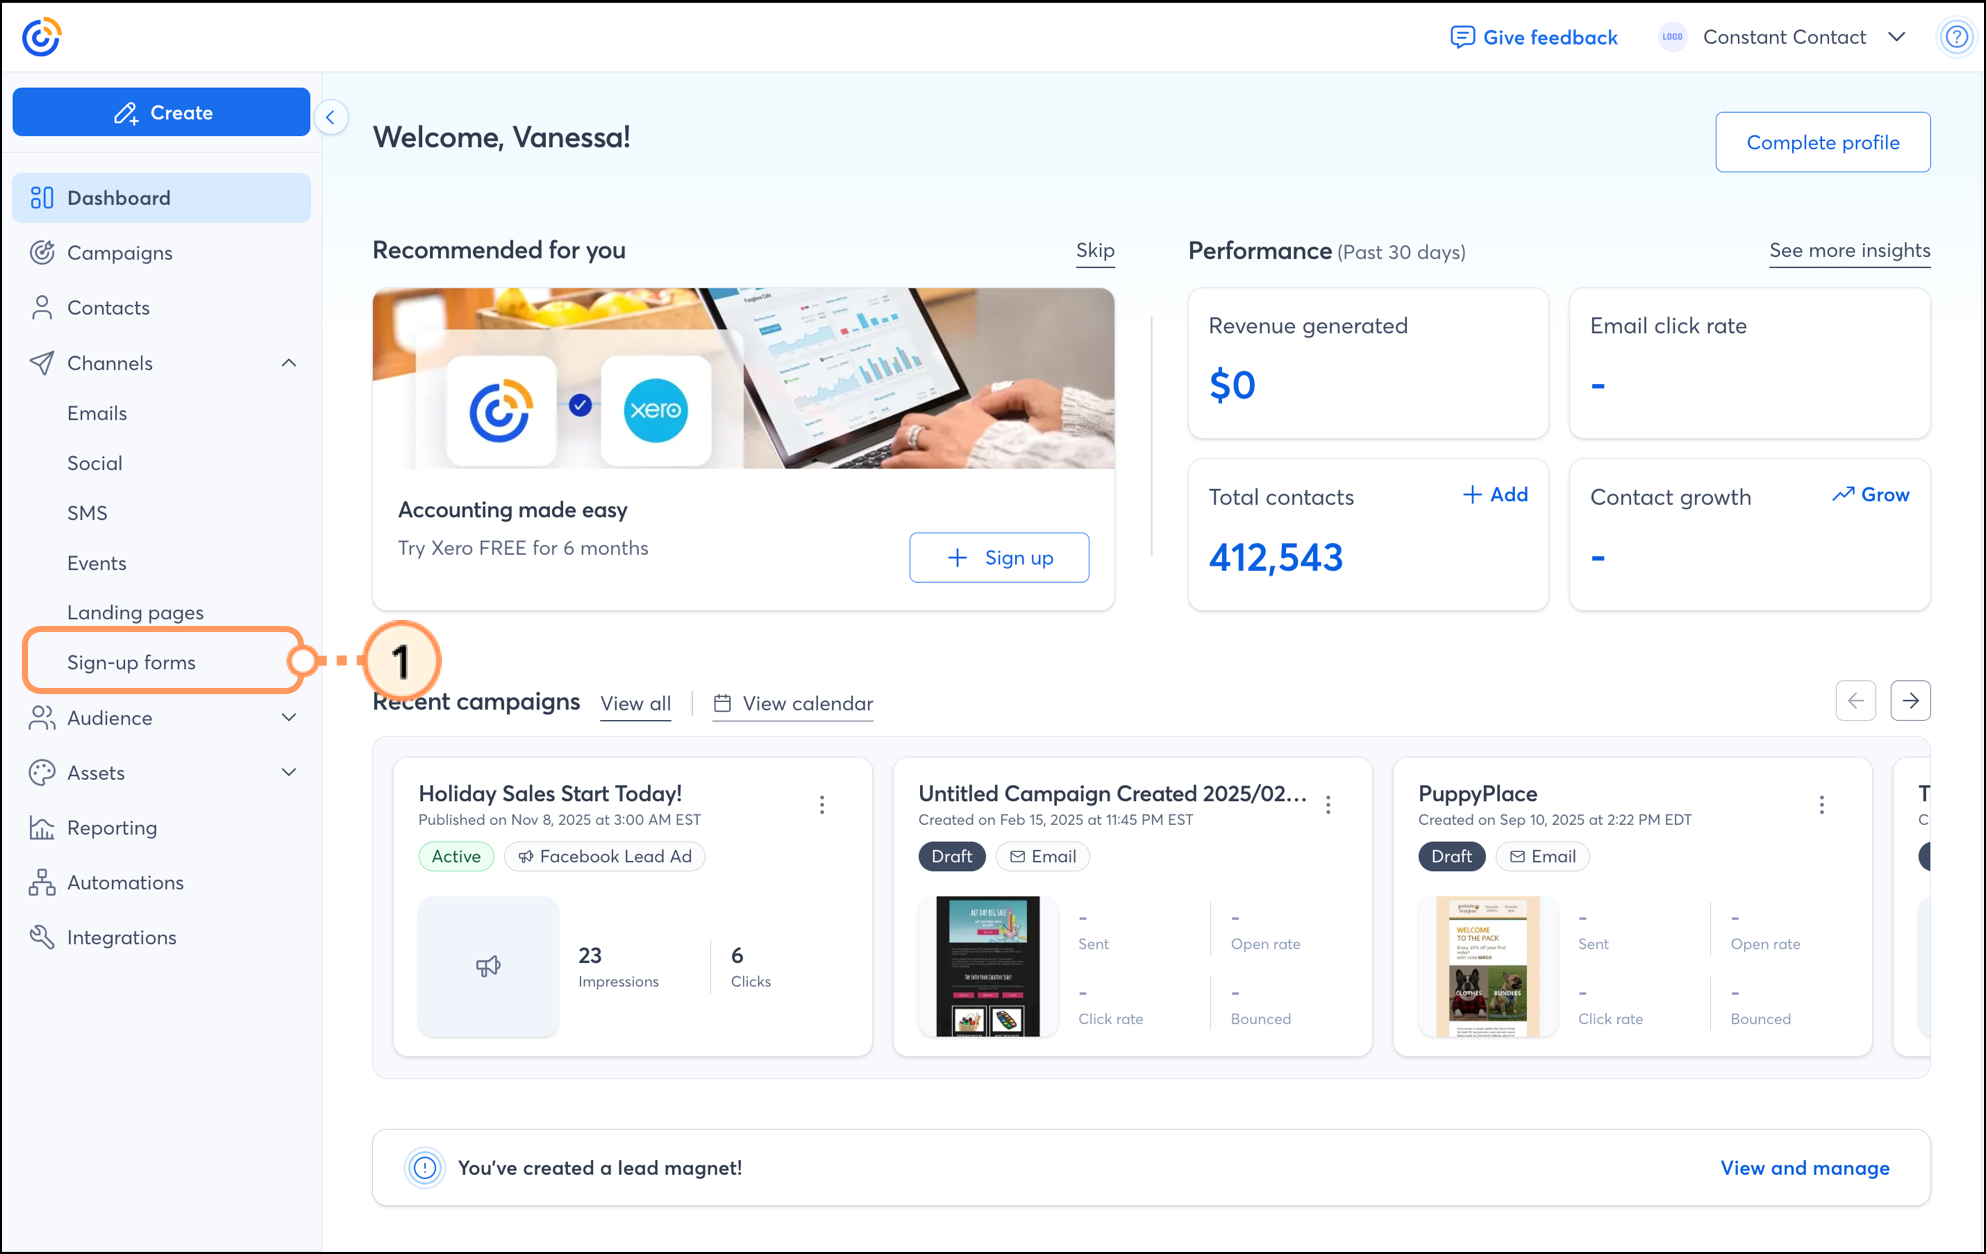
- Click Channels > Sign-up forms.
- Click the + Create a sign-up form button.
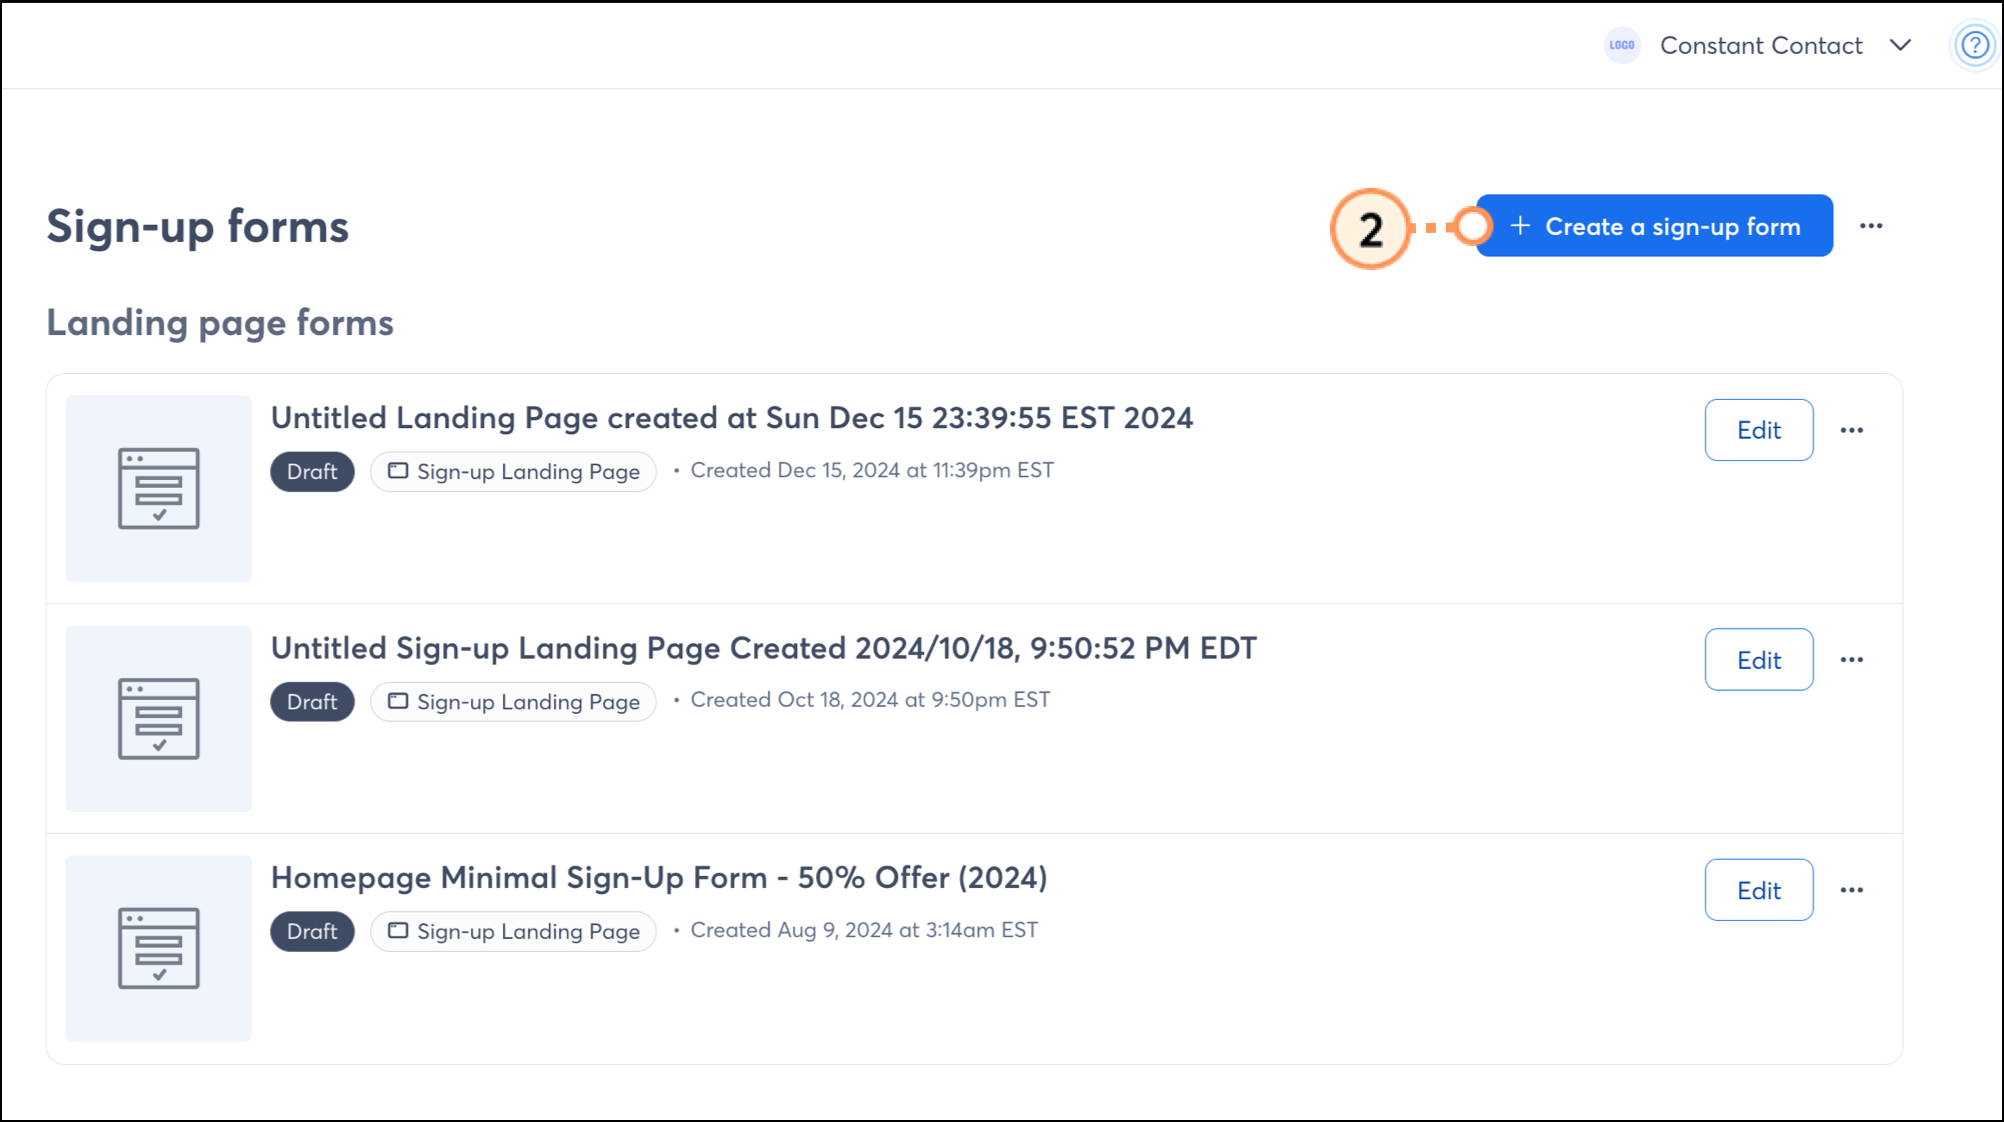
- Select Facebook Lead Ads.

- In the Facebook Account section, click Connect and sign into your Facebook account. If you have multiple Facebook accounts, you must be logged into the account with the Facebook Page you want to connect to your ad.

- Sign into your Facebook account to sync your Facebook Page and allow Constant Contact permission to integrate with your account to create ads. This doesn't give Constant Contact permission to access any of your personal account information.
 |  | ![Facebook Constant Contact is requesting access to Your name and profile picture page with Continue as [name] button](https://imgssl.constantcontact.com/kb/FacebookAds/fb-ads-continue-as-screen-step5.png "Facebook Constant Contact is requesting access to Your name and profile picture page with Continue as [name] button") |  |
| Enter your user name and password and click Log In. | Enter the 6-digit authentication code from Facebook and click Continue. If you haven't enabled two-factor authentication for Facebook yet, you're prompted to set it up first. | Click Continue as [Name]. This lets us pull your username and profile picture into your Facebook Ad. | Review the permissions and click Continue. This allows the ad statistics and leads to sync in your Constant Contact account. You can review these options by clicking "Choose what you allow." |
Right-click on an image to see it full-sized.
- (Optional) The Facebook Ad Account linked to your Facebook Page is automatically selected, but if you have more than one ad account, you can choose one from the drop-down menu.
- (Optional) Click Edit Payment Settings to add a payment method to your Facebook Ad account. A payment method is required before the ad can be placed.
- Give your ad a name you can easily recognize later in your account. Your customers or supporters will never see the name.
- Click Save.

 | Best practice: Want to get the most out of your ad? Make sure to check out our best practices for creating an effective ad! |
Select your social pages
You can share your lead ad on Facebook or Facebook and Instagram. Even if you don't have an Instagram account, your lead ad can still be displayed there.
- Click Edit next to "Select Social Pages."

- Select your Facebook Page.
- If you:
- Have an Instagram account - Make sure it's connected to your Facebook Page, and then select it from the drop-down menu.
- Don't have an Instagram account - Select "Advertise to Instagram using my Facebook page info." Facebook creates a behind-the-scenes Instagram profile for advertising purposes only, and you can use it for all future ads you create. If you want to later create an official Instagram account for your organization, you can do it at any time without affecting your existing ad.
- Don't want to advertise on Instagram - Select "Don't post this ad on Instagram."
- Click Save.

Design your lead ad
| Be a better marketer: Certain industries, like non-profits and real estate, have special restrictions under Facebook's Special Ad Categories for ads involving social issues, politics, credit, employment, or housing opportunities. |
Facebook and Instagram Lead Ads require a link to your organization's privacy policy.
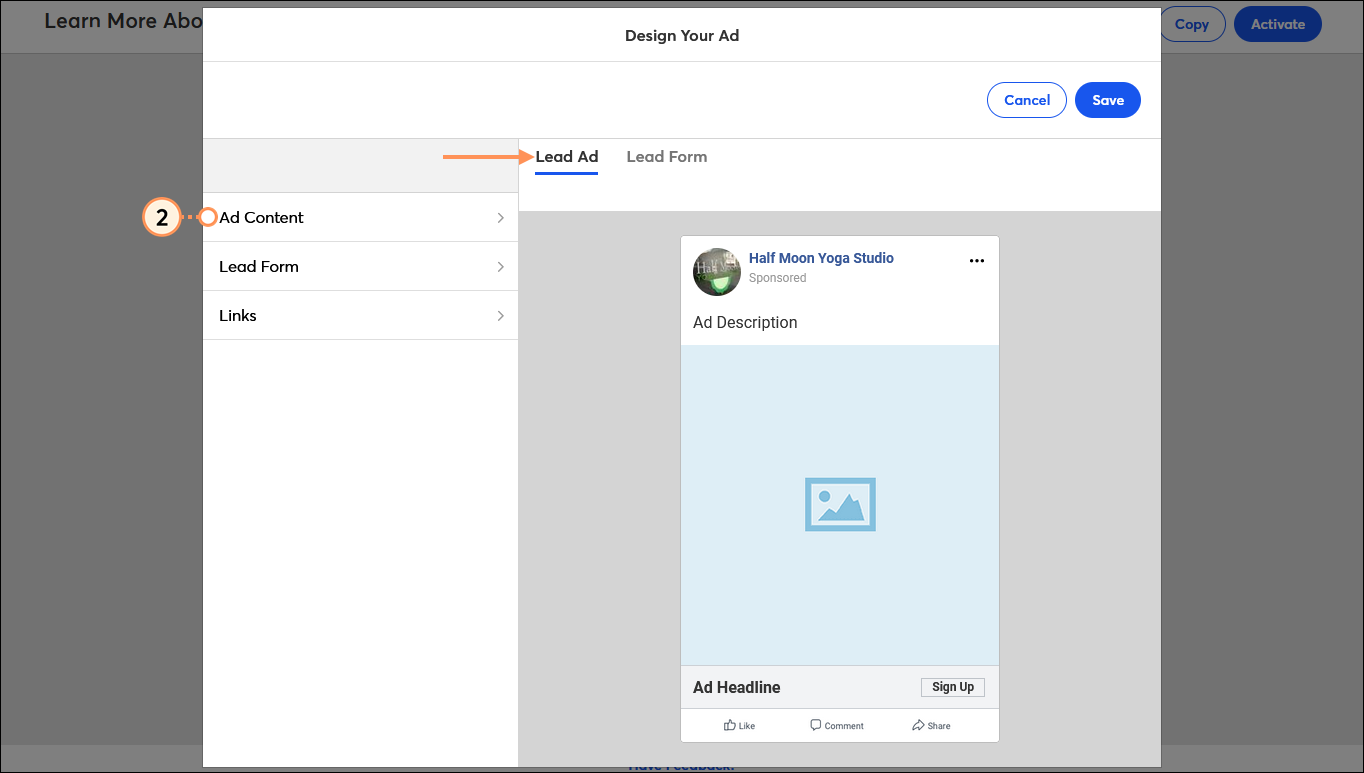
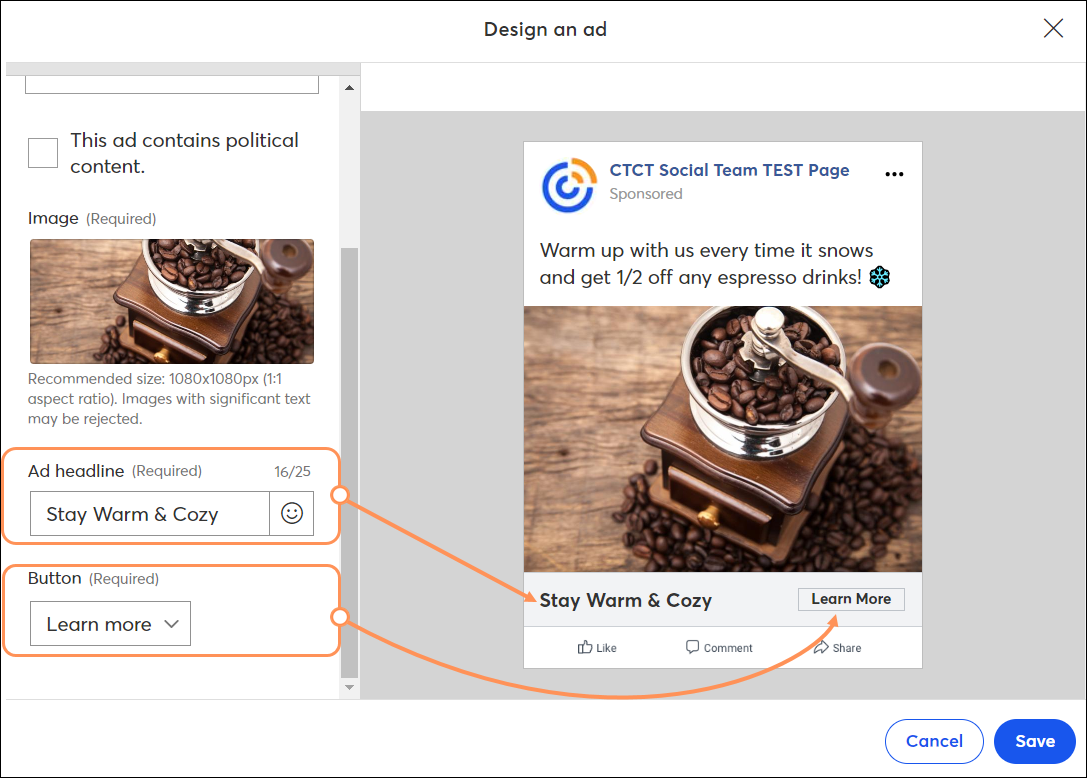
- Click Edit next to "Design Your Ad."

- From the Lead Ad tab, click Ad Content.
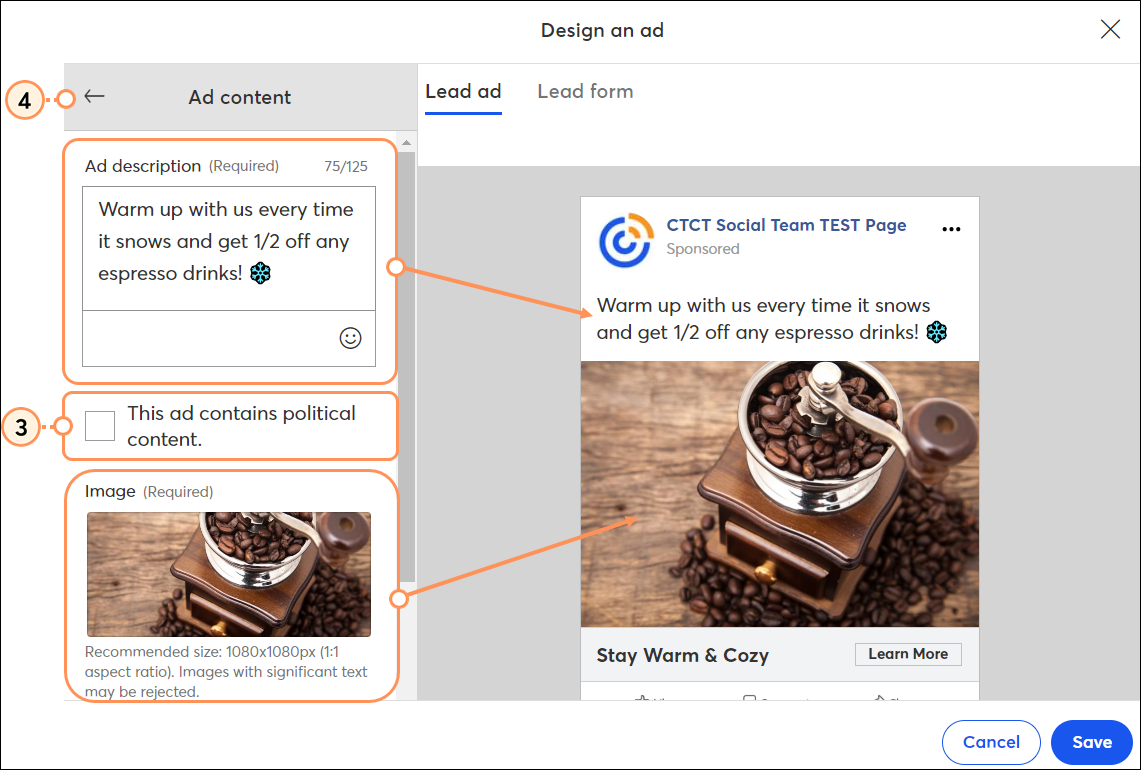
- Fill in the different components of your ad. The sample ad on the Lead Ad tab shows you the full content of your ad as you go.
- Ad Description - This appears as the "post text" at the top of the ad.
- Political Content - If your ad includes political content, Facebook requires it to be labeled, and you must check the box. If the box is unchecked and Facebook reviews your ad and determines that it includes political content, they can decline to publish it. Please see Facebook Support for more information on ads about social issues, elections, or politics.
- Image/Gif - Click the + button to choose an existing image or gif or upload a new image or gif to your Library.
- Ad Headline - This is the text that sits next to your call-to-action button.
- Button - This is the main call-to-action. Select the button text from the drop-down menu.
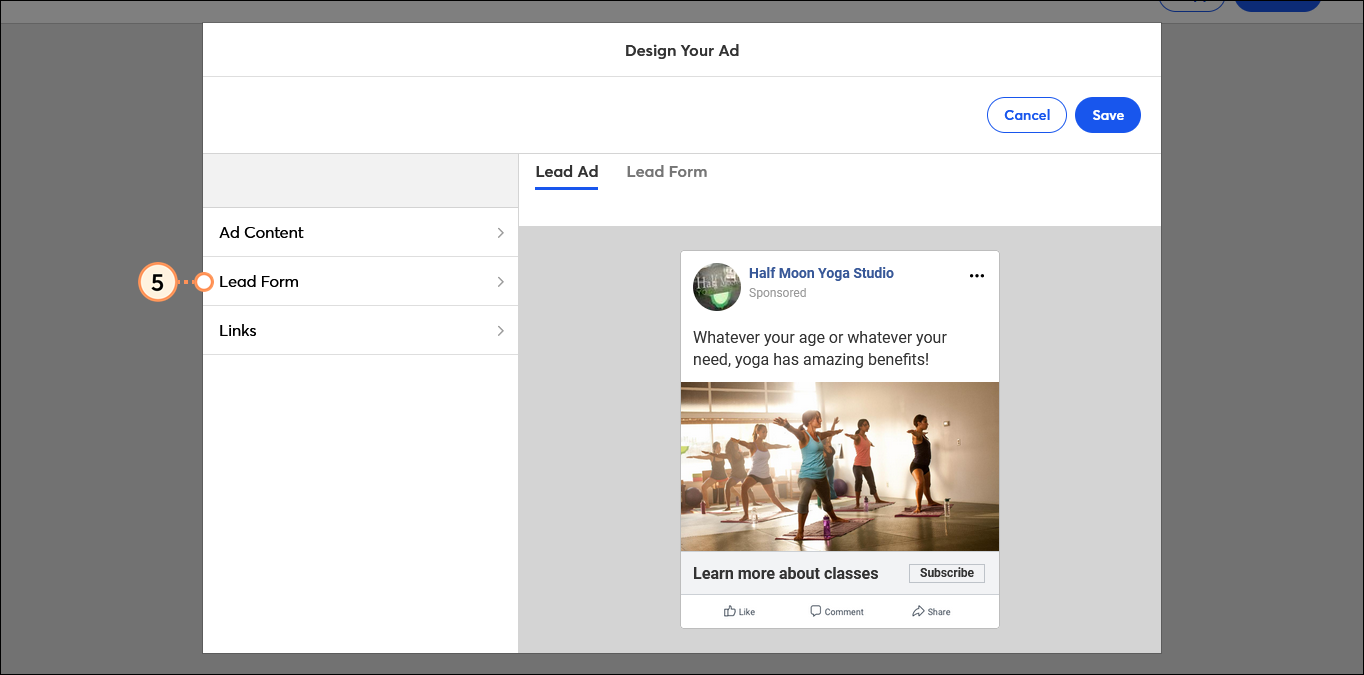
- Click the back arrow.
- Click Lead Form.
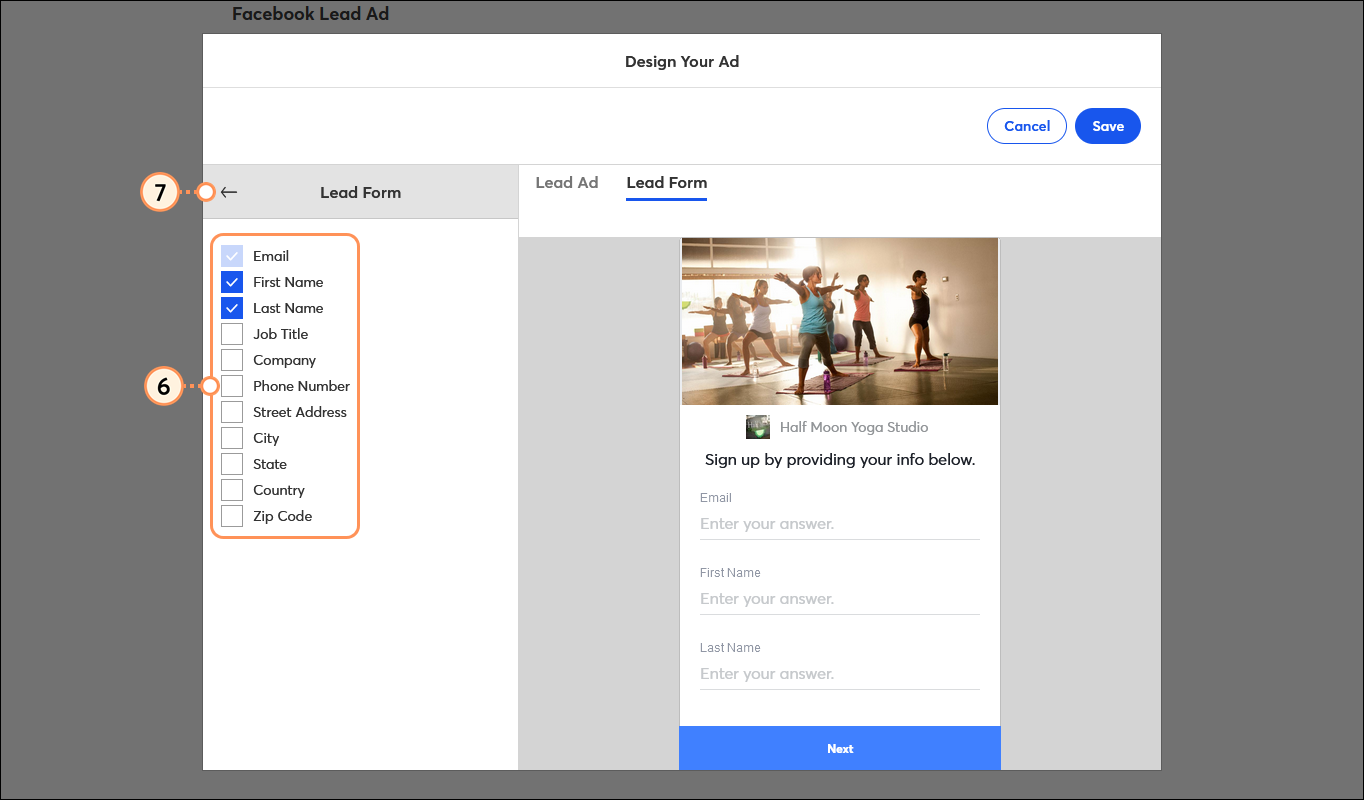
- Select the contact details you want to collect from your new leads when they join your list. The sample ad on the Lead Form tab shows you what the full content of your sign-up form looks like as you go. Be strategic! The less you ask for, the less likely your leads will drop out of the flow without completing your form. You can always ask for more information through an email poll later.
- Click the back arrow.
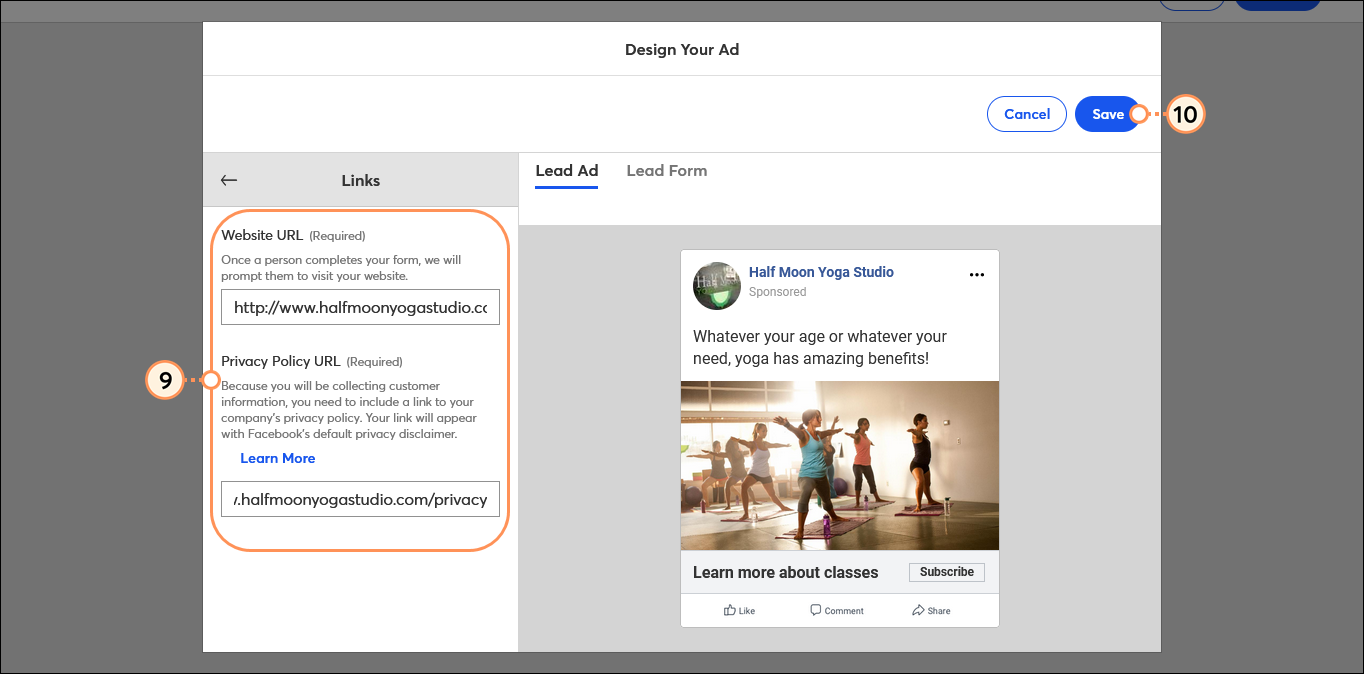
- Click Links.
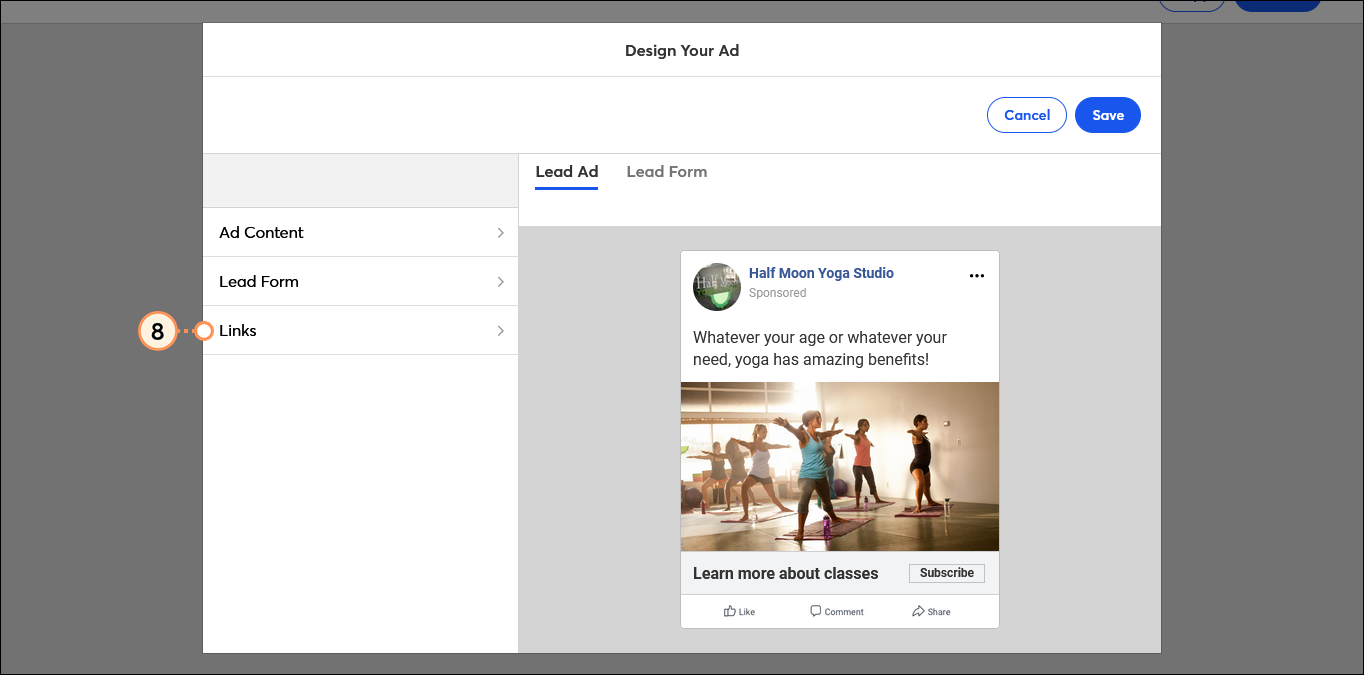
- Paste the links for your:
- Website URL - A link to your website is a required field. After new contacts join your list, they're presented with the link you put in this field.
- Privacy Policy URL - A link to your organization's privacy policy is a required field because your sign-up form is asking for personal information about your leads.
- Click Save.
Select your audience
There are two types of audiences you can target with a lead ad: a Facebook Lookalike Audience that has similarities with your current contact list, or an audience based on the demographics and interests of your choosing. Creating a new Facebook Lookalike Audience for your ad can take some time to process, but your ad publishes automatically when it's finished.
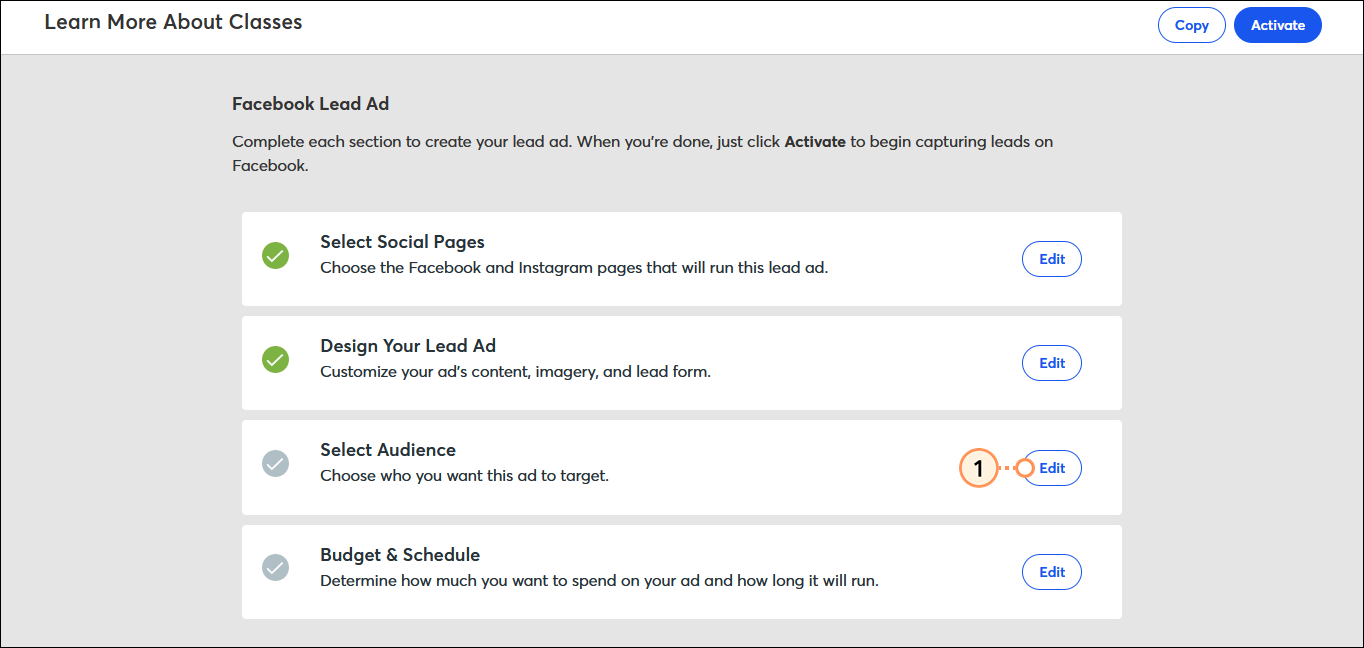
- Click Edit next to "Select Audience."
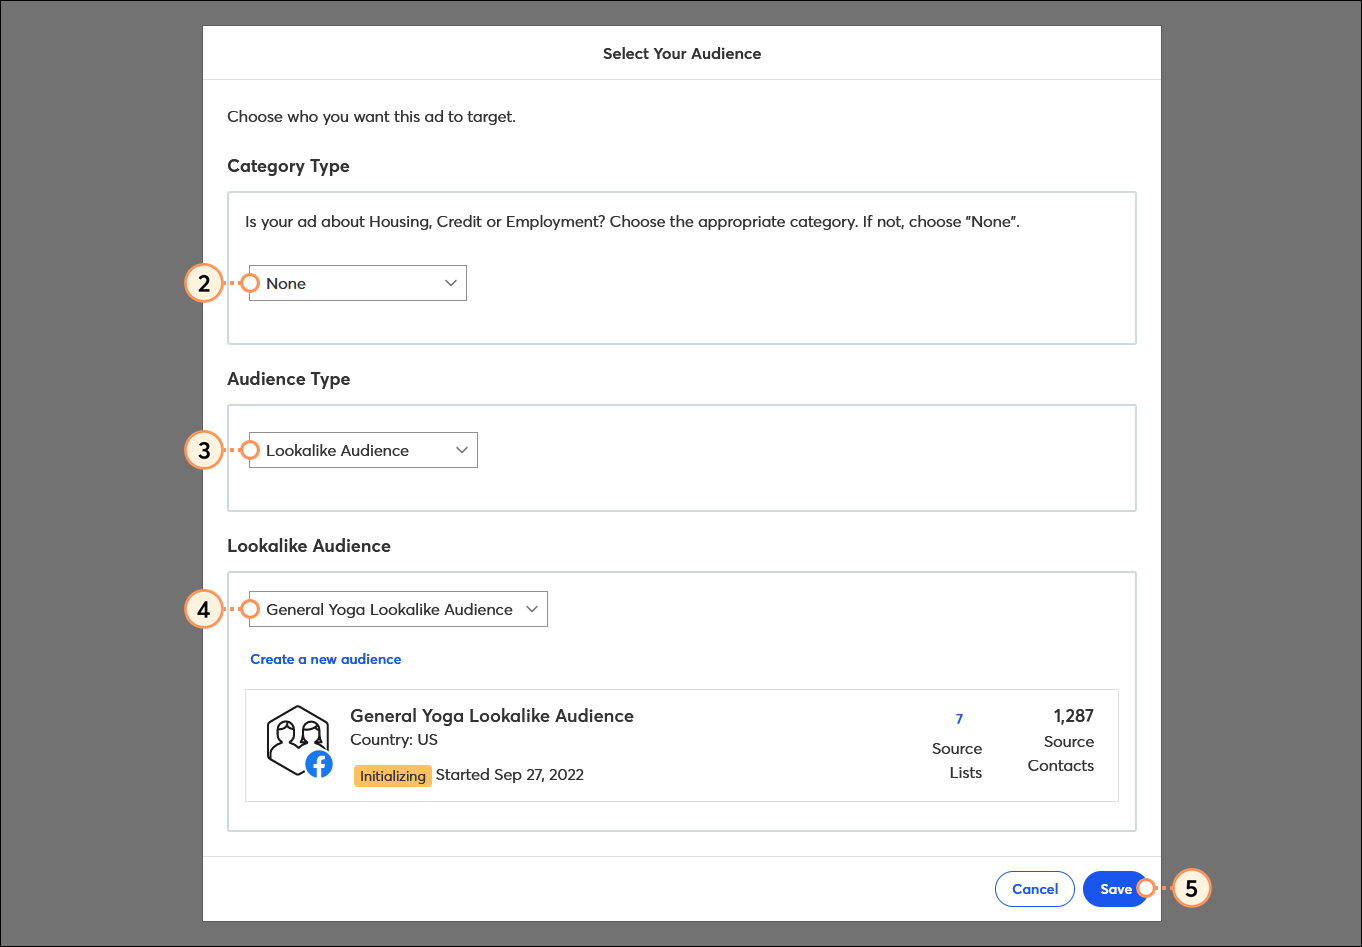
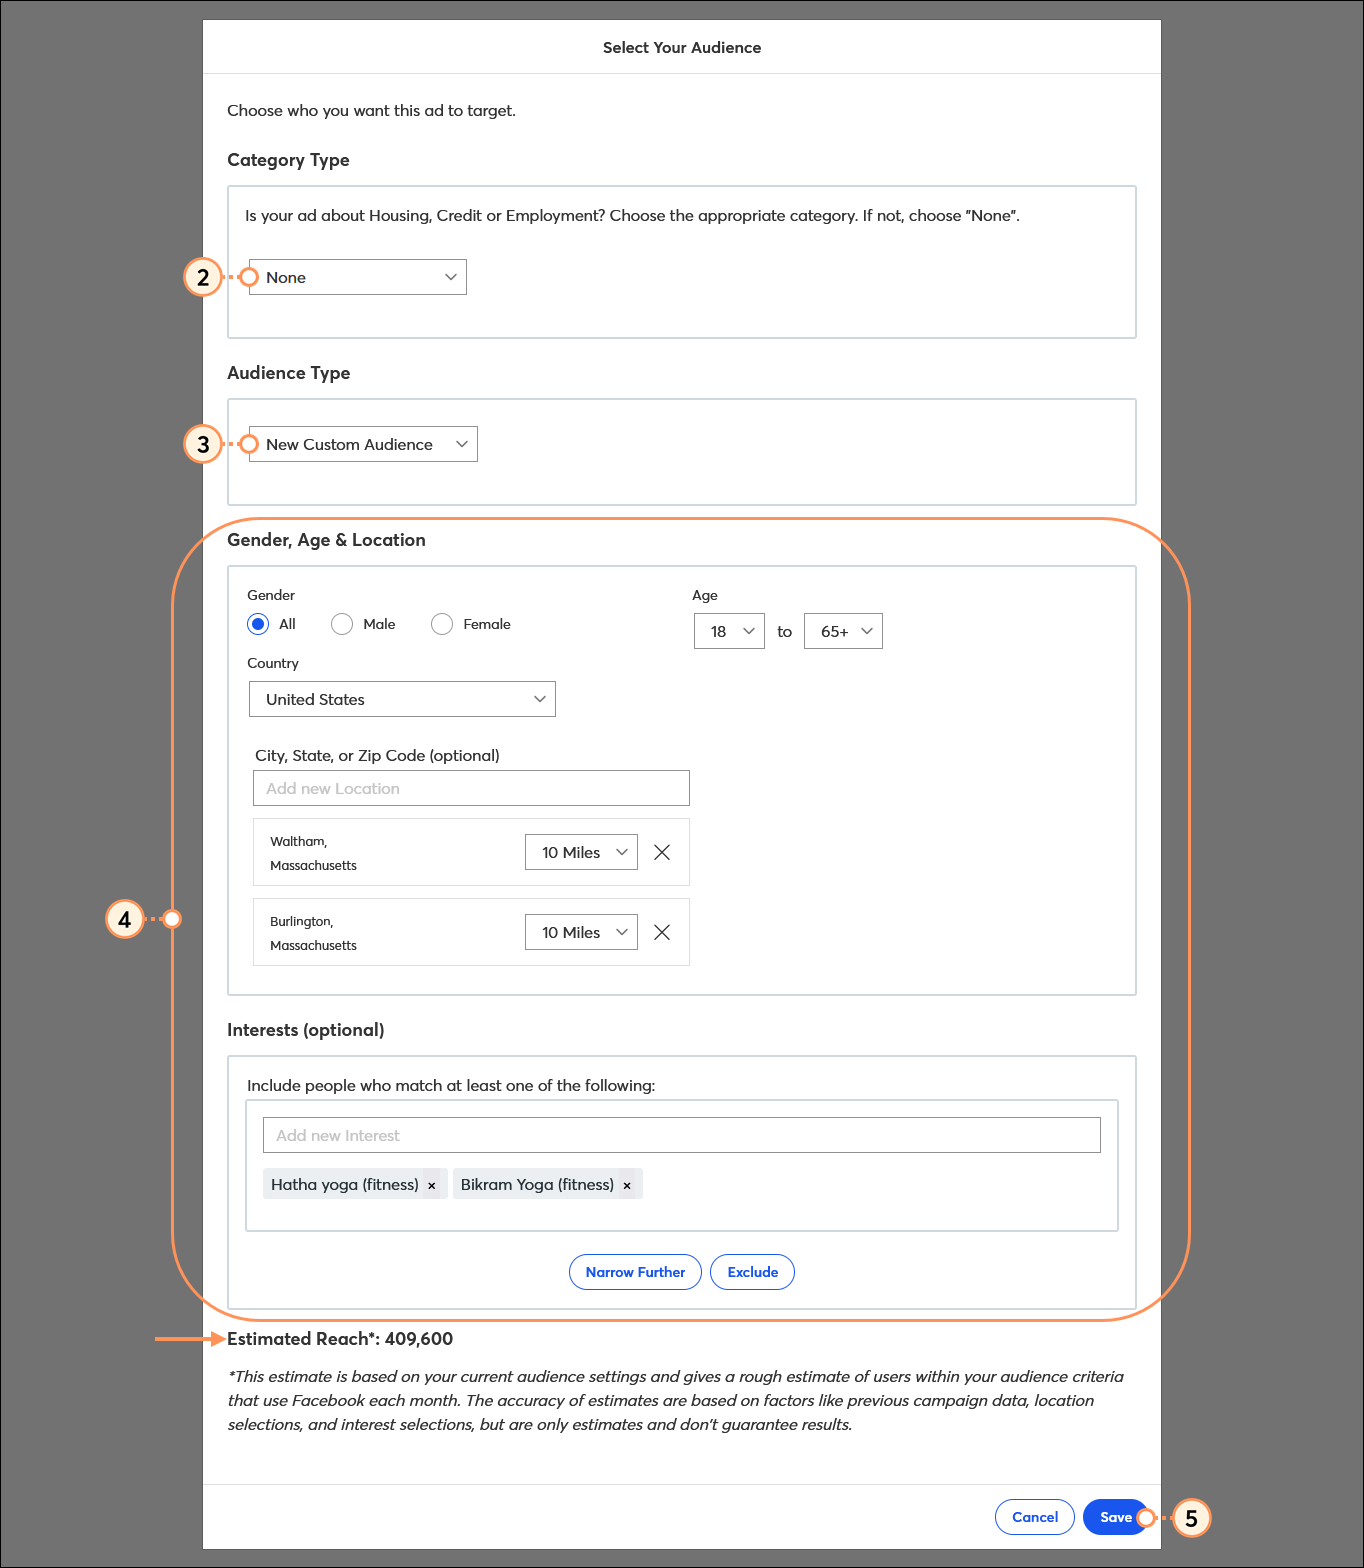
- Select a Category Type for your ad. To prevent credit, employment, or housing discrimination, Facebook removes the ability to target ads by gender, age, or interests, and also the use of lookalike audiences when you select the "Housing," "Credit," or "Employment" option. If you choose the "None" option and Facebook reviews your ad and determines it is a credit, employment, or housing ad, they can decline to publish it. Please see Facebook Support for more information on Special Ad Categories.
- Select an Audience Type:
- Lookalike Audience - To target new leads using a Facebook Lookalike Audience.
- New Custom Audience - To target your ad by location or interests.
- Depending on the type of audience you choose:
| Lookalike Audience | Custom Audience |
|---|
Click "Create a new audience," or select an existing Lookalike Audience. Any custom audiences created directly through Facebook using their ad manager also appear on this list.
Note: If you don't see the Lookalike Audiences you're expecting, make sure that you have the correct Facebook Ad account selected. | Choose your audience details. Keep in mind that your estimated reach is reduced with every detail you include:
- Gender - Choose to target both males and females, only males, or only females.
- Age - Select your target age range. The smaller your age range, the lower your estimated reach becomes.
- Country - Select the country in which you want to advertise.
- City, State, or Zip Code - Target your reach within a specific area.
- Interest - Add tags to further narrow your estimated reach to Facebook users with specific interests.
|
- Click Save.
| Existing Lookalike Audience | New Custom Audience |
|---|
 |  |
Right-click on an image to view it full-sized.
Set your budget and schedule
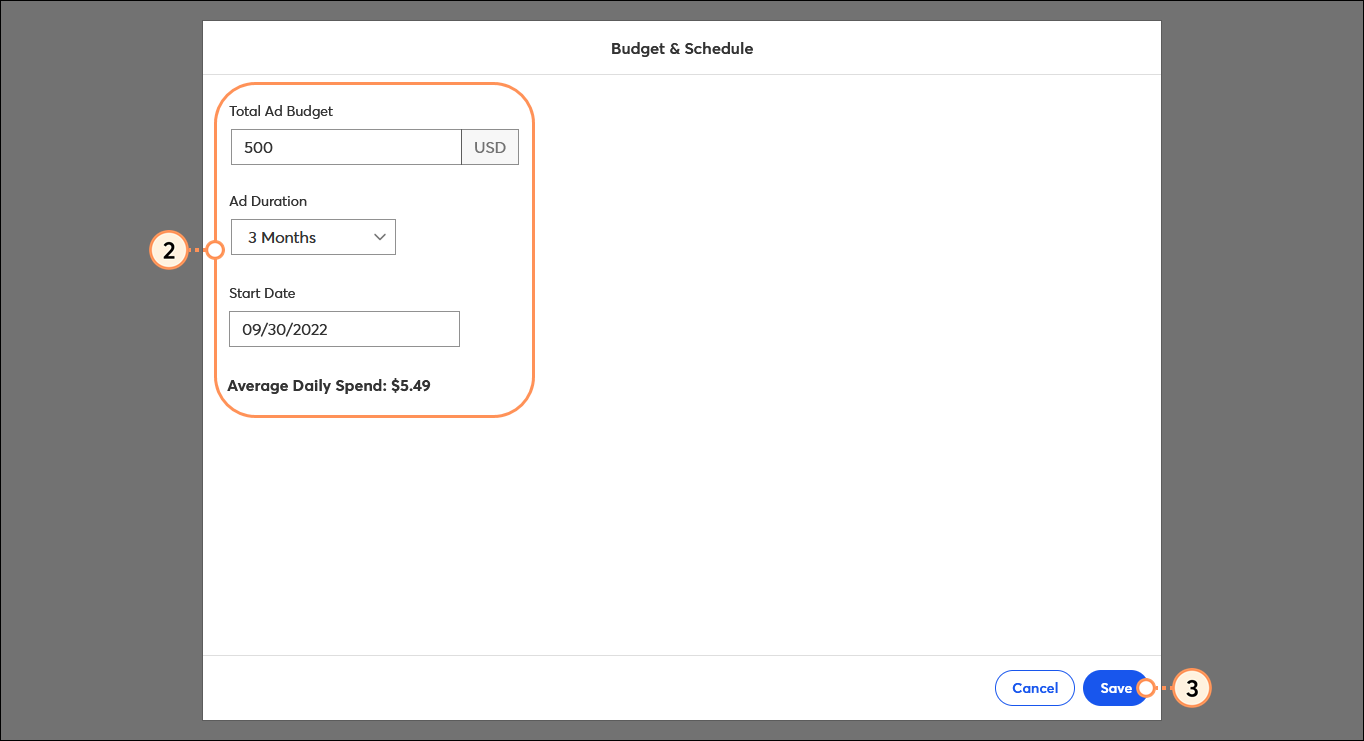
Ad billing is processed through the Facebook Ad Account linked to your ad, not through Constant Contact. Make sure you've updated your payment information in the Facebook Ads Manager—your ad won't publish if it isn't connected.
- Click Edit next to "Budget & Schedule."
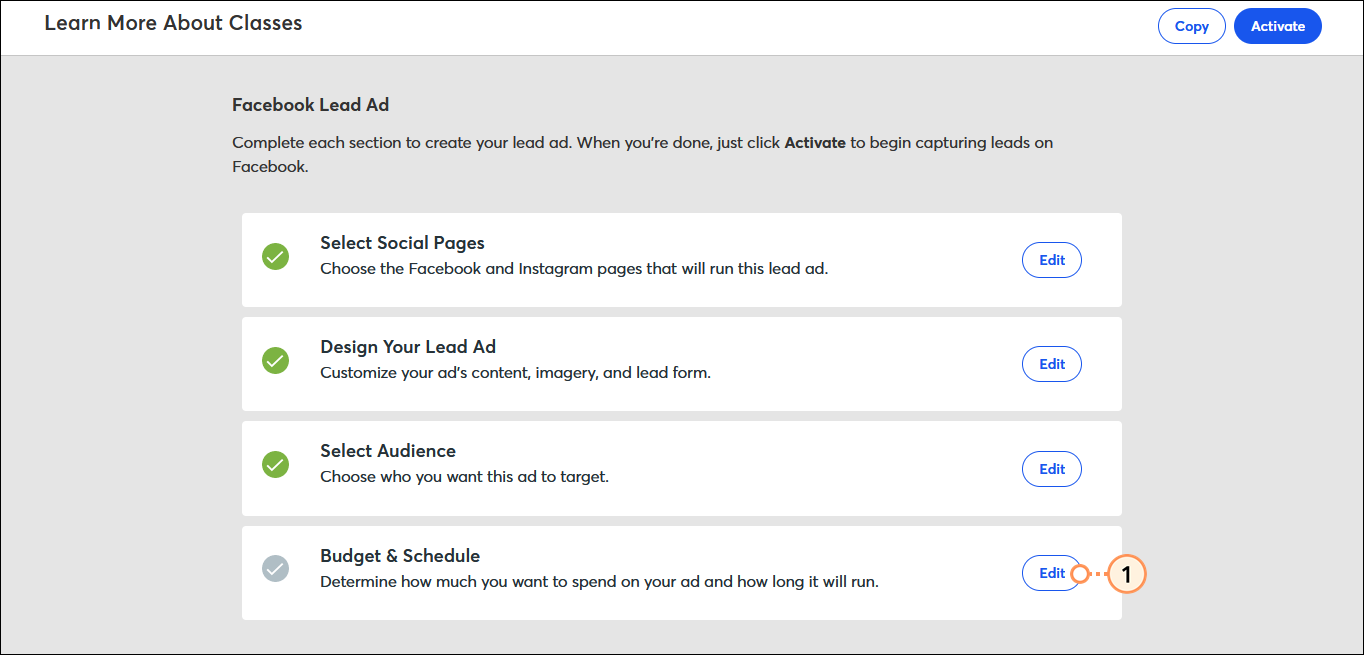
- Fill in your:
- Total Ad Budget - Facebook recommends having a budget of at least $5.00 (US) per day, but the minimum amount you can spend is $1.00 (US) a day. If you're using a currency outside the United States, the minimum is one unit of currency per day if it's roughly equivalent to a US dollar (one British Pound, one Euro, one Canadian Dollar, etc.), or 100 units of currency per day if the currency is worth less than a US dollar (100 Mexican Pesos, 100 Chinese Yuan, 100 Indian Rupees).
- Ad Duration - Select the number of weeks or months, or choose "Custom" to enter your own start and end dates.
- Click Save.
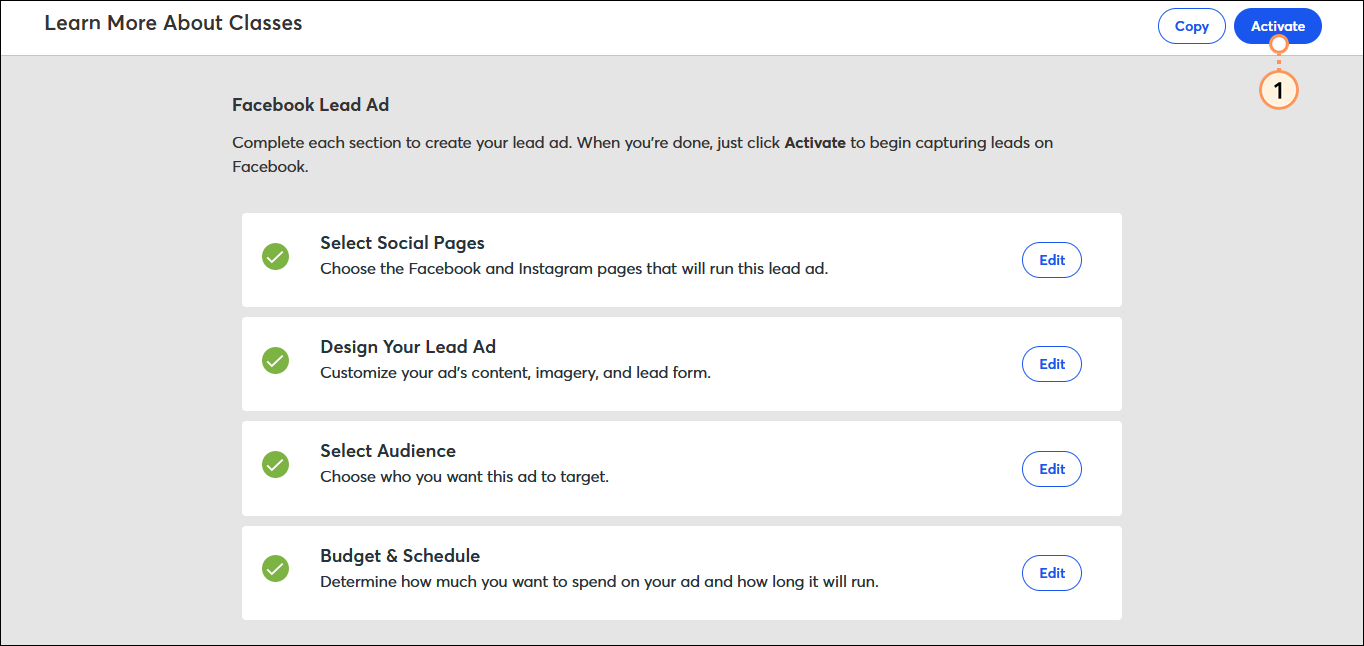
Activate your lead ad
- Click Activate.
- Review your ad channels, audience, and budget, and click Activate. If you haven't yet accepted Facebook's Terms of Service for Lead Ads, you are prompted to read and accept them.
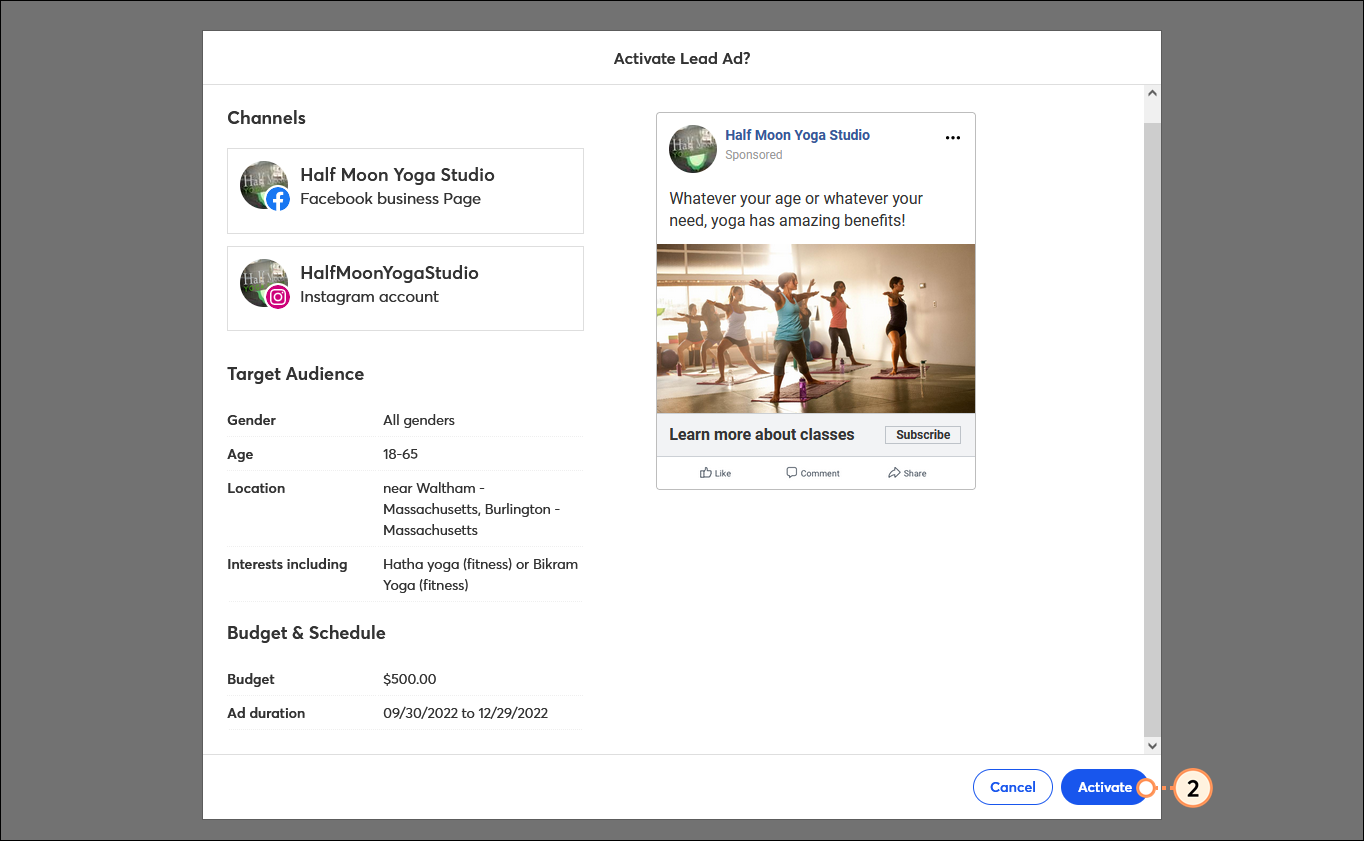
Activating your ad doesn't immediately make it live on Facebook and Instagram—it first goes through Facebook's ad review process to ensure it meets their content policy.
If you're using a Lookalike Audience, you don't have to wait for your audience to finish processing to click the Activate button. Your ad won't be seen until Facebook has finished compiling your Lookalike Audience. Your ad is then automatically activated for you. You can check the status of a scheduled ad with a Facebook Lookalike Audience through the Details page for your ad.
After your ad goes live, give it a little time and then check your reporting. Your reporting shows the total leads collected and the cost for each lead, based on what you chose to spend. You can also view the list of sign-ups generated through your ad.
Any links we provide from non-Constant Contact sites or information about non-Constant Contact products or services are provided as a courtesy and should not be construed as an endorsement by Constant Contact.