| Review your plan: This feature is not available in all Constant Contact plans. If you don’t have full access, you may need to upgrade your plan. |
You don't always need a full-blown event marketing tool to run an event, especially when you just need to get a headcount. Sending an RSVP gives you an idea of how many people you can expect at your event so that you can plan for things like venue, food and beverages, entertainment, and permits. Plus, the reporting makes it easy to send future communications to those who are interested in attending!
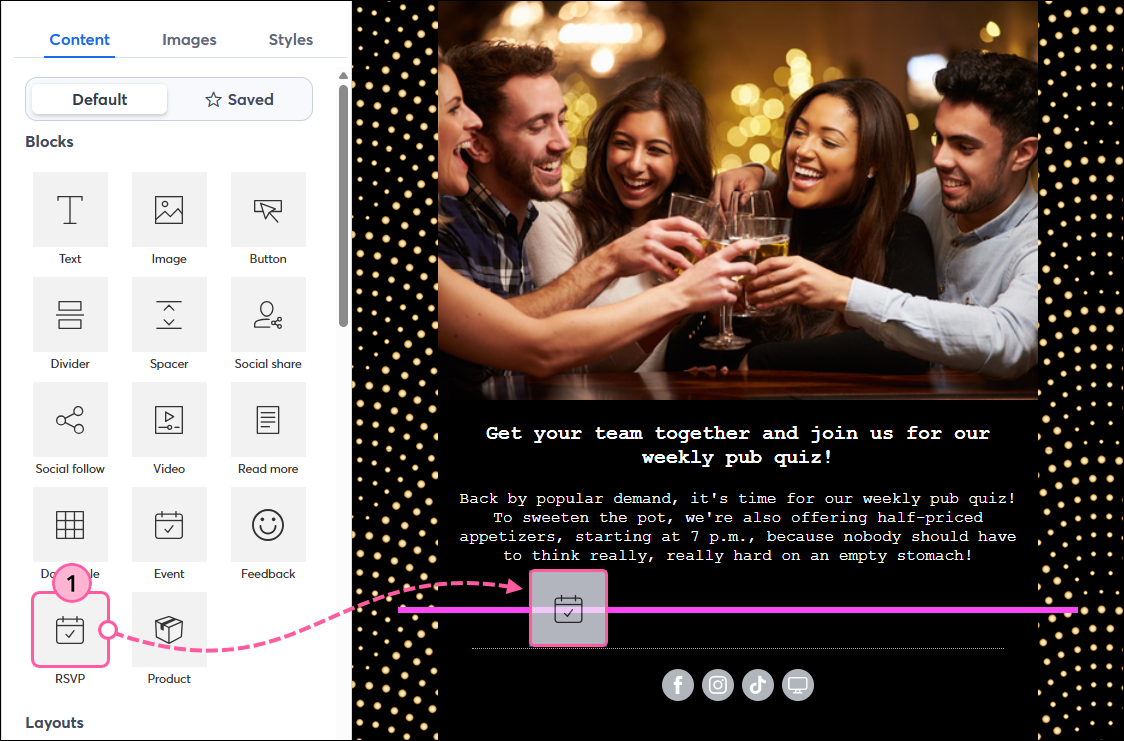
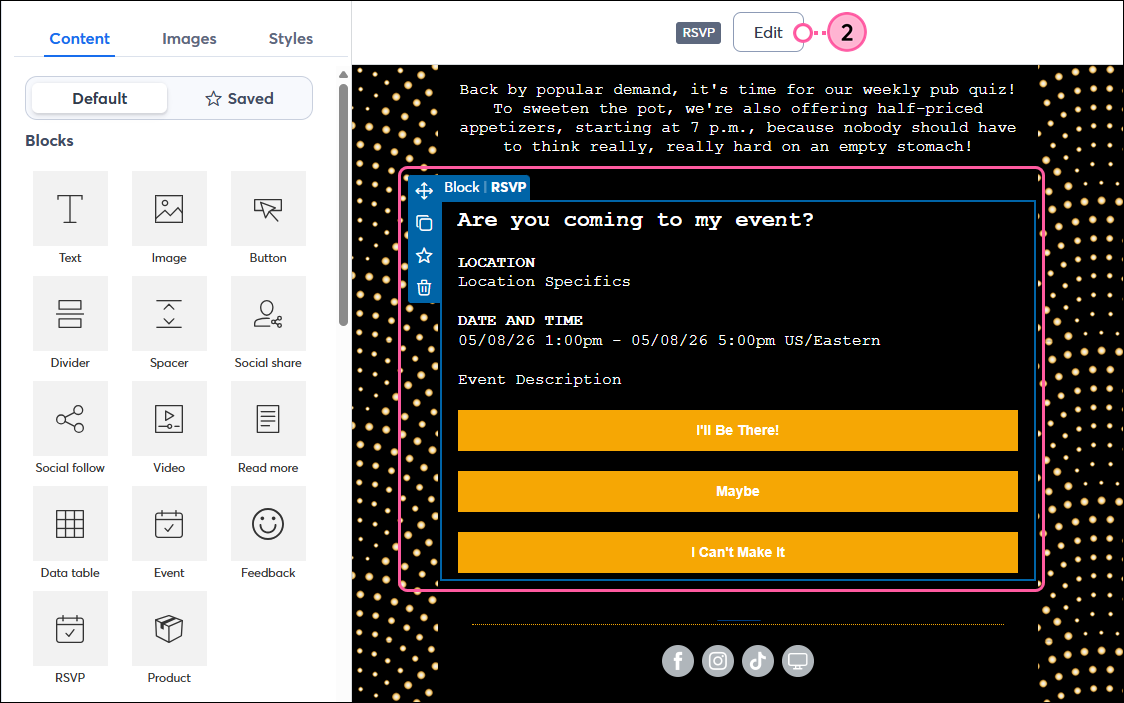
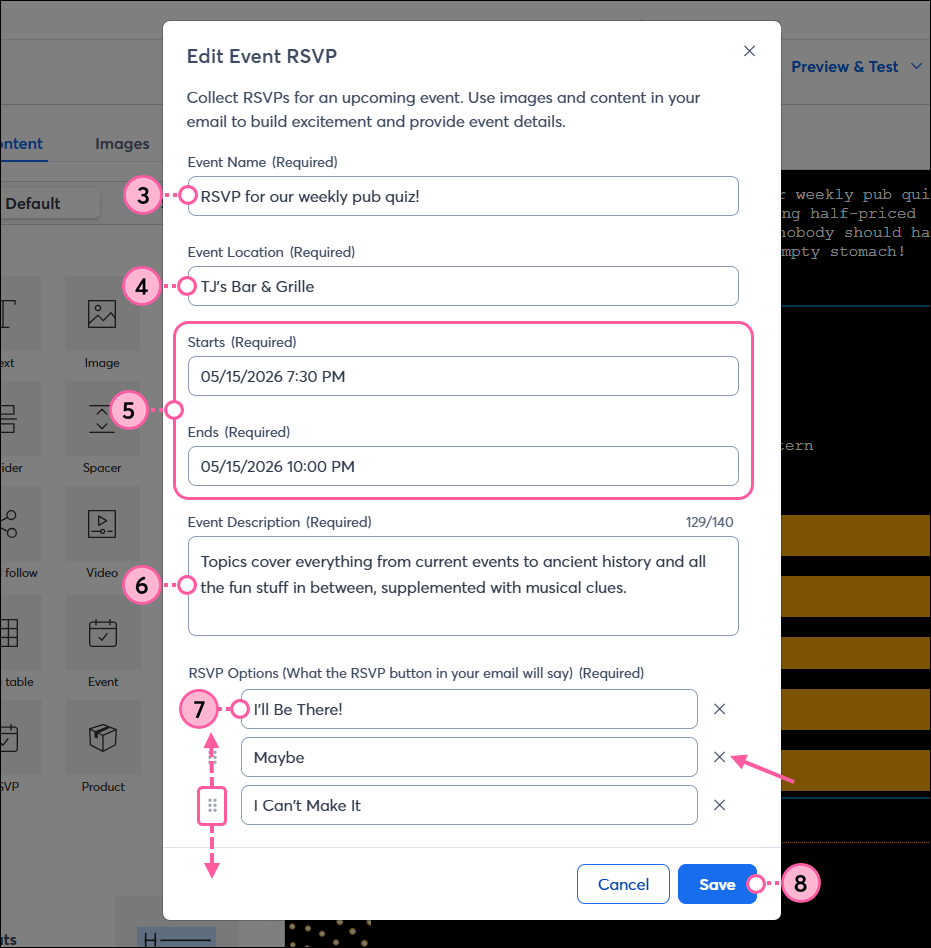
Creating an RSVP is as simple as dragging a block into your email template and adding some basic event information:
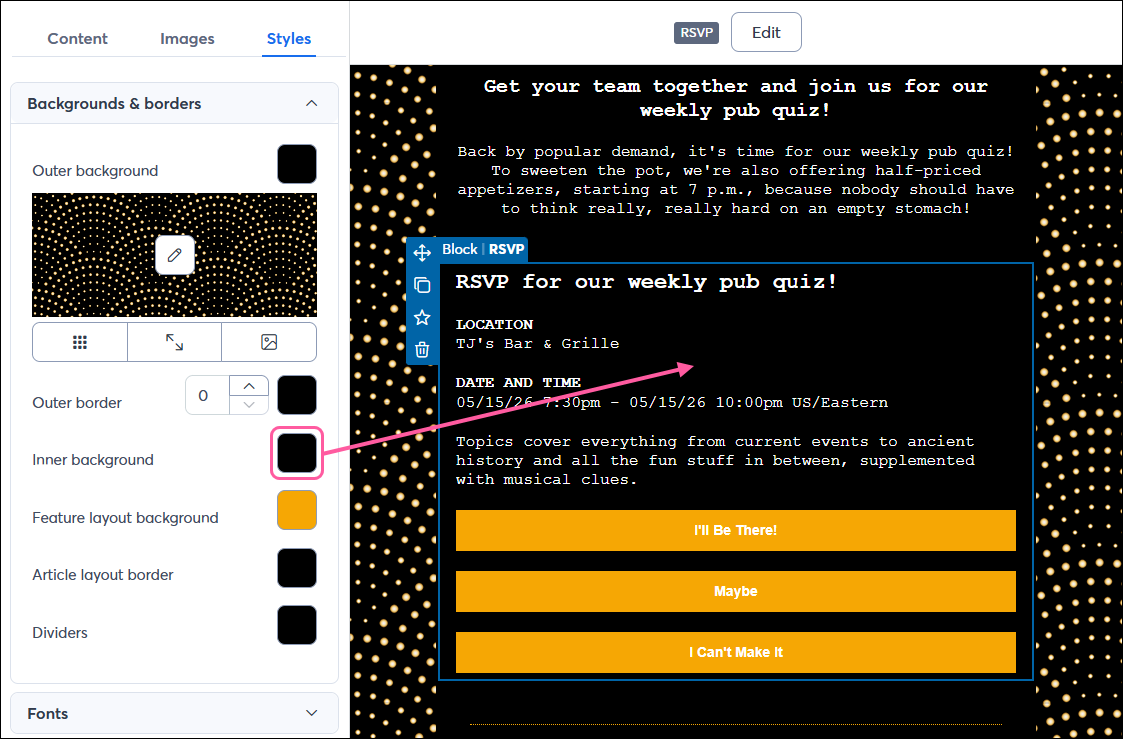
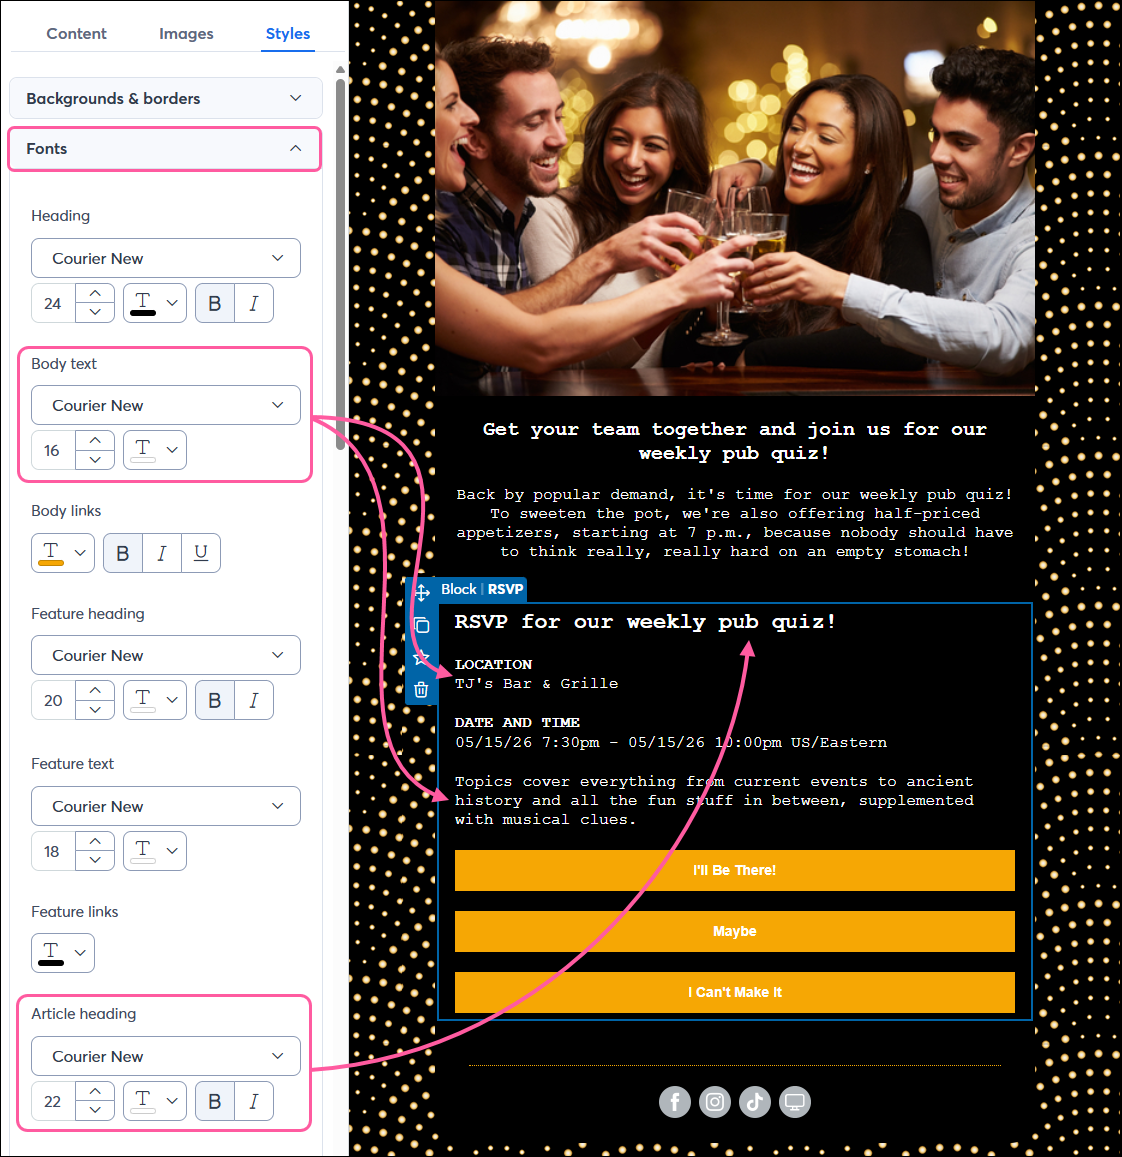
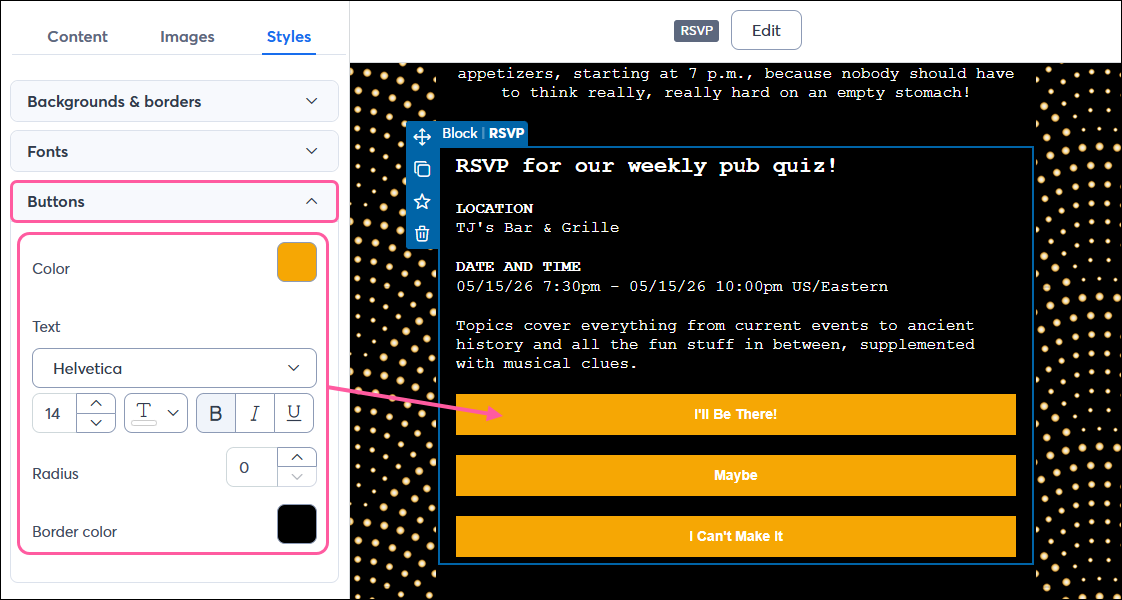
Once your RSVP block is added, the background, text, and buttons can be customized from the Styles tab:
When you're finished adding your content and branding to your email, click Continue to send it out to your contacts.
Once you send your email, you can see your RSVP reporting from the Email Details page in your account. From there, you can drill down to see the individual contacts who clicked on the different button options in your RSVP and export a CSV file for each response type.
| Save time: If you're planning to send additional emails to the contacts who RSVP'd for your event, consider adding them to a new list that's set up to receive an automation path. Whenever you add a new contact to that list, the first email in the series is triggered. Your "series" can even be a single email! |
When your contacts RSVP, they see a page thanking them for responding. Currently, there is no way to customize this page. Respondents can also add the event to their personal calendars by clicking the "Add to calendar" link. Information included in the Event description field is visible in the calendar entry once the ICS file is downloaded and added to the calendar.
Note: The "Add to calendar" link is only available after your email is sent. You won't see it when clicking the RSVP option from the preview or test email send.
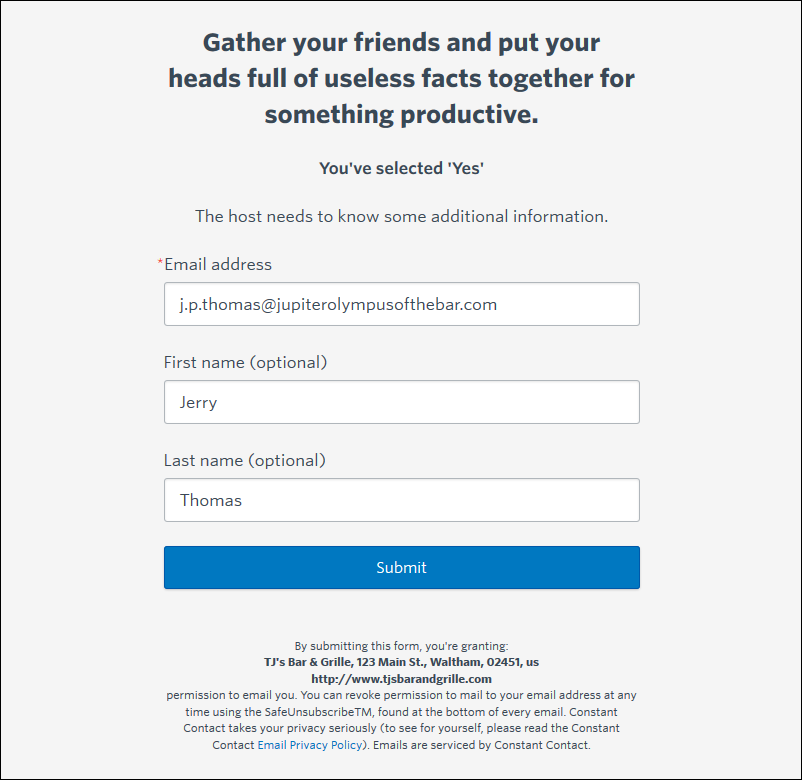
If you share your email on social media or share the campaign URL anywhere (like on your blog or website), anyone who RSVPs for your event is presented with a form to fill out to give you permission to email them. If someone reaches the form and then closes it, that person's response isn't included in your reporting.
| Note: If a contact forwards your email to someone and that person tries to RSVP, they won't be presented with the form, and their response will be recorded for the original contact, since the email is tied to the contact's email address. If you want to be able to capture RSVPs through a forwarded email, create your email first and add a social sharing button so contacts can easily forward the email to others. |
New contacts gathered through the RSVP block are added to your account but are not automatically added to a specific list. You can add these contacts to a list when viewing your RSVP responses.
Copyright © 2026 · All Rights Reserved · Constant Contact · Privacy Center